Charpy Impact Test: Determining Material Toughness
advertisement
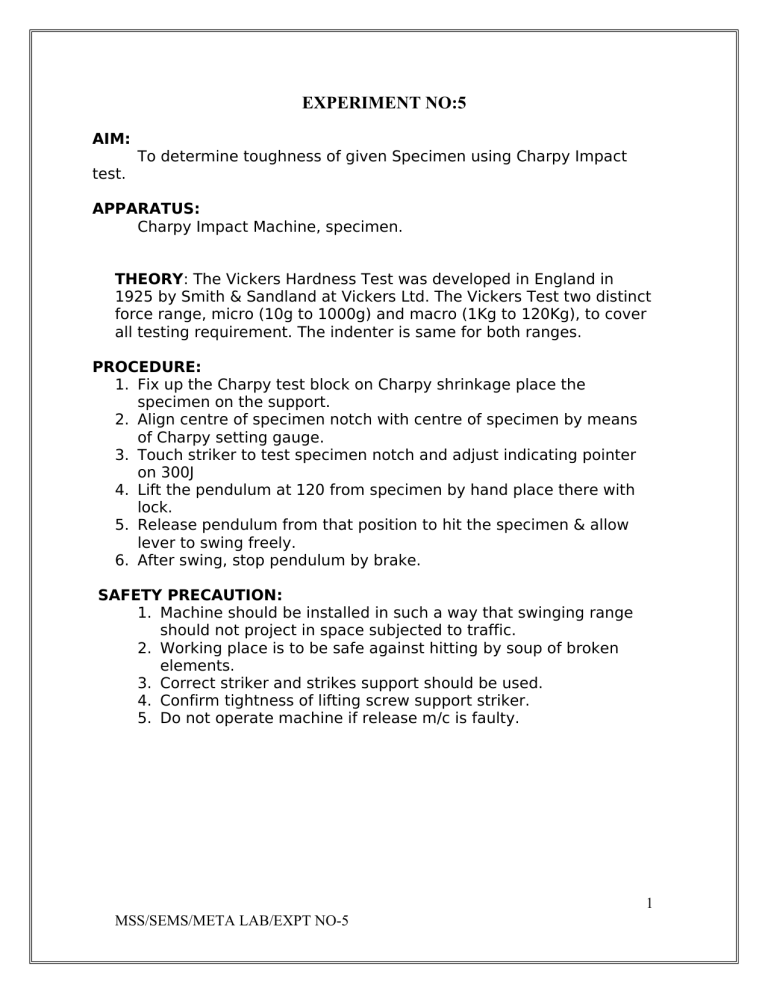
EXPERIMENT NO:5 AIM: To determine toughness of given Specimen using Charpy Impact test. APPARATUS: Charpy Impact Machine, specimen. THEORY: The Vickers Hardness Test was developed in England in 1925 by Smith & Sandland at Vickers Ltd. The Vickers Test two distinct force range, micro (10g to 1000g) and macro (1Kg to 120Kg), to cover all testing requirement. The indenter is same for both ranges. PROCEDURE: 1. Fix up the Charpy test block on Charpy shrinkage place the specimen on the support. 2. Align centre of specimen notch with centre of specimen by means of Charpy setting gauge. 3. Touch striker to test specimen notch and adjust indicating pointer on 300J 4. Lift the pendulum at 120 from specimen by hand place there with lock. 5. Release pendulum from that position to hit the specimen & allow lever to swing freely. 6. After swing, stop pendulum by brake. SAFETY PRECAUTION: 1. Machine should be installed in such a way that swinging range should not project in space subjected to traffic. 2. Working place is to be safe against hitting by soup of broken elements. 3. Correct striker and strikes support should be used. 4. Confirm tightness of lifting screw support striker. 5. Do not operate machine if release m/c is faulty. 1 MSS/SEMS/META LAB/EXPT NO-5 OBSERVATION TABLE: SR No Material Notch Type Toughness (joules) Notch Impact Strength Type of Fracture 1 2 3 4 Formulae: Notch impart testing strength isI=Toughness/Area I-Impact energy in J/cm2. A-C/s area of notch of specimen impact before test. Impact test specimen for Charpy must be prepared according to enclosed Sketch & confirming to IS 1499-1954 and IS 1757-1973 and IS 1578-1960.Notch is produced either by milling or grinding plane. Plane of symmetry of notch should be perpendicular to horizontal axis. Notch should be carefully prepared. CONCLUSION: Using Charpy Impact Test we calculate Toughness strength of different materials. 2 MSS/SEMS/META LAB/EXPT NO-5
