rube goldberg project
advertisement

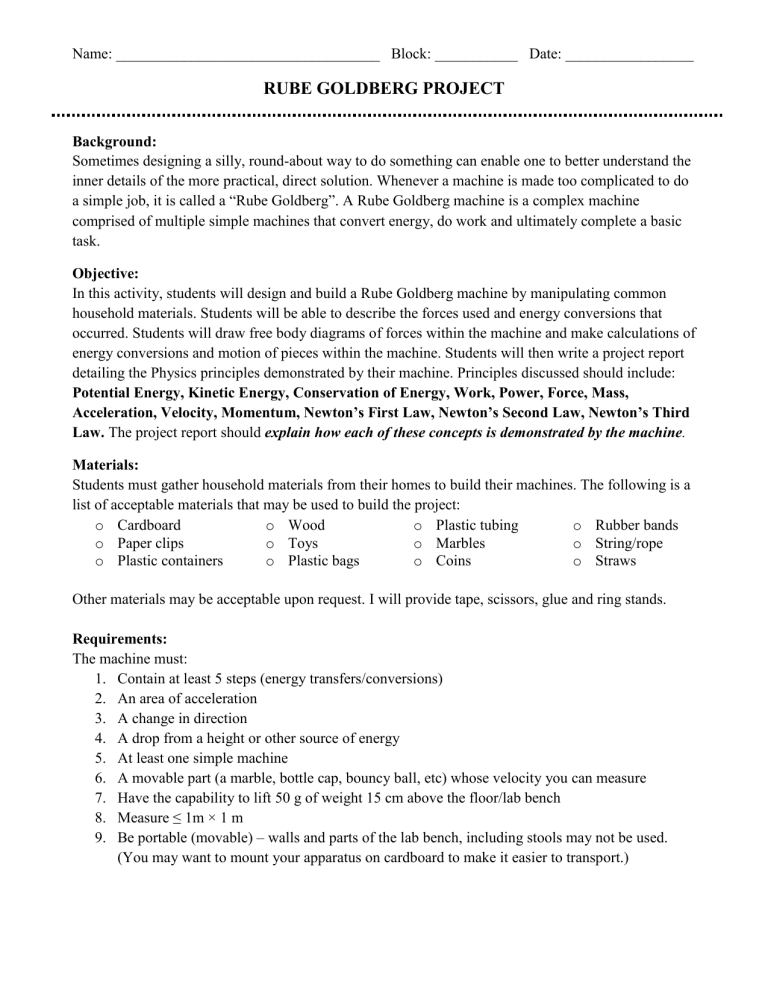
Name: ___________________________________ Block: ___________ Date: _________________ RUBE GOLDBERG PROJECT Background: Sometimes designing a silly, round-about way to do something can enable one to better understand the inner details of the more practical, direct solution. Whenever a machine is made too complicated to do a simple job, it is called a “Rube Goldberg”. A Rube Goldberg machine is a complex machine comprised of multiple simple machines that convert energy, do work and ultimately complete a basic task. Objective: In this activity, students will design and build a Rube Goldberg machine by manipulating common household materials. Students will be able to describe the forces used and energy conversions that occurred. Students will draw free body diagrams of forces within the machine and make calculations of energy conversions and motion of pieces within the machine. Students will then write a project report detailing the Physics principles demonstrated by their machine. Principles discussed should include: Potential Energy, Kinetic Energy, Conservation of Energy, Work, Power, Force, Mass, Acceleration, Velocity, Momentum, Newton’s First Law, Newton’s Second Law, Newton’s Third Law. The project report should explain how each of these concepts is demonstrated by the machine. Materials: Students must gather household materials from their homes to build their machines. The following is a list of acceptable materials that may be used to build the project: o Cardboard o Wood o Plastic tubing o Rubber bands o Paper clips o Toys o Marbles o String/rope o Plastic containers o Plastic bags o Coins o Straws Other materials may be acceptable upon request. I will provide tape, scissors, glue and ring stands. Requirements: The machine must: 1. Contain at least 5 steps (energy transfers/conversions) 2. An area of acceleration 3. A change in direction 4. A drop from a height or other source of energy 5. At least one simple machine 6. A movable part (a marble, bottle cap, bouncy ball, etc) whose velocity you can measure 7. Have the capability to lift 50 g of weight 15 cm above the floor/lab bench 8. Measure ≤ 1m × 1 m 9. Be portable (movable) – walls and parts of the lab bench, including stools may not be used. (You may want to mount your apparatus on cardboard to make it easier to transport.) GROUP MEMBERS: ______________________________________________________________________ Draw your blueprint here. Use dimensions drawn to scale. Make a list of steps energy transfers/conversions: Make a list of materials:


