Hand and Power Tool Safety Tips
advertisement

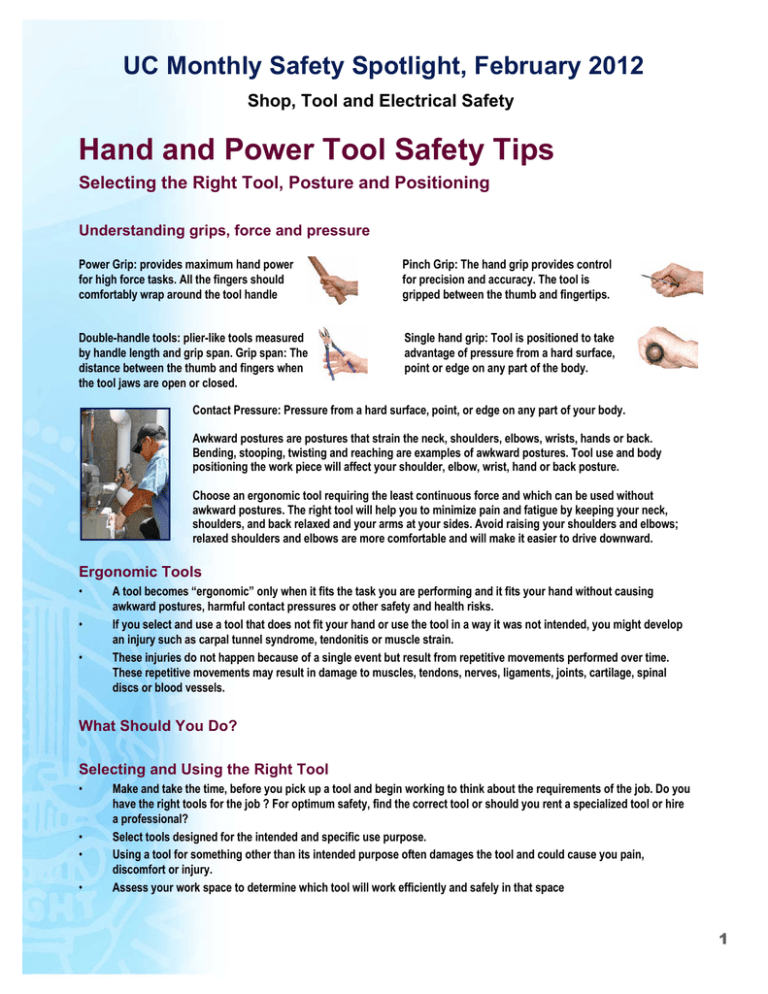
UC Monthly Safety Spotlight, February 2012 Shop, Tool and Electrical Safety Hand and Power Tool Safety Tips Selecting the Right Tool, Posture and Positioning Understanding grips, force and pressure Power Grip: provides maximum hand power for high force tasks. All the fingers should comfortably wrap around the tool handle Pinch Grip: The hand grip provides control for precision and accuracy. The tool is gripped between the thumb and fingertips. Double-handle tools: plier-like tools measured by handle length and grip span. Grip span: The distance between the thumb and fingers when the tool jaws are open or closed. Single hand grip: Tool is positioned to take advantage of pressure from a hard surface, point or edge on any part of the body. Contact Pressure: Pressure from a hard surface, point, or edge on any part of your body. Awkward postures are postures that strain the neck, shoulders, elbows, wrists, hands or back. Bending, stooping, twisting and reaching are examples of awkward postures. Tool use and body positioning the work piece will affect your shoulder, elbow, wrist, hand or back posture. Choose an ergonomic tool requiring the least continuous force and which can be used without awkward postures. The right tool will help you to minimize pain and fatigue by keeping your neck, shoulders, and back relaxed and your arms at your sides. Avoid raising your shoulders and elbows; relaxed shoulders and elbows are more comfortable and will make it easier to drive downward. Ergonomic Tools • • • A tool becomes “ergonomic” only when it fits the task you are performing and it fits your hand without causing awkward postures, harmful contact pressures or other safety and health risks. If you select and use a tool that does not fit your hand or use the tool in a way it was not intended, you might develop an injury such as carpal tunnel syndrome, tendonitis or muscle strain. These injuries do not happen because of a single event but result from repetitive movements performed over time. These repetitive movements may result in damage to muscles, tendons, nerves, ligaments, joints, cartilage, spinal discs or blood vessels. What Should You Do? Selecting and Using the Right Tool • • • • Make and take the time, before you pick up a tool and begin working to think about the requirements of the job. Do you have the right tools for the job ? For optimum safety, find the correct tool or should you rent a specialized tool or hire a professional? Select tools designed for the intended and specific use purpose. Using a tool for something other than its intended purpose often damages the tool and could cause you pain, discomfort or injury. Assess your work space to determine which tool will work efficiently and safely in that space 1 UC Monthly Safety Spotlight, February 2012 Shop, Tool and Electrical Safety Postures and Positioning • • • • Awkward postures may cause you to use more force. If you must work in a cramped area and high force is required, select a tool held with a power grip. A pinch grip produces much less power than a power grip. Exerting force with a pinch grip means you will work harder to get the job done. If you are standing and positioned awkwardly… Or if you are sitting… …make adjustments so you are working on a lower surface. …correct by standing up. Tool Safety Basics • • • • Employers are responsible for the safe condition of tools and equipment used by employees, including tools and equipment which may be furnished by employees. Employees must notify supervisors and replace damaged tools Employers shall not issue or permit the use of unsafe hand tools. Examples: • Wrenches, including adjustable, pipe, end, and socket wrenches shall not be used when jaws are sprung to the point that slippage occurs. • Impact tools, such as drift pins, wedges, and chisels, shall be kept free of mushroomed heads. • The wooden handles of tools shall be kept free of splinters or cracks and shall be kept tight in the tool. General Safety Precautions • • • • • Read and follow your department’s safe work practices guidelines. Always use the Personal Protective Equipment (PPE) necessary to protect you from exposure to potential hazards; • Falling, flying, abrasive or splashing objects • Sharp edges (use caution around when and when not to wear gloves) • Harmful dusts, fumes, mists, vapors, or gases • Employees and employers have a responsibility to work together the required PPE and establish safe working practices If a hazardous situation is encountered, immediately bring it to the attention of your supervisor or designated safety coordinator. Keep floors as clean and dry as possible to prevent accidental slips or trips when working with or around hand and power tools. Clear your workspace of accumulated sawdust , debris, and volatile gases reduces the chance that sparks could cause fire or explosion. 2 UC Monthly Safety Spotlight, February 2012 Shop, Tool and Electrical Safety Hand Tools: General Safety Guidelines • • • • • • • Hand tools include anything from axes to wrenches. The greatest hazards posed by hand tools result from misuse and improper maintenance. Some examples: Using a screwdriver as a chisel may cause the tip of the screwdriver to break and fly, hitting the user or other employees. If a wooden handle on a tool such as a hammer or an axe is loose, splintered, or cracked, the head of the tool may fly off and strike the user or another worker. Using a wrench when its jaws are sprung is dangerous as it is more likely to slip. Impact tools such as chisels, wedges, or drift pins are unsafe if they have mushroomed heads. The heads might shatter on impact, sending sharp fragments flying. Work with your supervisor and co-workers to ensure the safe condition of tools and equipment . All employees are responsibility for properly using and maintaining tools. Safe tool practices include: • Directing saw blades, knives or other tools away from aisle areas and other employees working in close proximity. • Keeping knives, saw blades, cutting edges and scissors sharp and clean. Dull tools can be more hazardous than sharp ones. • Storing tools so that blades, sharp points and other hazards are protected. Avoiding Sparks When Using Tools • • • Sparks produced by iron and steel hand tools used near flammable substances can be a dangerous ignition source. Where this hazard exists, spark-resistant tools made from brass, plastic, aluminum, or wood provide greater safety. "Non-sparking,” "spark-resistant" or "spark-proof" tools are available and should be used in situations where sparks could cause fire or explosion. 3 UC Monthly Safety Spotlight, February 2012 Shop, Tool and Electrical Safety Eleven Tips for Selecting Hand Tools 1. Single-handle tools for power tasks: A tool with a handle diameter in the range of 1 ¼ inches to 2 inches. 2. Single-handle tools for precision tasks: A tool with a handle diameter of ¼ inch to ½ inch. 3. Double-handle tools (plier-like) for power tasks: A tool with a grip span at least 2 inches when fully closed and < 3 ½ inches when fully open. When continuous force is required, consider using a clamp, a grip or locking pliers. 4. Double-handle tools (plier-like) used for precision tasks: A tool with a grip span > 1 inch when fully closed and < 3 inches when fully open. 5. Double-handled pinching, gripping or cutting tools: A tool with spring-loaded handles to return the handles to the open position. 6. A tool without sharp edges or finger grooves on the handle. 7. A tool coated with soft material or add a sleeve to the tool handle. This pads the surface but also increases the diameter or the grip span of the handle. 8. A tool which can be used with either hand. 9. A tool with an angle allowing working with a straight wrist. 10. 11. • Horizontal force (in the same direction as your straight forearm and wrist), tools with bent handles are better than those with straight handles • Vertical force: Tools with straight handles are better than those with bent handles. Tasks requiring greater force: A tool with a handle length longer than the widest part of your hand – usually 4 to 6 inches. Prevent contact pressure by making sure the end of the handle does not press on nerve and blood vessels in the palm of your hand. If the handle is too short, the end will press against the palm of your hand and may cause an injury. Pinch grip Open grip span Closed grip span Incorrect Create a tool with a non-slip surface for a better grip by adding a sleeve to improve the surface texture of the handle. Make sure the sleeve fits snugly during use to prevent tool slippage within the sleeve,. Remember: a sleeve always increases the diameter or the grip span of the handle. Correct Incorrect Correct handle length Correct 4 UC Monthly Safety Spotlight, February 2012 Shop, Tool and Electrical Safety Power Tools: General Safety Guidelines • • • • • • • • • • • • • • • • • Use and keep any guards which came with the tool, attached to the tool Never carry a power tool by the cord or hose. Never yank the cord or the hose to disconnect it from the receptacle. Keep cords and hoses away from heat, oil and sharp edges that could damage them. Disconnect tools when not in use, before servicing and when changing accessories such as blades, bits and cutters. Keep observers at a safe distance from the work area. Secure work with clamps or a vise, freeing both hands to operate the tool. Avoid accidental starting. Workers should not hold a finger on the switch button while carrying a plugged-in tool. Tools should be maintained with care. They should be kept sharp and clean for both safety and good performance. Follow manufacturer’s instructions for lubricating the tool and changing accessories. Be sure to keep solid footing and maintain good balance. Remove portable electric tools from the workplace if they are damaged, and attach a “Do Not Use” tag. Prevent burns and electric shock with can cause injury and heart failure. These are among the chief hazards of electricpowered tools. Be aware that under certain conditions, even a small amount of current can result in fibrillation of the heart and eventual death. A shock also can cause the user to fall off a ladder or other elevated work surface. Use power tools having a three-wire cord with ground, are grounded, double insulated, or powered by a low-voltage isolation transformer. Keep your work area well lit and well ventilated. Choose tools with double insulation , which protects you in two ways: by normal insulation on the wires inside, and by a housing that cannot conduct electricity to you in the event of a malfunction. • Always use safety glasses and hearing protection when working around noisy tools and equipment. • When not in use, tools should be stored in a dry place. These general practices should be followed when using electric tools: • Electric tools should be operated within their design limitations. • Electric tools should not be used in damp or wet locations. Power Tool Accessories and Attachments • • • Use caution when selecting and using any accessory with a power tool. Choosing the wrong accessory or using an accessory incorrectly can result in serious injury. Don't use an accessory or attachment unless: • The power tool manufacturer recommends its use for the product. • The accessory limitations and specifications -- such as speed, size, mounting and guarding requirements, etc. – match the limitations and specifications of the power tool as shown in the owner/operator's manual. • The use of accessory does not require the removal of or defeating of any guards, barriers or other safety-related devices on the power tool, unless they are replaced by other appropriate guards or protective devices. Unplug tools before installing, adjusting and changing any accessory or attachment. Miter Saws and Chop Saws • • • • Saws have a downward cutting motion, stay alert to keeping hands and fingers away from the blade's path. Be sure all guards are in place and working. If a guard seems slow to return to its normal position, adjust or repair it immediately. Use only recommended size and RPM rated blades. When installing or changing a blade, be sure the blade and related washers and fasteners are correctly positioned and secured. 5 UC Monthly Safety Spotlight, February 2012 Shop, Tool and Electrical Safety Portable Circular Saw Safety Procedures • • • • • • • • • • • • • • • Always wear safety goggles or safety glasses with side shields or a full face shield when needed. Use a dust mask in dusty work conditions and wear hearing protection during extended periods of operation. Don't wear loose clothing, jewelry or dangling objects that may catch in rotating parts or accessories. Tie back long hair that could become entangled in moving parts. Don't use a circular saw that is too heavy for you to easily control. Be sure the switch actuates properly. It should turn the tool on and return to the off position easily and quickly after you release it. Use sharp blades. Dull blades cause binding, stalling and possible kickback. They also waste power and reduce motor and switch life. Use the correct blade for the application. Check this carefully. Does it have the proper size and shape arbor hole? Is the speed marked on the blade at least as high as the no-load RPM on the saw's nameplate? Be sure blade guards are working properly and return to their normal positions quickly. If a guard seems slow to return or hangs up, repair or adjust it immediately. Never defeat the guard, for example, tying it back or removing it to expose the blade. Before starting a circular saw, be sure the power cord and extension cord are out of the blade’s path and are long enough to freely complete the cut. A sudden jerk or pulling on the cord can cause you to lose control of the saw, resulting in a serious accident. For maximum control, hold the saw firmly with both hands after securing the work piece. Clamp work pieces. Check frequently to be sure clamps remain secure. Avoid cutting small pieces that can't be properly secured and material on which the saw shoe can't properly rest. When you start the saw, allow the blade to reach full speed before contacting the work piece. When making a partial cut, or if power is interrupted, release the trigger immediately and don't remove the saw until the blade has come to a complete stop. Portable Drill Safety Procedures • • • • • • • • • Be sure your drill's capacity limitations and accessory recommendations are appropriate for the work you plan to do. Check carefully for loose power cord connections and frays or damage to the cord. Replace damaged power cords and extension cords immediately. Be sure the chuck is tightly secured to the spindle. This is especially important on reversible type drills. Tighten the bit securely as prescribed by the owner/operator's manual. The chuck key must be removed from the chuck before starting the drill. A flying key can be an injury-inflicting missile. Auxiliary handles: • Check if they are part of the tool and be sure they are securely installed. • Always use the auxiliary drill handle when provided. It gives you more control, especially if stalled conditions occur. • Grasp the drill firmly by insulated surfaces. • Hold the drill securely when bracing against stationary objects for maximum control. If drilling in a clockwise -- forward -- direction, brace the drill to prevent a counterclockwise reaction. Don't force a drill. • Apply enough pressure to keep the drill bit cutting smoothly. • If the drill slows down, relieve the pressure. • Forcing the drill can cause the motor to overheat, damage the bit and reduce operator control.

