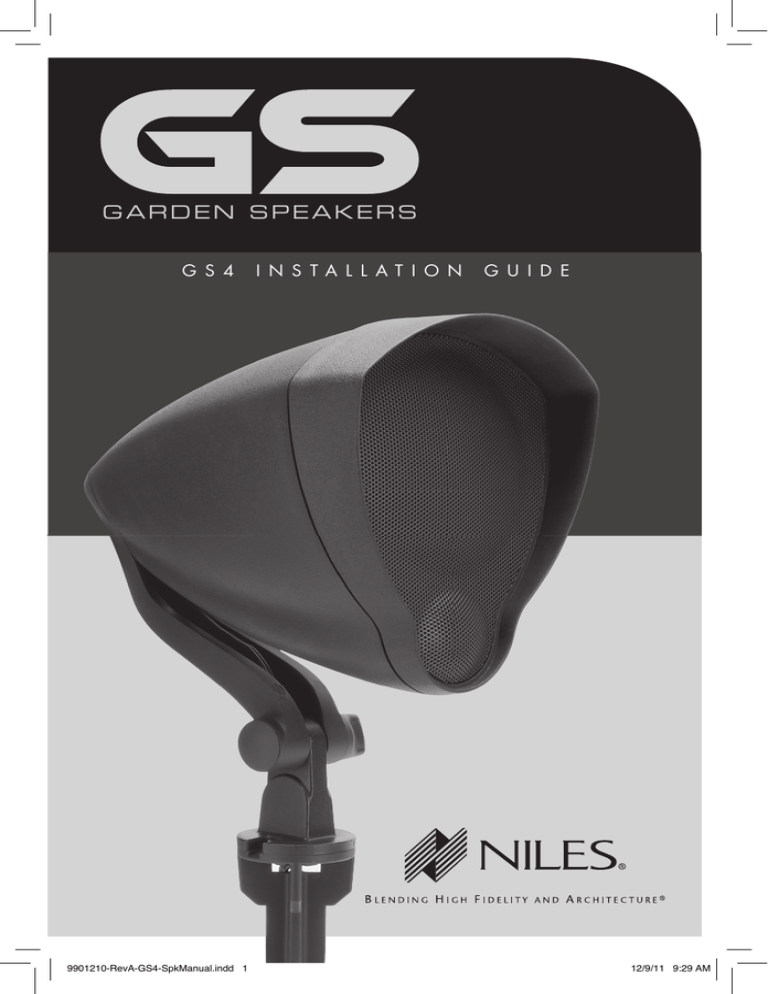
GARDEN SPEAKERS
G S 4
9901210-RevA-GS4-SpkManual.indd 1
I N S TA L L AT I O N
G U I D E
12/9/11 9:29 AM
parts List
ground stake mounting
2 GS4 Satellite Loudspeakers with attached wall-mount brackets
2 Mounting Stakes (Optional)
2 Pairs of Wire Nuts (Located inside the wall-mount bracket storage cavity)
2 Security Plates for Stake Mounting
4 #2 Phillips Head, Stainless Steel Wood Screws (Optional)
Remove the wall-mount bracket by
pressing up on the metal tab adjacent
next to the connection base. Once
the tab is pressed upward, the bracket
will rotate ¼ turn and release from the
loudspeaker.
gs4 sateLLite instaLLation
Using a large hammer or mallet, insert
the included ground stake into the
ground until the top is level with the
surface.
Once the proper location has been established, choose the appropriate mounting
method between surface mounting or using the included ground stake.
surfaCe mounting
The GS4 comes ready for surface mounting.
Simply position the base where you would like
to install the loudspeaker, making certain to
adjust the loudspeaker angle first by loosening
the adjustment knob, rotating the loudspeaker
to the desired angle, and then re-tightening the
knob until it locks in place.
Next, align the wall-mount bracket to the
desired location and mark the locations of the
two screw holes.
The GS4 weighs approximately 4 lbs (1.8 kg).
Any mounting screws or hardware used to
secure the loudspeaker should be designed to
bear a load with a minimum of 5x this weight
(i.e. 20 lbs, or 9 kg) in order to assure a wide
margin for safety in an outdoor environment.
Adjustment Knob
Figure 1.
GS4 Satellite Loudspeaker
shown with Wall Mount
attachment.
Two silicone impregnated wire nuts have been provided inside the special wiring
cavity in the wall mount bracket. You can remove them by inserting a flat screwdriver
under the cap and slowly prying it up on either side until it opens. All of your wiring
connections can be made using the supplied wire nuts and the connections can
then be hidden inside the wiring cavity. If the wiring is going to be exposed to the
elements, make sure to use properly rated cable. In such an installation, we also
recommend sealing the wire nuts with additional silicone.
Mount the loudspeaker bracket on the wall, making sure that the speaker wire is
properly routed through the wire raceway on the rear of the bracket before you install
it. Care should be taken to make sure that the wire is routed around the screw holes
so that the speaker wire is not damaged when you attach it to the wall.
2
9901210-RevA-GS4-SpkManual.indd 2-3
WWW.NILESAUDIO.COM
Using Security Mounting Plates As an option, you may further secure
the GS4 loudspeakers by utilizing the
included security plates. To do so:
1) Attach each plate to a mounting stake
by inserting the stake through the plate
and twisting the plate until it locks in
place. 2) Dig a hole 5” (12.7 cm) wide
by 8” (20.3 cm) deep. Confirm the wire
routing for the loudspeaker is correct.
Place the mounting stake with attached
security plate in the hole and pack firmly
with dirt or for extra security, concrete.
Route the speaker wire through the
center hole of the mounting stake and
then attach the loudspeaker to the
mounting stake by aligning the holes and
slot with the mounting tab and turning
the loudspeaker a ¼ turn until the tab
locks in place.
Maximum Angle of Adjustment
45 degree angle
Twist and Lock
Stake Assembly
Adjust the loudspeaker angle by
loosening its adjustment knob and
placing it into the desired position. While
the loudspeaker itself can withstand
extreme temperatures, the loudspeaker should not be placed at an angle greater
than 45° above a horizontal position in order to prevent the possibility of excessive
amounts of water staying within the top housing and freezing in cold environments,
which could damage the loudspeaker.
NILES AUDIO – 1-800-BUY-HIFI – 1-760-710-0992
3
12/9/11 9:29 AM
Connecting the Loudspeaker
Wiring Requirements
NOTE: All loudspeaker connections must be made with the amplifier turned OFF
for safety.
2-conductor direct burial cable at the following sizes depending on the longest
length of cable required:
All cables run outdoors or buried should be properly certified for such use. If you
have any questions regarding which cable is appropriate for your installation, please
consult with a professional. Make certain that there are no obstructions in the
planned wiring location before proceeding. Many states and municipalities have
specific notification requirements before digging. Make sure to check with your
local building authorities as required prior to digging.
Connect the wire from the amplifier to your loudspeaker making sure to match
polarity so that the negative wire from the amplifier (normally black) matches with
the negative wire from the loudspeaker and do the same with the positive wires.
Final connections should be made with either silicone filled wire connectors, or the
appropriate junction boxes.
After all loudspeaker connections have been made, connect the wires to your
amplifier and power on your amplifier. Verify the satisfactory performance of each
loudspeaker before covering any exposed trenches or conduit used for your wiring.
Wire Gauge Maximum Length
16
60 ft (18 m)
14
100 ft (30 m)
12
160 ft (50 m)
Temperature Extremes
-50°F to 185°F (-45° to 85° Celsius)
Product Dimensions
10-3/4” H x 5-1/2” W x 9” D (27.3 cm x 14 cm x 22.9 cm)
[ 26.1 cm ]
10.284”
Specifications
Tweeter:
[ 23.4 cm ]
9.233”
1” Wide Dispersion Soft Dome
[ 14.0 cm ]
5.527”
Woofer:4” Mineral-Filled Polypropylene
Recommended Amplifier Power: 10-110 watts
Frequency Response:
70Hz to 21kHz +/- 3dB
Product Weight:
4 lbs (1.8 kg)
GS4 Features
[ 16.7 cm ]
• Custom designed, UV-resistant acoustic enclosure
6.592”
• 4” Mineral-Filled Polypropylene Woofer for long-lasting performance with deep,
rich sound.
• 1” Teteron® tweeter with ultra-wide dispersion to maximize the sound quality in an
outdoor environment
• Dual mounting options (included): stake mounted for in-ground use, wall-mount
bracket to attach against any flat surface
Product Weight
• Weatherproof design assures reliable performance outdoors
• UV-Resistant connection cables with waterproof wire-nuts to ensure trouble free,
long-lasting connections.
4
9901210-RevA-GS4-SpkManual.indd 4-5
WWW.NILESAUDIO.COM
4lbs (1.8 kg)
NILES AUDIO – 1-800-BUY-HIFI – 1-760-710-0992
5
12/9/11 9:29 AM
notes
BY PHONE (IN USA)
1-800-BUY-HIFI (289-4434)
BY PHONE (OUTSIDE USA)
1-760-710-0992
Customer service hours
8:00 AM to 5:30 PM PT
Technical support hours
6:00 AM to 4:00 PM PT
on the web
w w w.nilesaudio.com
email technical support
techsupport@nilesaudio.com
email for product suggestions
productsuggestions@nilesaudio.com
6
9901210-RevA-GS4-SpkManual.indd 6-7
WWW.NILESAUDIO.COM
NILES AUDIO – 1-800-BUY-HIFI – 1-760-710-0992
7
12/9/11 9:29 AM
1969 Kellogg Avenue, Carlsbad, CA 92008
1-760-710-0992
1 - 8 0 0 - B U Y- H I F I – w w w. n i l e s a u d i o . c o m
©2011 The AVC Group, LLC. All rights reserved. Niles and the Niles logos are registered
trademarks of The AVC Group, LLC. All other trademarks are the property of their respective
owners. We reserve the right to change specifications, descriptions and prices without notice.
The technical and other information contained herein is not intended to set forth all technical
and other specifications. Designed and engineered in the USA. 9901210 Rev A
9901210-RevA-GS4-SpkManual.indd 8
12/9/11 9:29 AM

