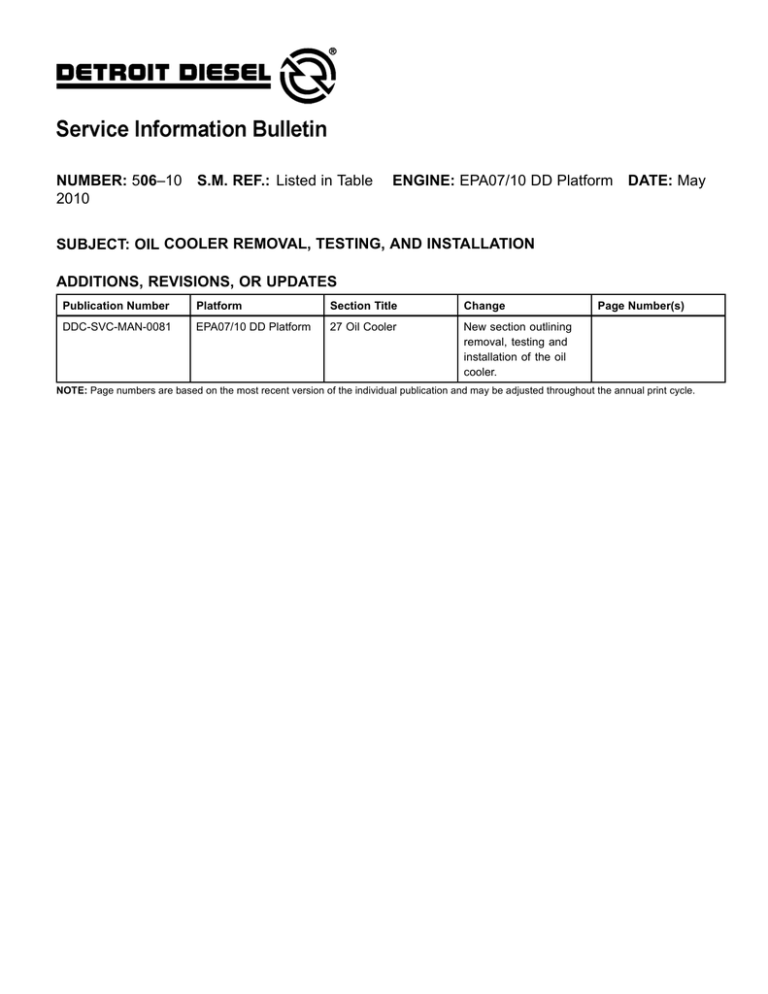
NUMBER: 506–10
2010
S.M. REF.: Listed in Table
ENGINE: EPA07/10 DD Platform
DATE: May
SUBJECT: OIL COOLER REMOVAL, TESTING, AND INSTALLATION
ADDITIONS, REVISIONS, OR UPDATES
Publication Number
Platform
Section Title
Change
DDC-SVC-MAN-0081
EPA07/10 DD Platform
27 Oil Cooler
New section outlining
removal, testing and
installation of the oil
cooler.
Page Number(s)
NOTE: Page numbers are based on the most recent version of the individual publication and may be adjusted throughout the annual print cycle.
REMOVAL OF THE OIL COOLER
Remove oil cooler as follows:
1. Remove the oil coolant module. Refer to section .
2. Remove eight bolts securing the oil cooler to the oil coolant module. Discard O-rings.
INSPECTION AND PRESSURE TESTING OF THE OIL COOLER
Test the oil cooler as follows:
1. Inspect the oil cooler sealing surfaces and old gaskets for imperfections.
NOTE:
Damaged gaskets or sealing imperfections may produce symptoms similar to a leaking oil cooler. Do
NOT replace the oil cooler unless it has been confirmed as leaking with this test.
2. Install the pressure test adaptors (W060589009100) over each of the oil passages of the oil
cooler, as the DD13, DD15, and DD16 oil cooler leak test setup illustrates, using the supplied
fasteners. Evenly torque fasteners to 10 N·m (8 lb·ft).
1. Regulator Valve
3. Regulator and Gauge J-45982–7
2. Shutoff Valve
4. J-47313-2 Pressure Hose
5. DD13/15/16 Oil Cooler
EYE INJURY
To avoid injury from flying debris when using compressed air,
wear adequate eye protection (face shield or safety goggles)
and do not exceed 276 kPa (40 psi) air pressure.
3. Connect the pressure hose to the pressure regulator (J-45982-7 or equivalent).
□ The pressure regulator and gauge (J-45982-7) are not included in the oil cooler leak test
adaptor kit. This gauge and regulator can be found in the cylinder head and block leak
tester kit (J-45987).
□
If test kit J-45987 was not shipped to your facility as an essential tool, a suitable air pressure
regulator and gauge capable of 275 kPa (40 PSI) is adequate.
4. Check and ensure that the shutoff valve is in the OFF position. Connect shop air to the pressure
regulator.
EYE INJURY
To avoid injury from flying debris when using compressed air,
wear adequate eye protection (face shield or safety goggles)
and do not exceed 276 kPa (40 psi) air pressure.
5. Set the regulator to zero pressure by pulling up on the adjusting knob and turning counter
clockwise until it stops.
6. Turn shutoff valve to the ON position.
7. Adjust system pressure by pulling up on the adjusting knob and turn clockwise until pressure
reading on gauge is 275 kPa (40 PSI).
NOTICE:
DO NOT connect pressure hose (J-47313-2) to air supply fitting on
the oil cooler until the pressure regulator has been adjusted to 275
kPa (40 PSI) in order to avoid exceeding the required pressure.
8. Once the pressure regulator has been adjusted, connect the pressure hose to the air supply
fitting on the adaptor plate.
BURNS
To avoid injury from burning, use lifting tools and
heat-resistant gloves when handling heated components.
9. Submerge the oil cooler completely in a hot water tank for five minutes.
10. In the event of a failed oil cooler, a steady stream of air bubbles will appear from the oil cooler.
NOTE:
Some leakage may occur from the adaptor fittings. Do NOT mistake this for a leaking oil cooler.
11. Reduce the air pressure and remove the oil cooler test kit components from the oil cooler.
INSTALLATION OF THE OIL COOLER
Install the oil cooler as follows:
1. Using new O-rings, install the oil cooler to the oil coolant module.
2. Torque the eight securing bolts to 25-30 N·m (18-22 lb·ft).
3. Install the oil coolant module. Refer to section .
ADDITIONAL SERVICE INFORMATION
Additional service information is available in Power Service Literature.
Detroit Diesel®, DDC®, Series 60® and the spinning arrows design are registered trademarks of Detroit Diesel Corporation.
© Copyright 2010 Detroit Diesel Corporation. All rights reserved. Printed in U.S.A.

