Includes
Teacher’s Notes
and
Typical
Experiment Results
Instruction Manual and
Experiment Guide for
the PASCO scientific
Model SE-9638
012-03471E
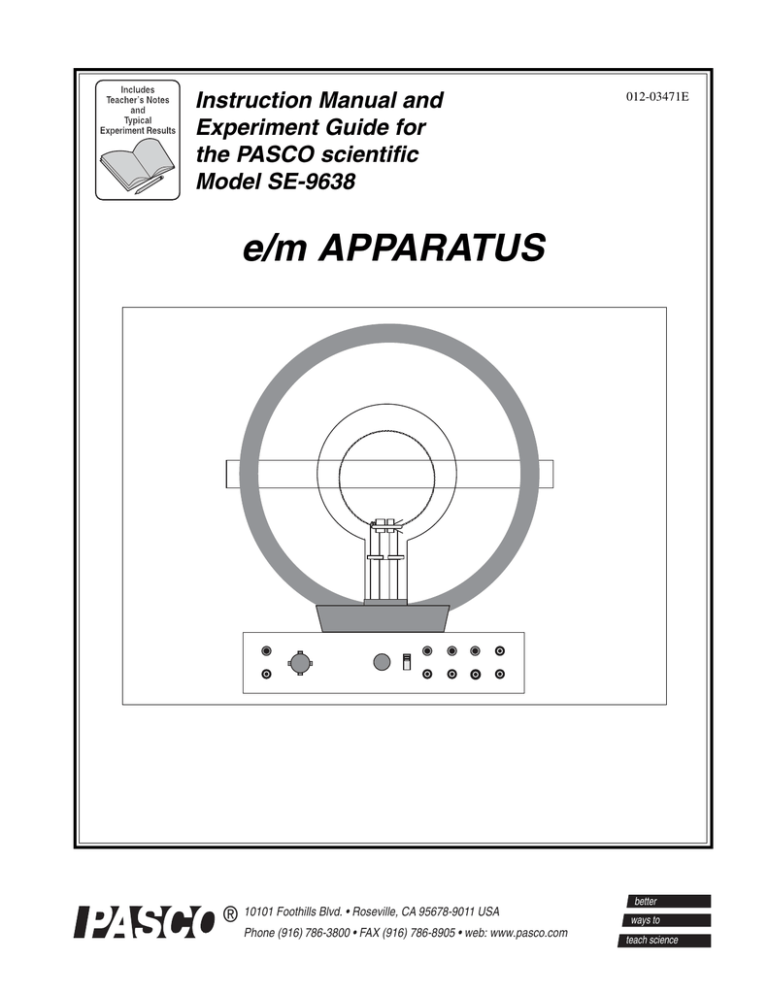
e/m APPARATUS
® 10101 Foothills Blvd. Roseville, CA 95678-9011 USA
Phone (916) 786-3800 FAX (916) 786-8905 web: www.pasco.com
better
ways to
teach science
e/m Apparatus
012-03471E
Discard This Page
®
012-03471D
e/m Apparatus
Table of Contents
Section
Page
Copyright, Warranty, and Equipment Return ................................................... ii
Introduction ...................................................................................................... 1
Equipment ......................................................................................................... 1
Operation
Measuring e/m ...................................................................................... 2
Analysis of e/m Measurement .............................................................. 3
Deflections of Electrons in an Electric Field ........................................ 4
Two Simple Demonstrations ................................................................ 4
Diagram of Connections ................................................................................... 5
Improving Experimental Results ...................................................................... 6
i
e/m Apparatus
012-03471E
Copyright and Warranty
Please—Feel free to duplicate this manual
subject to the copyright restrictions below.
Copyright Notice
will repair or replace, at its option, any part of the product
which is deemed to be defective in material or workmanship. This warranty does not cover damage to the product
caused by abuse or improper use. Determination of whether
a product failure is the result of a manufacturing defect or
improper use by the customer shall be made solely by
PASCO scientific. Responsibility for the return of equipment for warranty repair belongs to the customer. Equipment must be properly packed to prevent damage and
shipped postage or freight prepaid. (Damage caused by
improper packing of the equipment for return shipment will
not be covered by the warranty.) Shipping costs for
returning the equipment, after repair, will be paid by
PASCO scientific.
The PASCO scientific Model SE-9638 e/m Apparatus
manual is copyrighted and all rights reserved. However,
permission is granted to non-profit educational institutions
for reproduction of any part of this manual providing the
reproductions are used only for their laboratories and are not
sold for profit. Reproduction under any other circumstances, without the written consent of PASCO scientific, is
prohibited.
Limited Warranty
PASCO scientific warrants this product to be free from
defects in materials and workmanship for a period of one
year from the date of shipment to the customer. PASCO
Equipment Return
Should this product have to be returned to PASCO scientific,
for whatever reason, notify PASCO scientific by letter or
phone BEFORE returning the product. Upon notification,
the return authorization and shipping instructions will be
promptly issued.
will not be damaged in shipment, observe the following
rules:
1. The carton must be strong enough for the item shipped.
NOTE: NO EQUIPMENT WILL BE ACCEPTED
FOR RETURN WITHOUT AN AUTHORIZATION.
When returning equipment for repair, the units must be
packed properly. Carriers will not accept responsibility for
damage caused by improper packing. To be certain the unit
ii
2.
Make certain there is at least two inches of packing
material between any point on the apparatus and the
inside walls of the carton.
3.
Make certain that the packing material can not shift in
the box, or become compressed, thus letting the
instrument come in contact with the edge of the box.
®
012-03471D
e/m Apparatus
Technical Support
Feed-Back
Contacting Technical Support
If you have any comments about this product or this
manual please let us know. If you have any suggestions on alternate experiments or find a problem in the
manual please tell us. PASCO appreciates any customer feed-back. Your input helps us evaluate and
improve our product.
Before you call the PASCO Technical Support staff it
would be helpful to prepare the following information:
To Reach PASCO
For Technical Support call us at 1-800-772-8700 (tollfree within the U.S.) or (916) 786-3800.
• If your problem is computer/software related, note:
Title and Revision Date of software.
Type of Computer (Make, Model, Speed).
Type of external Cables/Peripherals.
• If your problem is with the PASCO apparatus, note:
Title and Model number (usually listed on the label).
Approximate age of apparatus.
A detailed description of the problem/sequence of
events. (In case you can't call PASCO right away,
you won't lose valuable data.)
If possible, have the apparatus within reach when
calling. This makes descriptions of individual parts
much easier.
• If your problem relates to the instruction manual,
note:
Part number and Revision (listed by month and year
on the front cover).
Have the manual at hand to discuss your questions.
012-03471E
e/m Apparatus
Introduction
The PASCO Model SE-9638 e/m Apparatus provides a
simple method for measuring e/m, the charge to mass ratio
of the electron. The method is similar to that used by J.J.
Thomson in 1897. A beam of electrons is accelerated
through a known potential, so the velocity of the electrons is
known. A pair of Helmholtz coils produces a uniform and
measurable magnetic field at right angles to the electron
beam. This magnetic field deflects the electron beam in a
circular path. By measuring the accelerating potential (V),
the current to the Helholtz coils (I), and the radius of the
circular path of the electron beam (r), e/m is easily calculated: e/m = 2V/B2r2. (The calculations are explained in the
operation section of this manual.)
Helmholtz coils
Mirrored
scale
The e/m apparatus also has deflection plates that can be used
to demonstrate the effect of an electric field on the electron
beam. This can be used as a confirmation of the negative
charge of the electron, and also to demonstrate how an
oscilloscope works.
e/m tube
Controls
A unique feature of the e/m tube is that the socket rotates,
allowing the electron beam to be oriented at any angle (from
0-90 degrees) with respect to the magnetic field from the
Helmholtz coils. You can therefore rotate the tube and
examine the vector nature of the magnetic forces on moving
charged particles. Other experiments are also possible with
Figure 1 The e/m Apparatus
the e/m tube. For example, you can use a small permanent
magnet instead of the Helmholtz coils to investigate the
effect of a magnetic field on the electron beam.
Equipment
The e/m Tube⎛ The e/m tube (see Figure 2) is filled with
helium at a pressure of 10-2 mm Hg, and contains an electron
gun and deflection plates. The electron beam leaves a visible
trail in the tube, because some of the electrons collide with
helium atoms, which are excited and then radiate visible
light.
Helium Filled
Vacuum tube
Electron Gun
The electron gun is shown in Figure 3. The heater heats the
cathode, which emits electrons. The electrons are accelerated
by a potential applied between the cathode and the anode.
The grid is held positive with respect to the cathode and
negative with respect to the anode. It helps to focus the
electron beam.
Deflection Plates
CAUTION: The voltage to the heater of the
electron gun should NEVER exceed 6.3 volts,
unless noted otherwise on tube. Higher voltages
will burn out the filament and destroy the e/m tube.
®
Figure 2 e/m Tube
1
e/m Apparatus
012-03471E
The Helmholtz Coils—The geometry of Helmholtz coils—
the radius of the coils is equal to their separation—provides
a highly uniform magnetic field. The Helmholtz coils of the
e/m apparatus have a radius and separation of 15 cm. Each
coil has 130 turns. The magnetic field (B) produced by the
coils is proportional to the current through the coils (I) times
7.80 x 10⁻⁴ tesla/ampere [B (tesla) = (7.80 x 10⁻⁴) I].
Grid
Anode
Cathode
Heater
The Controls—The control panel of the e/m apparatus is
straightforward. All connections are labeled. The hook-ups
and operation are explained in the next section.
Deflection Plates
Figure 3 Electron Gun
Cloth Hood—The hood can be placed over the top of the e/
m apparatus so the experiment can be performed in a lighted
room.
6.3 VDC or VAC for filament
Mirrored Scale—A mirrored scale is attached to the back of
the rear Helmholtz coil. It is illuminated by lights that light
automatically when the heater of the electron gun is powered. By lining the electron beam up with its image in the
mirrored scale, you can measure the radius of the beam path
without parallax error.
150-300 VDC accelerating potential (PASCO
Model SF-9585 High Voltage Power Supply)
Meters:
Ammeter with 0-2 A range to measure current in
Helmholtz coils (such as the PASCO Model SB9624 Multimeter)
Additional Equipment Needed—
Voltmeter with 0-300 V range to measure accelerating potential (such as the PASCO Model SB-9624
Multimeter)
Power Supplies:
6-9 VDC @ 3 A (ripple < 1%) for Helholtz coils
(PASCO Model SF-9584 Low Voltage Power
Supply)
Operation
Measuring e/m
1.
If you will be working in a lighted room, place the
hood over the e/m apparatus.
2.
Flip the toggle switch up to the e/m MEASURE
position.
3.
Turn the current adjust knob for the Helmholtz coils
to the OFF position.
4.
Connect your power supplies and meters to the front
panel of the e/m apparatus, as shown in Figure 4.
5.
Adjust the power supplies to the following levels:
ELECTRON GUN
Heater:
6.
Slowly turn the current adjust knob for the Helmholtz
coils clockwise. Watch the ammeter and take care that
the current does not exceed 2 A.
7.
Wait ten minutes for the cathode to heat up. When it
does, you will see the electron beam emerge from the
electron gun and it will be curved by the field from the
Helmholtz coils. Check that the electron beam is
parallel to the Helmholtz coils. If it is not, turn the
tube until it is. Don’t take it out of its socket. As you
rotate the tube, the socket will turn.
8.
Carefully read the current to the Helmholtz coils from
your ammeter and the accelerating voltage from your
voltmeter. Record the values below.
6.3 (VAC or VDC) or as
noted on tube
Electrodes:
150 to 300 VDC
Helmholtz Coils:
6-9 VDC (ripple should be
less than 1%)
Current to Helmholtz coils = I =
Accelerating voltage = V =
9.
CAUTION: The voltage to the heater of the
electron gun should NEVER exceed 6.3 V, unless
noted otherwise on tube. Higher voltages will
burn out the filament and destroy the e/m tube.
2
Carefully measure the radius of the electron beam.
Look through the tube at the electron beam. To avoid
parallax errors, move your head to align the electron
beam with the reflection of the beam that you can see
®
012-03471E
e/m Apparatus
Current adjust knob
for Helmholtz coils
Focus knob
+
+
Upper
+
-
-
Lower
-
DC
Ammeter
(0-2 A)
-
Toggle Switch:
Up for e/m experiment,
Down when using deflection plates.
Voltmeter
(0-300
VDC)
+
+
-
-
Power Supply
(Heater
6.3 VDC or
VAC)
+
Power Supply
(Helmholtz
Coils 6-9 VDC,
ripple < 1%)
+
-
Power Supply
(Accelerating
Voltage
150-300 VDC)
Figure 4 Connections for e/m Experiment
on the mirrored scale. Measure the radius of the beam as you
see it on both sides of the scale, then average the results.
Record your result below.
e/m = v/Br
Therefore, in order to determine e/m, it is only necessary to
know the velocity of the electrons, the magnetic field
produced by the Helmholtz coils, and the radius of the
electron beam.
Electron Beam Radius = r =
The electrons are accelerated through the accelerating
potential V, gaining kinetic energy equal to their charge
times the accelerating potential. Therefore eV = 1/2 mv2.
The velocity of the electrons is therefore:
Analysis of e/m Measurement
The magnetic force (Fm) acting on a charged particle of
charge q moving with velocity v in a magnetic field (B) is
given by the equation Fm = qv X B, (where F, v, and B are
vectors and X is a vector cross product). Since the electron
beam in this experiment is perpendicular to the magnetic
field, the equation can be written in scalar form as:
Fm = evB
v = (2eV/m)1/2
B=
(1)
(5/4)3/2 a
(5)
A derivation for this formula can be found in most introductory texts on electricity and magnetism.
Equations 4 and 5 can be plugged into equation 3 to get a
final formula for e/m:
(2)
where m is the mass of the electron, v is its velocity, and r is
the radius of the circular motion. Since the only force acting
on the electrons is that caused by the magnetic field, Fm = Fc,
so equations 1 and 2 can be combined to give evB =
mv2/r or
®
[Nμ0] I
Helmholtz coils is given by the equation:
Since the electrons are moving in a circle, they must be
experiencing a centripetal force of magnitude
Fc = mv /r
(4)
The magnetic field produced near the axis of a pair of
where e is the charge of the electron.
2
(3)
e/m = v/Br = 2V (5/4)3 a2
(Nμ0Ir)2
3
e/m Apparatus
012-03471E
where:
2.
Apply the 6.3 (VDC or VAC), or voltage noted on tube,
to the HEATER and 150-300 VDC to the ELECTRODES of the ELECTRON GUN (the accelerating
potential). Wait ten minutes to warm up the cathode.
3.
When the electron beam appears, slowly increase the
voltage to the deflection plates from 0 V to
approxmately 50 VDC. Note the deflection of the
electron beam. Note that the beam is bent towards the
positively charged plate.
V = the accelerating potential
a = the radius of the Helmholtz coils
N = the number of turns on each Helmholtz coil = 130
μ0 = the permeability constant = 4þ x 10-7
I = the current through the Helmholtz coils
r = the radius of the electron beam path
Deflections of Electrons in an Electric
Field
Two Simple Demonstrations
1.
IMPORTANT: Do not leave the beam on for long
periods of time in this mode. The beam will
ultimately wear through the glass walls of the tube.
Instead of using the Helmholtz coils to bend the electron
beam, you can use a permanent magnet to show the
effect of a magnetic field on the electron beam. Just
provide the following power to the e/m apparatus:
HEATER: 6.3 (VAC or VDC), or voltage noted on tube
ELECTRON GUN ELECTRODES: 150- 300 VDC
When the electron beam appears, use your permanent
magnet to bend the beam.
You can use the deflection plates to demonstrate how the
electron beam is deflected in an electric field.
1.
2.
Setup the equipment as described above for measuring
e/m except:
a. Flip the toggle switch to ELECTRICAL DEFLECT.
b. Do not supply current to the Helmholtz coils.
c. Connect a 0-50 VDC power supply between the
banana plug connectors labeled DEFLECT PLATES
(UPPER and LOWER).
4
The socket for the e/m tube is designed so that the tube
can be rotated 90 degrees. The tube can therefore be
oriented so it is at any angle, from 0-90 degrees, with
respect to the magnetic field from the Helmholtz coils.
By setting up the equipment as for measuring e/m, you
can rotate the tube and study how the beam deflection is
affected.
®
012-03471E
e/m Apparatus
DC Ammeter
(0-2 A)
+ +
-
Helmholtz Coils
+
BLK
-
BLK
Power Supply
(6-9 VDC,
ripple < 1%)
-
5ý
Current Adjust
for Helmholtz Coils
Slide/Toggle Switch
(e/m MEASURE⁄ELECTRICAL DEFLECT)
Upper
Voltmeter
(0-300 VDC)
- +
YEL
Lower
WHT
+
ORG
WHT
YEL
e/m Tube
ORG
+
BLK
pin 11
+
RED
ORG
Focus Adjust
Variable
Resistor
150-300 VDC
pin 10
Anode
pin 6
Grid
15K
15W
Cathode
pin 2
Heater
5K
Heater
Voltage
-
BLK
BLK
pin 12
BLU
Power
Supply
Diagram of Connections for the
SE-9638 e/m Apparatus
®
5
Deflection
Plates
pin 1
e/m Apparatus
012-03471E
Improving Experimental Results
Measurement of e/m
Notes
1) The greatest source of error in this experiment is the velocity of the electrons. First, the non-uniformity of the
accelerating field caused by the hole in the anode causes the velocity of the electrons to be slightly less than
their theoretical value. Second, collisions with the helium atoms in the tube further rob the electrons of their
velocity. Since the equation for e/m is proportional to 1/r2, and r is proportional to v, experimental values for
e/m will be greatly affected by these two effects.
2) To minimize the error due to this lost electron velocity, measure radius to the outside of the beam path.
3) To minimize the relative effect of collisions, keep the accelerating voltage as high as possible. (Above 250V
for best results.) Note, however, that if the voltage is too high, the radius measurement will be distorted by
the curvature of the glass at the edge of the tube. Our best results were made with radii of less than 5cm.
1.6A
1.25
1.2
1
Best Voltage Range
at this current
1.15
1
1
1.1
1
1
1
1
1
1
1
1
1
1.05
1
1
100
150
200
250
300
1
1
350
400
Voltage
Error bars represent 1mm radius deviation
4) Your experimental values will be higher than theoretical, due to the fact that both major sources of error
cause the radius to be measured as smaller than it should be.
6
®

