Honeywell
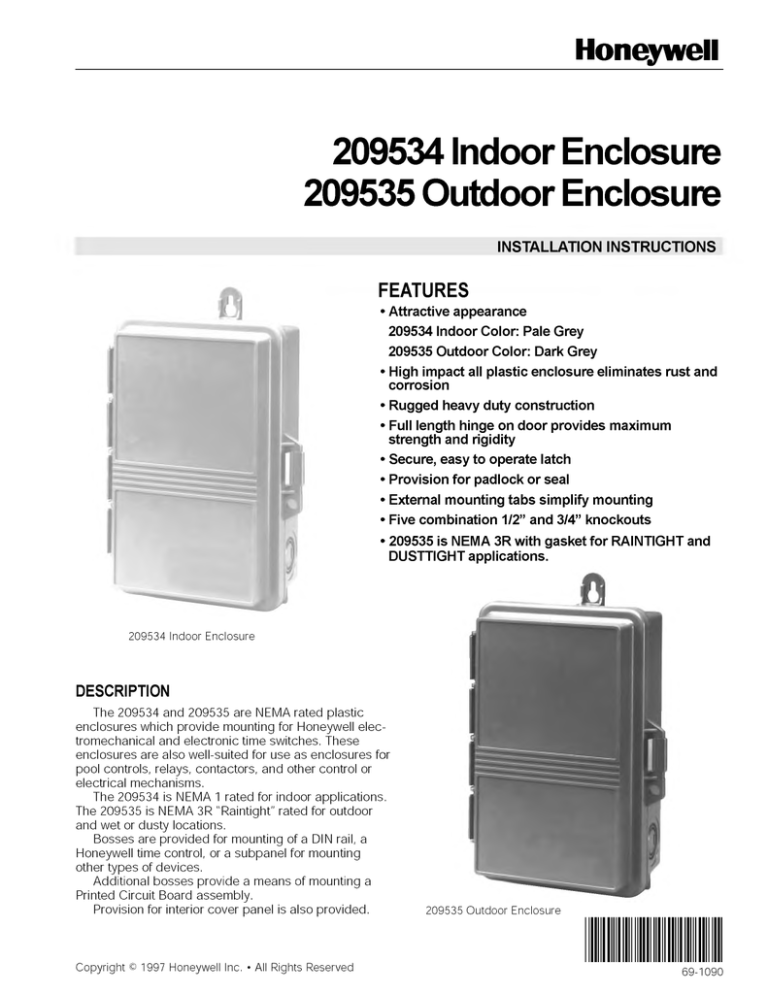
209534 Indoor Enclosure
209535 Outdoor Enclosure
INSTALLATION INSTRUCTIONS
FEATURES
• Attractive appearance
209534 Indoor Color: Pale Grey
209535 Outdoor Color: Dark Grey
• High impact all plastic enclosure eliminates rust and
corrosion
• Rugged heavy duty construction
• Full length hinge on door provides maximum
strength and rigidity
• Secure, easy to operate latch
• Provision for padlock or seal
• External mounting tabs simplify mounting
• Five combination 1/2” and 3/4” knockouts
• 209535 is NEMA 3R with gasket for RAINTIGHT and
DUSTTIGHT applications.
209534 Indoor Enclosure
DESCRIPTION
The 209534 and 209535 are NEMA rated plastic
enclosures which provide mounting for Honeywell elec­
tromechanical and electronic time switches. These
enclosures are also well-suited for use as enclosures for
pool controls, relays, contactors, and other control or
electrical mechanisms.
The 209534 is NEMA 1 rated for indoor applications.
The 209535 is NEMA 3R "Raintight" rated for outdoor
and wet or dusty locations.
Bosses are provided for mounting of a DIN rail, a
Honeywell time control, or a subpanel for mounting
other types of devices.
Additional bosses provide a means of mounting a
Printed Circuit Board assembly.
Provision for interior cover panel is also provided.
Copyright © 1997 Honeywell Inc. • All Rights Reserved
209535 Outdoor Enclosure
69-1090
209534, 209535 Enclosures
IN S T A L L A T IO N
NOTE: For outdoor locations, Raintight or wet location conduit
hubs that comply with requirements of UL 514B (standard for
fittings for conduit and outlet boxes) are to be used.
1. Mount Time Control within enclosure using the screws
provided. See Fig. 1.
2. Select knockouts to be used. Remove the inner (1/2")
knockout by inserting a screwdriver in the slot and carefully
punch knockout loose. Remove slug. If the 3/4" knockout is
required, remove the outer ring with pliers after removing the
1/2" knockout. Smooth edges with a knife if necessary.
3. Place enclosure in desired mounting location and mark
the three mounting holes.
4. Drill holes for #10 screws, start screws in holes.
5. Place enclosure over screws and tighten screws.
6. Connect conduit hubs to conduit before connecting the
hubs to the enclosure. After inserting hubs into enclosure,
carefully tighten hub lock nut. Do not overtorque.
7. Wire in accordance with National and Local Codes.
Honeywell Time Controls and this enclosure
are made of plastic construction and do not require a ground
connection. Also, they do not require bonding in pool applica­
tions.
G R O U N D IN G :
This enclosure does not provide grounding between conduits.
When using non-metallic conduit or cable, connect the
ground wires of all cables together with a wire nut. When
metallic conduit is used, use grounding type bushings and a
jumper wire between each conduit.
D IM E N S IO N S :
Overall, w/mounting tabs: 10" x 6.5" x 3.75" deep
Base exterior: 8" x 5" x 2.4" deep
Base interior: 7.5" x 4.5" x 2" deep
Door exterior: 8.7" x 5.5" x 1.4" deep
Weight: 1lb.
C
©
PRODUCT MOUNTING
Model
Use Holes
ST6008 A, B, C
ST7009 A, C
ST7009 B, D
4" DIN Rail
C
C
A
D
Use Screws
(3)
(3)
(2)
(2)
4-40 x 1/2"
4-40 x 1/2"
4-40 x 5/16
4-40 x 5/16
D
A
A
©
©
D
®
©
C
C
®
®
Honeywell
H o m e
a n d
B u ild in g
C o n tr o l
Honeywell Inc.
Honeywell Plaza
P.O. Box 524
Minneapolis, MN 55408-0524
69-1090
2-97
Printed in U.S.A.
H o m e
a n d
B u ild in g
C o n tro l
Honeywell Limited-Honeywell Limitée
155 Gordon Baker Road
North York, Ontario
M2H 2C9
Helping You Control Your World®

