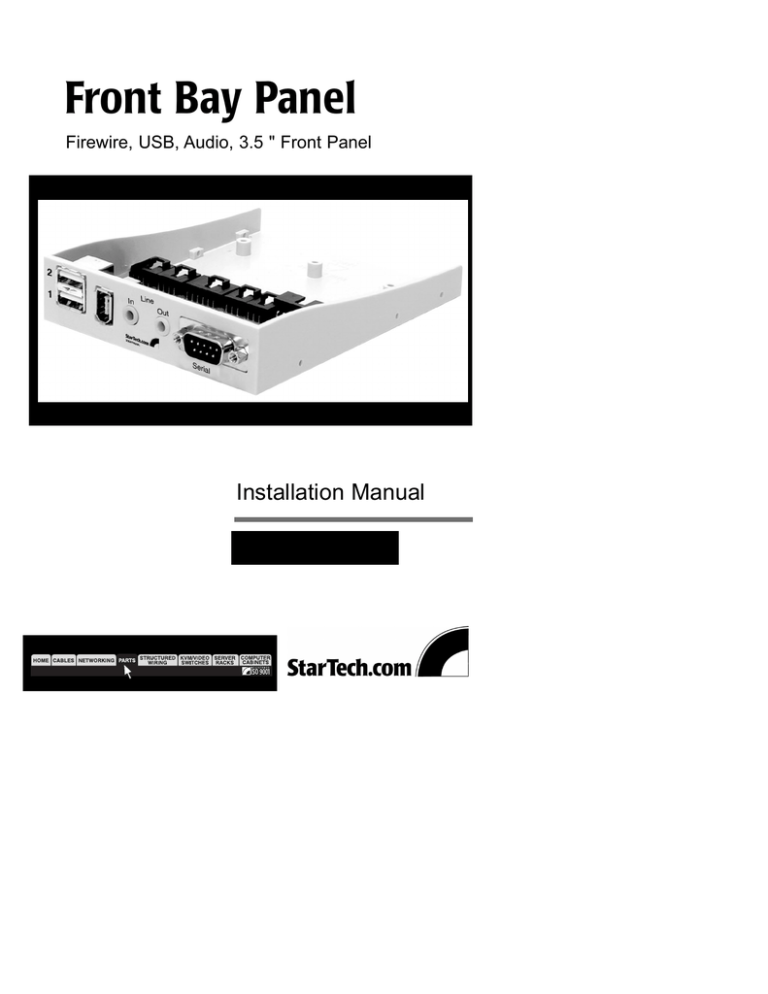
Front Bay Panel
advertisement

Front Bay Panel Firewire, USB, Audio, 3.5 " Front Panel Installation Manual 35BAYPANEL 1 Overview The StarTech.com 35BAYPANEL front insert enables the user to easily access the PC rear panel connectors. This 3.5" bay insert moves your Firewire, USB, Audio and RS232 serial ports to the front of the PC. Features • Eliminates the need to move your PC to gain rear access to ports, by moving them to the front. • This product may also be installed into a 5.25" bay using the StarTech.com BRACKETFD. • No software drivers required. • Connects USB devices such as USB Hubs, mice, keyboards, scanners, printers etc. • Connects IEEE 1394 devices such as DV camcorders, hard drives, CD-ROMs, CD-RWs, etc. • Connects audio sources (line-out from TV, VCR, microphone, etc). • Connects audio speakers. • Connects serial devices such as modems, TAs, digital cameras, serial cables, etc. Getting Started This section is designed to help you prepare the 35BAYPANEL for installation. Please read through this section carefully before attempting to install the adapter. Unpacking the 35BAYPANEL This package should contain: 1 x Firewire, USB, Audio, 3.5 " Front Panel 2 x USB A type cables 1 x Audio-in cable 1 x Audio-out cable 1 x IEEE-1394 6-pin FireWire cable 1 x DB9 Serial cable 1 x Rear bay dented bracket 4 x Small screws (for panel) 4 x Medium screws (for cables) 3 x Plastic Cable holders 1 x Cable tie System Requirements • Windows 98SE, Windows 2000 or Windows ME • One 9-pin RS-232C D-Sub port • One IEEE-1394 FireWire port • Two Usb ports • One line-in port • One line-out port • One 3.5” front bay (or 5.25" bay using the StarTech.com BRACKETFD) 2 Installation 1. Make sure that your PC is turned off. 2. Remove the cover of your PC and the 3.5” front bay cover. 3. Insert the adapter into the open bay and secure it using the small screws provided. 4. Pass the cables from the controller unit throught the supplied rear bay bracket to outside of the case. 5. Pass the 9-pin serial cable through the bracket to the inside of the computer case. 6. Connect the cable to the socket labelled “COM 1” on the adapter. COM1 Audio Out In 1394 USB2 USB1 7. Connect the rest of the cable to their respective sockets and pass them through the Line-out Line-in or Mic COM 1 IEEE-1394 USB1 USB2 rear of the computer. Connect then to the adapter.. 8. Secure the supplied rear braket to the rear slot on the computer using the medium screws provided. 9. Make sure that all of the cable connections are secure. 10. Replace the your computer cover. 11. Power on your computer.


