INSTALLATION INSTRUCTION SHEET
advertisement

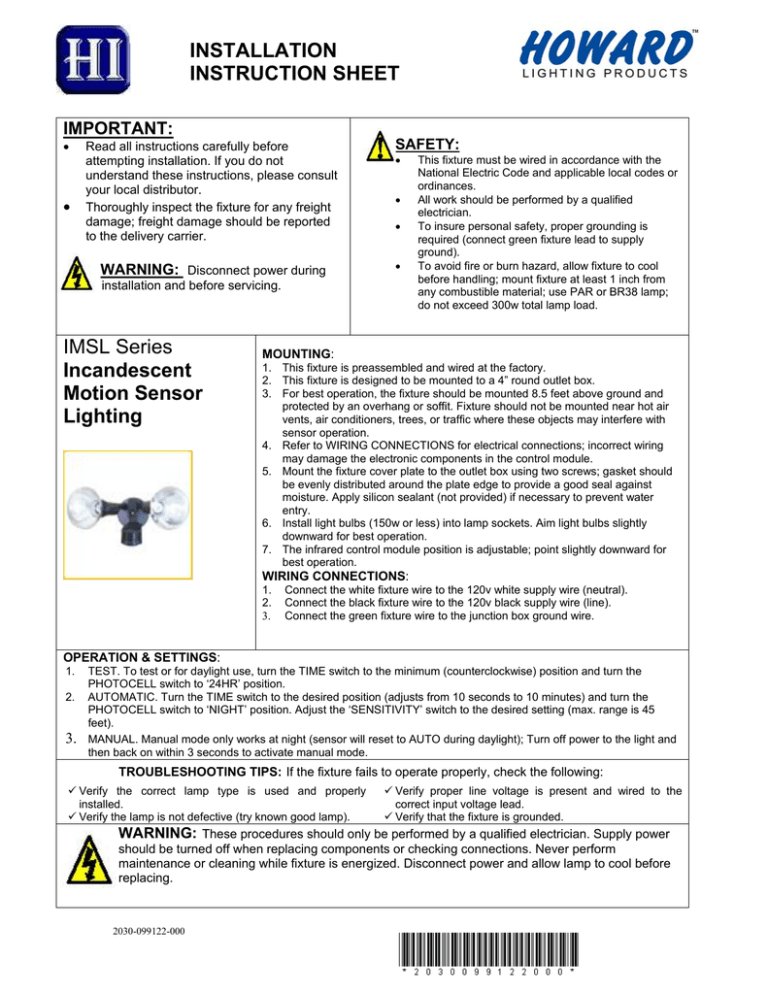
INSTALLATION INSTRUCTION SHEET IMPORTANT: • • Read all instructions carefully before attempting installation. If you do not understand these instructions, please consult your local distributor. Thoroughly inspect the fixture for any freight damage; freight damage should be reported to the delivery carrier. WARNING: Disconnect power during SAFETY: • • • • installation and before servicing. IMSL Series Incandescent Motion Sensor Lighting This fixture must be wired in accordance with the National Electric Code and applicable local codes or ordinances. All work should be performed by a qualified electrician. To insure personal safety, proper grounding is required (connect green fixture lead to supply ground). To avoid fire or burn hazard, allow fixture to cool before handling; mount fixture at least 1 inch from any combustible material; use PAR or BR38 lamp; do not exceed 300w total lamp load. MOUNTING: 1. This fixture is preassembled and wired at the factory. 2. This fixture is designed to be mounted to a 4” round outlet box. 3. For best operation, the fixture should be mounted 8.5 feet above ground and protected by an overhang or soffit. Fixture should not be mounted near hot air vents, air conditioners, trees, or traffic where these objects may interfere with sensor operation. 4. Refer to WIRING CONNECTIONS for electrical connections; incorrect wiring may damage the electronic components in the control module. 5. Mount the fixture cover plate to the outlet box using two screws; gasket should be evenly distributed around the plate edge to provide a good seal against moisture. Apply silicon sealant (not provided) if necessary to prevent water entry. 6. Install light bulbs (150w or less) into lamp sockets. Aim light bulbs slightly downward for best operation. 7. The infrared control module position is adjustable; point slightly downward for best operation. WIRING CONNECTIONS: 1. 2. 3. Connect the white fixture wire to the 120v white supply wire (neutral). Connect the black fixture wire to the 120v black supply wire (line). Connect the green fixture wire to the junction box ground wire. OPERATION & SETTINGS: 1. 2. 3. TEST. To test or for daylight use, turn the TIME switch to the minimum (counterclockwise) position and turn the PHOTOCELL switch to ‘24HR’ position. AUTOMATIC. Turn the TIME switch to the desired position (adjusts from 10 seconds to 10 minutes) and turn the PHOTOCELL switch to ‘NIGHT’ position. Adjust the ‘SENSITIVITY’ switch to the desired setting (max. range is 45 feet). MANUAL. Manual mode only works at night (sensor will reset to AUTO during daylight); Turn off power to the light and then back on within 3 seconds to activate manual mode. TROUBLESHOOTING TIPS: If the fixture fails to operate properly, check the following: Verify the correct lamp type is used and properly installed. Verify the lamp is not defective (try known good lamp). Verify proper line voltage is present and wired to the correct input voltage lead. Verify that the fixture is grounded. WARNING: These procedures should only be performed by a qualified electrician. Supply power should be turned off when replacing components or checking connections. Never perform maintenance or cleaning while fixture is energized. Disconnect power and allow lamp to cool before replacing. 2030-099122-000 INFRARED MOTION SENSOR INSTALLATION & OPERATING INSTRUCTIONS VOLTAGE: 120V AC, 60Hz LAMPLOAD: MAX. 300W DETECTION ANGLE: 180° DETECTION RANGE: 45 Ft. MOUNTING HEIGHT: 8 Ft. Wall Mount Approx. LUX SETTING: Night time operating only BULB LAMPHOLDER COVER PLATE ELECTRICAL CONNECTION DIAGRAM WHITE WHITE 120 VOLT 60 HZ LAMP WHITE LAMP BLACK RED WIRE BLACK SET UP TEST BLACK DETECTION RANGE SIDE VIEW: To test or to use this motion sensor light fixture during daytime, turn the TIME switch to the MIN position, and turn the Photocell switch to 24HR position. AUTO OPERATIONS Turn the TIME switch to 1-5-10 position, and turn the Photocell switch to NIGHT position. This fixture will be operated from dusk to dawn and turned off during daytime automatically. 8FT 0 10FT INSTALLATION: Before attempting to install unit, ensure power to outlet box is off. 1. This fixture comes fully assembled and wired from factory. 2. The fixture is intended to be mounted to a 4” round outlet box. 3. Refer to the diagram for electrical connections. Wiring the unit incorrectly may damage the electronic components inside the control module. 4. Mount the assembled unit to the outlet box using two screws. Gasket should be evenly distributed around edge to ensure proper seal against moisture and dampness. Install light bulbs in lampholders. 5. Restore electrical power and follow steps for “set up” MOTION SENSOR WHITE Approx. TIME ON: 7 seconds to 10 minutes (approx.) MANUAL OVERRIDE: OFF/ON within 3 seconds 20FT 45FT SENSITIVITY Adjust the SENSITIVITY knob to desired sensitivity level. The maximum detection range is 45 feet approximately. DETECTION RANGE TOP VIEW: MANUAL MODE 180° 45FT Manual mode only works at night, daylight returns the sensor to AUTO. Turn off the light, then back on within 3 seconds, then the lighting will be on all the night. NOTE: Make sure the fixture is not placed near hot air vents, air conditioners, trees, or where traffic or other large, light-coloured objects might interfere with its operation.


