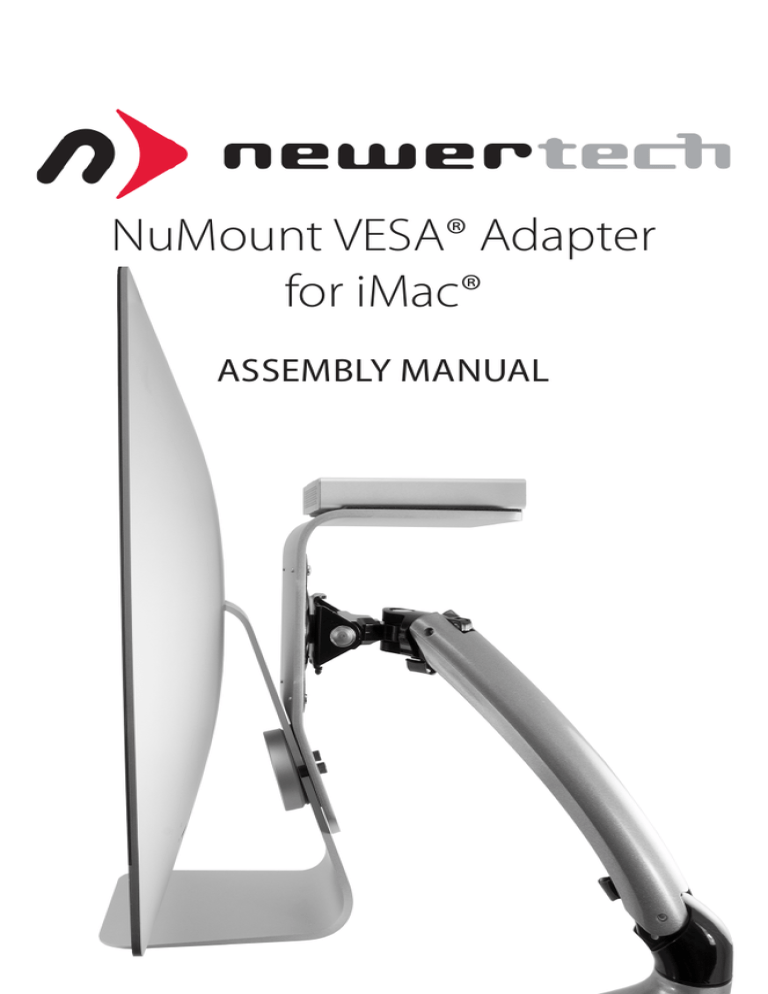
NuMount VESA® Adapter
for iMac®
ASSEMBLY MANUAL
TABLE OF CONTENTS
1. INTRODUCTION............................................................................................1
1.1 COMPATIBILITY
1.2 PACKAGE CONTENTS
1.3 ABOUT THIS MANUAL
2. ASSEMBLY & SETUP.....................................................................................2
2.1 ATTACHING THE ADAPTER TO YOUR IMAC
2.2 ATTACHING THE ADAPTER TO A VESA MOUNT
2.3 USING THE SHELF
3. APPENDIX.......................................................................................................5
3.1 VESA MOUNT WEIGHT LIMITS AND IMAC COMPATIBILITY
3.1.1 Shelf Weight Limits
3.2 TECHNICAL SUPPORT HOURS AND CONTACT INFORMATION
NUMOUNT VESA ADAPTER FOR IMAC
TABLE OF CONTENTS
INTRODUCTION
1.1 COMPATIBILITY
•Computer — Apple® iMac® 2007 or later, EXCEPT iMac models with 27” screens from
2009, 2010, and 2011 (see Section 3.1 for details and weight limits)
•VESA Mount — MIS-D (100 mm x 100 mm hole pattern)
1.2 PACKAGE CONTENTS
4
5
6
1
2
7
3
1.NuMount VESA adapter with shelf
2.(2) Shorter socket-head screws for aligning the NuMount VESA adapter
3.(2) Longer socket-head screws for attaching the clamp
4.Clamp for securing the NuMount VESA adapter to the iMac stand
5.Hex key for socket-head screws
6.(4) Phillips screws for attaching a VESA mount to the NuMount VESA adapter
7.Optional adhesive-backed rubber mat for the shelf
1.3 ABOUT THIS MANUAL
Images and descriptions may vary slightly between this manual and the unit shipped. Please
visit the product webpage for the most recent product specifications.
NUMOUNT VESA ADAPTER FOR IMAC
1
INTRODUCTION
ASSEMBLY & SETUP
2.1 ATTACHING THE ADAPTER TO YOUR IMAC
1.There are two sets of screw holes near the bottom of the NuMount VESA adapter. These
holes are used along with the shorter socket-head screws to align the NuMount VESA
adapter in the correct location on the iMac stand and to prevent the adapter from rotating.
As shown in the pictures below, the outside holes are used for iMacs with 24” screens
and larger. The inside holes are used for iMacs with screen sizes smaller than 24”. Use the
included hex key to install the shorter socket-head screws in the holes appropriate for
your iMac, with the screw heads on the side of the adapter with the rubber O-ring (these
instructions use a 21.5” iMac, so the following pictures will show the screws installed in
the inner holes).
Under 24” Screen
24” Screen and Larger
2.Place the NuMount VESA adapter on the iMac stand as shown in the picture below, with
the screw heads facing the iMac. Bring the adapter flush with the iMac stand and then
lower the adapter until the edges of the iMac stand (represented by the dashed red lines)
contact the two screws you installed in step 1. The hole in the middle of the NuMount
VESA adapter should line up with the hole in the iMac stand. If the holes do not line up,
you may have installed the screws incorrectly in step 1.
NUMOUNT VESA ADAPTER FOR IMAC
2
ASSEMBLY & SETUP
3.Use the clamp to secure the NuMount VESA adapter to the iMac stand. Place the clamp
in the hole in the iMac stand with the rubber O-ring on the clamp facing the adapter.
Line up the screw holes in the clamp with the screw holes in the adapter and use the
included hex key and the longer socket-head screws to fasten the clamp to the adapter.
The following set of pictures shows this process from the front, side, and rear respectively.
NUMOUNT VESA ADAPTER FOR IMAC
3
ASSEMBLY & SETUP
2.2 ATTACHING THE ADAPTER TO A VESA MOUNT
The NuMount VESA adapter is compatible with VESA mounts complying with VESA
Mounting Interface Standard (MIS) part D with a 100 mm x 100 mm mounting hole pattern.
Four Phillips screws are supplied for attaching a compatible VESA mount to the NuMount
VESA adapter (Phillips screwdriver not included).
Use the included Phillips screws to attach the VESA mount to the NuMount VESA adapter.
The outer set of screw holes in a MIS-D VESA mount will line up with the screw holes in the
NuMount VESA adapter. In the following picture the NuMount VESA adapter is attached to
the NewerTech NuMount Pivot.
2.3 USING THE SHELF
The NuMount VESA adapter for iMac includes a shelf that can be used to hold a variety
of items behind your iMac. The shelf is especially useful for external hard drives or other
peripheral devices that need to be connected to your computer. The shelf is 4.5 in. x 5.75 in.,
and an optional rubber mat is included if you wish to add it to the shelf. Simply remove the
adhesive backing from the mat and apply the mat to the shelf.
NUMOUNT VESA ADAPTER FOR IMAC
4
ASSEMBLY & SETUP
APPENDIX
3.1 VESA MOUNT WEIGHT LIMITS AND IMAC COMPATIBILITY
The weight limit specified by VESA for MIS-D mounts is 14 kg (30.8 lb). Including the extra
weight of the NuMount VESA adapter (2.5 lb), all iMac models from 2007 or later meet that
weight requirement except for the following:
• iMac10,1 and iMac 11,1 (27” late 2009)
• iMac11,3 (27” mid 2010)
• iMac12,2 (27” mid 2011)
For this reason it is NOT RECOMMENDED to use the NuMount VESA adapter with 27”
iMacs from 2009 to 2011.
3.1.1 Shelf Weight Limits
Be careful not to overload the shelf. Consult the following chart for information on
how much weight can be added to the shelf before the total weight meets the limit of
the VESA mount.
Shelf Capacity (lb)
iMac Models
15
15.8
iMac13,1 (21.5” late 2012); iMac13,1 (21.5” early
2013); iMac14,1 (21.5” late 2013); iMac14,3 (21.5”
late 2013); iMac14,4 (21.5” mid 2014)
22.5
8.3
iMac7,1 (20” mid 2007); iMac8,1 (20” early 2008);
iMac9.1 (20” 2009)
23
7.8
iMac10,1 (21.5” late 2009); iMac11,2 (21.5” mid
2010); iMac12,1 (21.5” 2011)
23.5
7.3
iMac13,2 (27” late 2012); iMac14,2 (27” late 2013);
iMac15,1 (Retina 5K, 27” late 2014)
27.9
2.9
iMac7,1 (24” mid 2007); iMac8,1 (24” early 2008);
iMac9,1 (24” early 2009)
33
-2.2
iMac10,1 (27” late 2009); iMac11,1 (27” late 2009);
iMac11,3 (27” mid 2010); iMac12,2 (27” mid 2011)
Total Weight (lb)
3.2 TECHNICAL SUPPORT HOURS AND CONTACT INFORMATION
8AM - 8PM (CT) Monday - Friday
9AM - 4PM (CT) Saturday
Telephone:
(800) 275-4576 (North America)
+1 (815) 338-8685 (International)
NUMOUNT VESA ADAPTER FOR IMAC
Live Chat:
www.newertech.com/support
Email:
www.newertech.com/support
5
APPENDIX
Changes:
The material in this document is for information purposes only and subject to change without notice.
While reasonable efforts have been made in the preparation of this document to assure its accuracy,
Other World Computing and its officers and employees assume no liability resulting from errors
or omissions in this document, or from the use of the information contained herein. Other World
Computing reserves the right to make changes or revisions in the product design or the product
manual without reservation and without obligation to notify any person of such revisions and changes.
Warning! Modifications not authorized by the manufacturer may void the user’s authority to
operate this device.
Health And Safety Precautions:
•Read this user guide carefully and follow the correct procedures when setting up the device.
•Do not attempt to disassemble or modify the device. If it appears to be malfunctioning, contact
Other World Computing technical support.
•Never expose your computer to rain, or use it near water or in damp or wet conditions. Never place
objects containing liquids on the shelf, as they may spill into the computer. Doing so increases the
risk of electrical shock, short-circuiting, fire or personal injury.
General Use Precautions:
•To avoid damage, do not expose your computer to temperatures outside the range of 5° C to 40° C
(41° F to 104° F).
•Always unplug your computer from the electrical outlet if there is a risk of lightning or if it will be
unused for an extended period of time. Otherwise, there is an increased risk of electrical shock, shortcircuiting or fire.
•Do not place your computer near sources of magnetic interference, such as computer displays,
televisions or speakers. Magnetic interference can affect the operation and stability of hard drives.
•Do not exceed the stated weight limit of the device.
•Protect your device from excessive exposure to dust during use or storage. Dust can build up inside
the computer and any objects stored on the shelf, increasing the risk of damage or malfunction.
•Do not block any ventilation openings on your computer. These help to keep the computer cool
during operation. Blocking the ventilation openings may cause damage to the computer and cause
an increased risk of short-circuiting or fire.
•For up-to-date product and warranty information, please visit the product webpage.
Copyrights and Trademarks:
© 2015 Newer Technology, Inc. All rights reserved. No part of this publication may be reproduced,
stored in a retrieval system, or transmitted in any form or by any means, electronic, mechanical,
photocopying, recording or otherwise, without the prior written consent of Newer Technology.
NewerTech, Newer Technology and the Newer Technology arrow logo are trademarks of New
Concepts Development Corporation, registered in the U.S. Patent and Trademark Office and in
Canada. Apple and iMac are trademarks of Apple Inc., registered in the U.S. and other countries. VESA
is a registered trademark of the Video Electronics Standards Association. Other marks may be the
trademark or registered trademark property of their owners.
R2 01/16/15 SL
®
NWTMANNUMNTIMVS
Copyright 2015 NewerTech. All Rights Reserved. NewerTech’s
Limited Warranty is not transferable and subject to limitations.


