User's Guide
Built with Anthro-DNA™
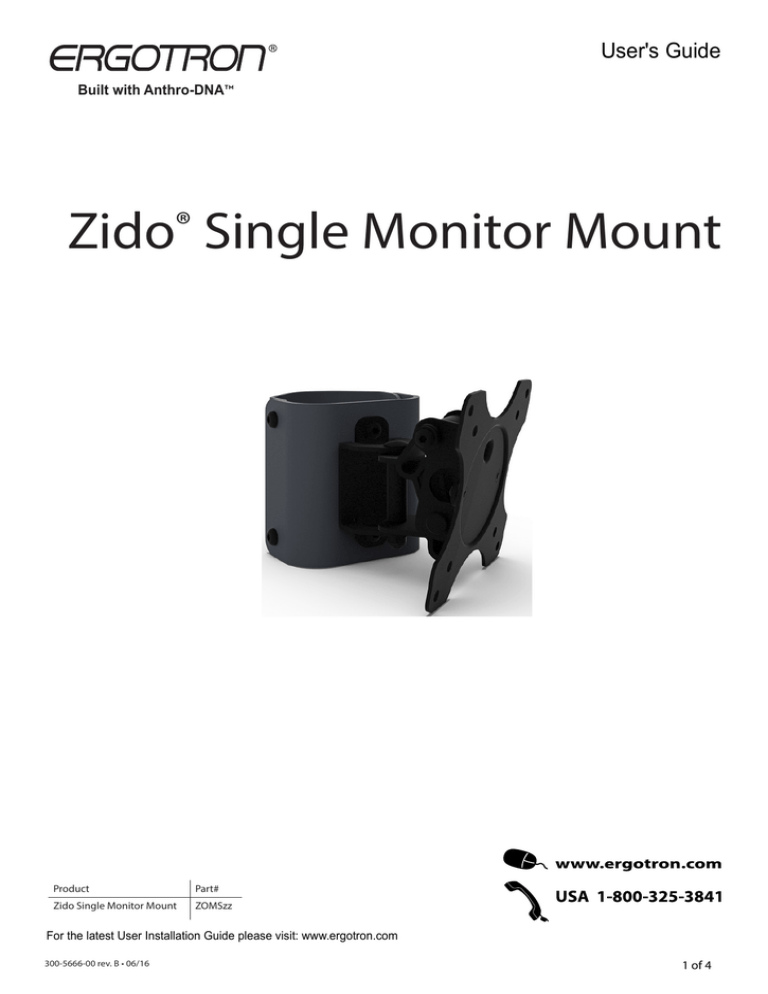
Zido® Single Monitor Mount
Product
Part#
Zido Single Monitor Mount
ZOMSzz
For the latest User Installation Guide please visit: www.ergotron.com
300-5666-00 rev. B • 06/16
1 of 4
07
06
03
05
01
04
02
TO O L S
PA R T S L I S T
A 5/32" hex driver (provided with
your Zido Cart) is required for this
assembly.
Before beginning assembly of your Zido Single Monitor
Mount, please review the parts list to verify that your
shipment is complete.
Zido Pole Flat Panel Mount, Single
Quantity
Part Number
01 Outer Bracket
1
225-2661-00
02 Inner Bracket
1
225-2980-00
03 1/4-20 x 1/2" Button Head Screw
4
325-5003-00
04 #10-24 x1/2" Self-threading Screw
2
325-5464-00
05 OmniMount Small Tilt/Pan Mount
1
835-5764-00
06 M6 x 12mm Button-head Screw
2
325-5757-00
07 OmniMount VESA Plate
1
697-915-00
08 Flat Pattern Hardware Kit (not shown)
M4 x 12mm Philips Head Screw
1
697-563-00
4
M-A
M5 x 12mm Philips Head Screw
4
M-B
(not needed in assembly)
M6 x 12mm Philips Head Screw 4
M-C
(not needed in assembly)
09 OmniMount Hardware Kit (not shown) 1
Security Allen Screw
Washer
Allen Wrench
2
2
697-878-00
P-C
P-D
Fastener quantities listed are the minimum needed for your assembly. Your shipment may contain a few extras.
2 of 4
300-5666-00 rev. B • 06/16
STEP 1
Attach the VESA plate to your monitor
Place the VESA bracket in position on the back of the monitor. Attach
using four M4 x 12MM Screws (part #M-A) provided in the plastic bag. The
VESA bracket accommodates 75mm and 100mm hole patterns. For this
installation, you may also use the screws that came with your monitor.
STEP 2
A.
Assemble the Brackets
Outer Hole
Align the Tilt/Pan Mount with the 2 outer holes that are directly above and
below the 6 small holes in the center of the outer bracket. Secure using 2
M6 x 12mm Button-head Screws using the 5/32" hex key. (A)
Slide the inner bracket into the outer bracket so that the holes on each side
align. Using the 5/32” hex key, secure with 4 1/4-20 x 1/2" Button-head
Screws. (B)
M6 x 12mm Button-hd Screw
325-5757-00
1/4-20 x1/2” Button-hd Screw
325-5003-00
M6 x 12MM Screws
B.
1/4-20 X 1/2"
Button-head
Screws
STEP 3
Top of assembly
Install the Brackets and the Monitor
A.
Slip the bracket assembly over the top of the Zido tube, with the assembly
facing the front of the cart. Be sure the assembly is installed right side up,
with the curved slot being at the top of the assembly (A). Secure with 2 selfthreading screws. (B).
Note: These fasteners are creating the threads in the tube, so the first few turns will require
some force.
Curved Slot
B.
Lift the monitor into place in front of the Tilt/Pan Mount. Slide the VESA
bracket into the curved slot in the Tilt/Pan Mount.
Secure the monitor to the Tilt/Pan Mount using 2 Security Allen Screws (part
# P-C) using the Allen Wrench (part #P-E), making sure to place a washer
(part #P-D) between the screw and the VESA plate.
To adjust the position of the monitor, loosen the knob on the side of the
Tilt/Pan Mount to adjust and tighten again when the monitor is in the
desired position.
Knob
Knob
Self-threading Screws
Self-threading Screw
325-5464-00
CO N G R AT U L AT I O N S !
YO U R Z I D O S I N G L E M O N I TO R M O U N T A S S E M B LY I S CO M P L E T E !
300-5666-00 rev. B • 06/16
3 of 4
For Warranty visit: www.ergotron.com/warranty
For Service visit: www.ergotron.com
For local customer care phone numbers visit: http://contact.ergotron.com
© 2016 Ergotron, Inc. All rights reserved.
All trademarks are the property of their respective companies. Anthro is a registered trademark and brand of Ergotron Inc.
Anthro-DNA is a trademark of Ergotron Inc., Ergotron Inc. is a Nortek company.
4 of 4
300-5666-00 rev. B • 06/16


