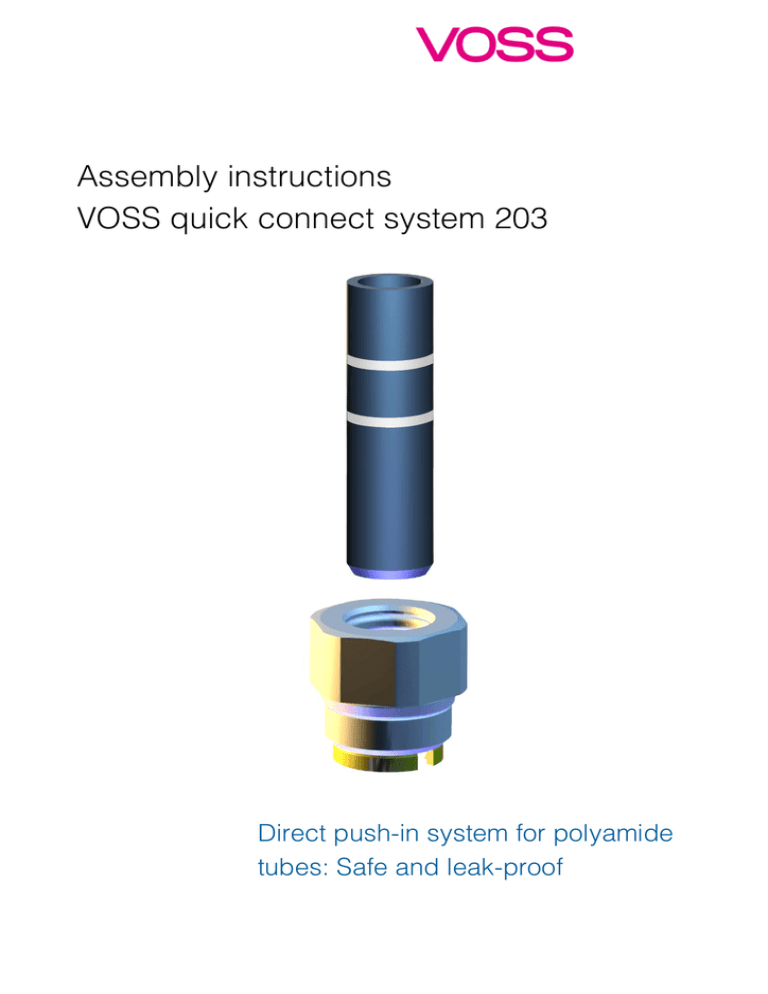
Assembly instructions
VOSS quick connect system 203
Direct push-in system for polyamide
tubes: Safe and leak-proof
A. Important notices
Please observe before using the quick connect system
VOSS quick connect system 203 is suitable for the following vehicle applications:
auxiliary pneumatic systems, fuel systems, central lubrication systems, air suspensions.
Different applications will require different O-ring materials (see table 2).
Temperature range from -40 °C to +100 °C, special variants up to +125 °C (see table 2)
Maximum operating pressure 13 bar, the compressive strength of the polyamide tube
has to be observed.
When using the quick connect system in other applications, suggestions available upon
request.
Please observe during the assembly of the quick connect system
!
The assembly of the quick connect system must be conducted by professional
mechanics subject to these assembly instructions.
!
Incorrectly assembled connections can result in fluid leakage and failure of the system.
!
VOSS quick connect system 203 may only be used with tubes made of materials
described in chapter B.6. (components and materials).
System properties
VOSS quick connect system 203 permits direct, rapid and safe connections of polyamide tubes to system components made of different materials, or as a connection in
valves, manifolds and multi-connectors.
The only tool required for disconnection is a wrench (see wrench sizes in tables 3+4 in
section C.2.).
The integral variant of VOSS quick connect system 203 (“assy”) features a particularly
space-saving construction, making it useful in tight installation spaces.
Different variants can be distinguished by color markings.
Assembly instructions VOSS quick connect system 203, page 2 of 15
B. Components and materials
1. Tube dimensions and nominal sizes
System components (predominantly made of brass) are available for tube dimensions as
shown in table 1.
Tube dimensions
Nominal sizes (NS)
Thread sizes of the assy
4x1
4 x 0.85
4
M8x1
6x1
6 x 1.5
6
M 10 x 1
8x1
8 x 1.25
8
M 12 x 1
Table 1: Tube dimensions VOSS quick connect system 203
2. Range of application and sealing materials
The range of application depends to a great extent on the operating pressure, the thermal
range and the operating medium. This determines the type of sealing, which is adjusted to
match the operating conditions (see table 2).
Thermal
application
-40 °C to
125 °C
Sealing material
Medium
-40 °C to
100 °C
Compressed
air
■
■
Fuel acc. to
EN228, EN590,
EN14214
■
G: Thread seal
R: Tube seal
Hydraulic
oil
72NBR
60FPM
70EPDM
G
R
G
G
■
■
■
■
■
■
brown
■
■
■
■
■
■
R
none
■
■
R
Color dot
on the assy for
identification
■
red*
■
violet
green
■
Table 2: Range of application and sealing materials (identical for all nominal sizes)
Applications for other tube qualities, media, temperatures and pressures on request.
* NS 4 variant with groove (see also fig. 2)
Assembly instructions VOSS quick connect system 203, page 3 of 15
3. The assy: Integral variant of
VOSS quick connect system 203
With the integral variant a so-called assy is preassembled into a system specific profiled bore.
The assy mainly consists of the male fitting (pos. 5 in fig. 1) and the grip ring (pos. 6 in fig. 1).
Together with the PE/POM assembly plug (pos. 1 in fig. 1) these two parts form an assy that
can be screwed directly into a system component. Upon completion of the installation and
before inserting the tube the assembly plug is removed.
As a prerequisite for the use of the assy the bore in the system component must be designed
as a profiled bore (see section B.4.). The integral version features a particularly space-saving
construction and is particularly suitable for direct connection of tubes to valves, manifolds and
system components. The assy consists of the following parts:
(1) Assembly plug
(2) Dirt-protection O-ring (NBR)
(3) Tube-sealing O-ring
(4) Thread-sealing O-ring
(5) Male fitting
(6) Grip ring
Fig. 1: Components of the assy VOSS quick connect system 203 (left: NS 4, right: NS 8)
Functional description
● Without any tools the polyamide tube is inserted as far as it will go into the assy.
● The sealing of the inserted tube against the medium is made by an O-ring (pos. 3 in fig. 1).
● A second O-ring (pos. 2 in fig. 1) prevents the ingress of dirt from the environment.
● The grip ring (pos. 6 in fig. 1) holds the inserted tube in the connection. The grip ring
features two retaining edges on the inside which engage in the nylon tube after it is
inserted and pulled back.
Fig. 2: The assy quick connect system 203,
nominal sizes 4, 6 and 8
Assembly instructions VOSS quick connect system 203, page 4 of 15
4. Profiled bore for VOSS quick connect system 203
Today the system specific profiled bore is standard in automobile engineering and covers the
following functions of VOSS quick connect system 203 with its overall contour:
● Optimized thread sealing
● Reliable space for the grip ring
● Tube stop
The profiled bore is available in two different designs, especially adapted to the conditions of
the manufacturing process and the functional requirements.
● Version for metal housings mechanically manufactured by lathe turning or form drilling
(figs. 3-5)
● Version for nylon housings made of PA 66 GF 30-35 or PBT GF 30 with a specially
developed V-thread (optimized to maintain the initial tensile force over a long time) for
injection molding (figs. 6-8). Other materials on request.
On request we would gladly provide you with comprehensive design specifications for the
profiled bore.
Fig. 3: Profiled bore for
M 8 x 1 thread
Fig. 4: Profiled bore for
M 10 x 1 thread
Fig. 5: Profiled bore for
M 12 x 1 thread
Fig. 6: Profiled bore for
V 8 x 1 thread
Fig. 7: Profiled bore for
V 10 x 1 thread
Fig. 8: Profiled bore for
V 12 x 1 thread
Assembly instructions VOSS quick connect system 203, page 5 of 15
5. The socket variant of VOSS quick connect system
203
The socket variant of quick connect system 203 consists of a threaded socket with a threadsealing O-ring and an assy according to section B.4. The screwed end of the socket can be
connected to all system components with tapped bores according to DIN 3852. The socket
variant is delivered completely assembled.
Fig. 9 shows some socket variants. Other designs, manifolds, etc. can be found in our
catalogue or are available on request.
Fig. 9: Socket variants of VOSS quick connect system 203 (examples)
Assembly instructions VOSS quick connect system 203, page 6 of 15
6. Polyamide tubes
Polyamide tubes are in general use today in compressed air systems, fuel systems, central
lubrication systems and air suspension systems. Polyamide tubes are insensitive to corrosion,
vibration and torsional stress in vehicle bodywork. The following factors are essential for their
functional reliability:
!
Correct material and proper handling
!
Appropriate connection fittings
!
Correct assembly
Depending on the application, the following polyamide tubes may be applied to quick connect
system 203:
PA 11 – PHL
PA 12 – PHL
PA 11 – PHLY
PA 12 – PHLY
Other materials on request.
The properties of polyamide tubes and details of its use in vehicles are defined in the following
standards:
DIN 73 378
Polyamide tubing for motor vehicles
DIN 74 324 Part 1
Air brake systems – Thermoplastics tubing, requirements and tests
ISO 7628
Road vehicles – Thermoplastics tubing for air braking systems
Assembly instructions VOSS quick connect system 203, page 7 of 15
C. Assembly instructions
Use of arrow symbols in pictures:
Indicates required manual actions and their direction.
1. Cutting the polyamide tube to length
!
The tube must be cut at a right angle.
!
The tube must not be cut using a saw, as this causes burring. Burring reduces the
sealing ability of the connection.
!
The surface of the push-in section of the tube must be undamaged and clean.
When cutting the nylon tubes to length, we recommend using the VOSS cutting pliers (see
fig. 10). Using the VOSS cutting pliers will ensure that the tube is cut cleanly and at a right
angle. Subsequent treatment of the cut surface, such as deburring, is then no longer
necessary. We recommend chamfering the tube in order to reduce or balance push-in forces.
Fig. 10: VOSS cutting pliers for polyamide tubes
Assembly instructions VOSS quick connect system 203, page 8 of 15
2. Assembly of the assy
Step1
Check the connecting bore.
!
To ensure functional reliability, the connecting bore
must be cleaned thoroughly before assembly. In
particular sticking paint residues in sealing chamfer
and front face areas must be removed. Furthermore
the right angle of the thread to the contact face of the
assy must be assured.
Fig. 11: Clean and correct connecting bores
Step 2
Place the assy at right angles and centered.
!
When screwing in make sure that the grip ring is not
sitting on the thread.
Fig. 12: Positioning the assy at right angles
Step 3
Screw in the assy manually.
!
The first two thread pitches must be screwed centrally
into the bore without applying pressure.
Turn in at least two revolutions manually!
Fig. 13: Screwing in the assy manually
Assembly instructions VOSS quick connect system 203, page 9 of 15
Step 4
Tighten the assy with a torque wrench.
!
Tightening torques for the corresponding sizes and
material combinations can be taken from tables 3+4.
!
Conventional sockets do not fit over the assembly plug.
!
The assembly plug must not be pulled out of the assy
before the specified torque has been reached.
Fig. 14: Tightening with a torque wrench
Tightening torques in metal materials with a
minimum tensile strength of 220 N/mm²
Thread
sizes
Nominal size
NS
Across flats
SW
Tightening
torque
Nm
M8x1
4
10
5+1 Nm
M 10 x 1
6
12
5+1 Nm
M 12 x 1
8
14
7+1 Nm
Table 3: Tightening torques in metal materials
Fig. 15: Tightened assy
Tightening torques in nylon materials
PA 66 GF 30-35 and PBT GF 30 with V-thread
Thread
sizes
Nominal size
NS
Across flats
SW
Tightening
torque
Nm
V8x1
4
10
2+0.5 Nm
V 10 x 1
6
12
3+1 Nm
V 12 x 1
8
14
4+1 Nm
Table 4: Tightening torques in nylon materials
Assembly instructions VOSS quick connect system 203, page 10 of 15
Step 5
Pull out the assembly plug.
!
The assembly plug must be pulled straight (±10°) out
of the bore. The assembly plug can be re-inserted and
removed several times.
Fig. 16: Pulling out the assembly plug
Protective plug
VOSS recommends replacing the assembly plug by a protective plug (fig. 17) after the first
removal of the assembly plug. Protective plugs can be purchased from VOSS separately.
!
In case of repeated assembly and disassembly it should be insured that dirt particles
cannot get into the assy by grease sticking on the plug.
Fig. 17: Protective plug, NS 4 (blue), NS 6 (yellow)
Fig. 18: Assy with protective plug NS 6
Assembly instructions VOSS quick connect system 203, page 11 of 15
3. Fitting the polyamide tube into the assy
Step 1
Push the polyamide tube without tools into the assy as far as it
will go.
!
Mind the push-in depth when pushing the polyamide
tube into the assy. See figs. 19+20 regarding push-in
depth, tube markings and tube bead.
!
After the complete push-in process the lower marking
must not be visible.
Figs. 19+20: Pushing-in the polyamide tube
Fig. 21: Push-in depths and dimensions NS 4 and NS 6
Fig. 22: Push-in depths and dimensions NS 8
Assembly instructions VOSS quick connect system 203, page 12 of 15
Step 2
Pull back the polyamide tube.
!
Pulling back the tube ensures that the retaining edges
of the grip ring engage into the polyamide tube.
Fig. 23: Pulling back the polyamide tube
4. Replacing a system component or a connection
The assy is unscrewed from the system component or the connection. Male fitting and grip ring
remain on the polyamide tube. Before reassembly the individual parts should be cleaned, as
required (see section C.2.).
!
Before disconnecting, the line must be free of pressure.
!
After disconnecting, the grip ring must not be moved up or down the tube.
For reassembly, the male fitting, the grip ring and the system line are screwed into the
connection or the system component and tightened with torques as specified in section C.2.
Fig. 24: Disconnected tube with assy
Assembly instructions VOSS quick connect system 203, page 13 of 15
5. Replacing a defective system line
The assy with grip ring and system line is screwed out of the component or the connection.
The defective system line is replaced completely with male fitting and grip ring.
A new assy is screwed into the system component or the connection, as specified in section
C.2. A new system line is pushed in as described in section C.3.
!
When replacing an unplugged assy, it must be assured that the loose grip ring is
removed from the profiled bore.
6. Leak test
If necessary, a leak or function test of the system component can be carried out by using a
male gauge as specified in the schematic diagram (fig. 23). On request we will gladly supply
you with implementing regulations for male gauges.
Fig. 23: Schematic diagram for a male gauge
Assembly instructions VOSS quick connect system 203, page 14 of 15
Customer service
Contact VOSS for questions
concerning quick connectors,
nylon tubes, line routing, etc.
Property rights
All rights reserved in regard
to patents, registered
designs, and trademarks.
Drawings of the VOSS quick
connect system 203 may not
be reproduced or made
accessible to third parties
without our prior consent.
Technical modifications and
Contact
VOSS Automotive GmbH
P. O. Box 15 40
51679 Wipperfürth
Leiersmühle 2-6
51688 Wipperfürth
Germany
Phone: +49 2267 63-0
Fax: +49 2267 63-5982
automotive@voss.net
www.voss.net
9177001202/201511 © VOSS Automotive GmbH 2015
errors excepted.


