2010-2013 Jeep Wrangler Vehicle Specific Kit Part#5332
advertisement
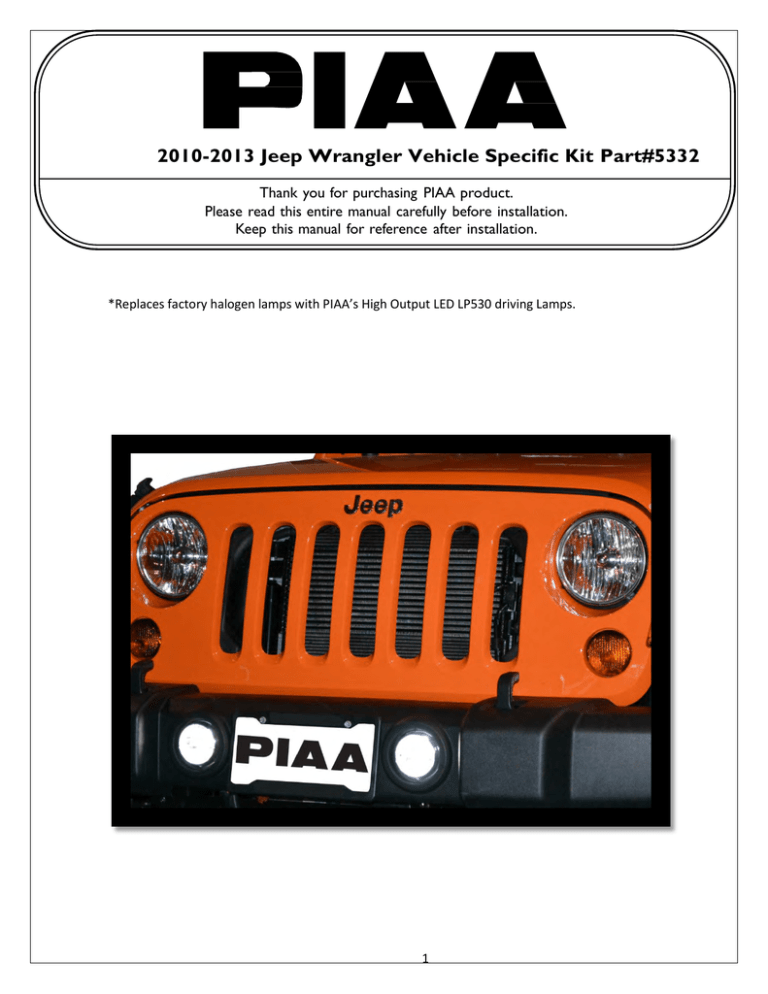
2010-2013 Jeep Wrangler Vehicle Specific Kit Part#5332 Thank you for purchasing PIAA product. Please read this entire manual carefully before installation. Keep this manual for reference after installation. *Replaces factory halogen lamps with PIAA’s High Output LED LP530 driving Lamps. 1 CONTENTS CONTENTS A. 530 LED Driving Lamps (2) B. Lamp Mounting Bracket (2) C. Wiring Harness (1) D. Hardware Pack (1) HARDWARE 1. ½” metal screw (8) 2. ½” Lock Washer (8) 3. ½” Washer (8) 4. Screws (4) 5. One-Touch Connector 6. Switch 7. 5” Wire Ties (5) WHAT YOU WILL NEED Ratchet with 15mm & 18mm socket Medium Philips Screw Driver Wire Cutters Medium Flat Head Screw Driver Other tools may be necessary for your installation. 2. LAMP INSTALLATION 1. Remove the stock PIAA bracket that comes on the LP530 LED’s with a screwdriver. Image #1 2. Use existing hardware and install new supplied Jeep bracket onto PIAA LP530 lamps. Make sure that portion of the bracket with two holes is at the top of the PIAA lamp.(note: at this time the lamp depth should be set. Notice the holes in the bracket are slotted for front to back movement. The lamp should be installed to the furthest forward point for best fitment but tolerances will vary on vehicles. Properly tighten the hardware to the lamps; you will be able to aim the lights by hand after wiring and installation.)Image #2 Figure 1 3. Remove the plastic push pins from the top bumper protector and the bottom plastic skid plate. Image #3 Figure 2 4. Use a 15mm socket to remove the 2 outer bolts on each side of the metal bumper brace (Image #4). Also remove the 8 inner bumper mount nuts using the 18mm socket, and remove the metal plates and unplug the factory fog lights and remove the bumper. 5. With the bumper removed from the Jeep you can now remove the metal brace and install the PIAA lamps. Using supplied hardware (1/2” metal screws ) install the lamps and brackets as shown. Make sure you install the bracket with the two holes towards the top of the bumper. *Do not over tighten the screws, as they are going into plastic. Image #5 Figure 3 6. When the lights are properly mounted into the bumper you can now re-install the metal bumper brace and bumper to the vehicle with the bolts you removed in step 4. Figure 4 7. Now you are ready to wire the lamps, see page 4. 8. After wiring you can now aim the lamps while they are in the bumper. In step 2 you should have tightly secure the lamps to the bracket but you can still adjust the lamps up and down slightly. Refer to page 5 for lamp aiming guide. Figure 5 3. WIRING DIAGRAM Black Ground (-) Switch LED Red=on / green=off White With Red Dots White Not Supplied By PIAA Main Power (+) Battery Wires from fuse box and relay must be pointing down Switch Power PIAA Supplied Connector 4. DRIVING LIGHT AIMING Visual aim is made with the center of the beam hot spot 1.5 inches below the lamp center at 25 feet with the lamp facing straight forward. (see below.) Do not use driving lights into oncoming traffic. Driving lights should never be the only foreword light source. Driving lights should only be used with the headlamp high beams. 5. PIAA LIMITED WARRANTY With the exception of bulbs, PIAA Corporation, USA ("PIAA") warrants its products to be free from defects in workmanship and materials under normal use for as long as the original purchaser owns them. EXCLUSIONS improper installation, unauthorized repairs, submersion, theft, vehicle crash, or by any other type of impact. Except for the Limited Warranty stated above, there are no warranties of PIAA products or any part thereof, whether express or implied. Any implied warranty of merchantability or any warranty of fitness for a particular purpose is expressly disclaimed. Some states do not permit the disclaimer of implied warranties. LENS CRACKS Crash or impact damage is not covered. This can be determined by a chip or scrape on the lens or the housing. Stress cracks sometimes occur when the lens is subjected to sudden and extreme temperature changes. A stress crack has no chip or other sign of impact. Stress cracks are covered under warranty. EXCLUSION OF DAMAGES In no event shall PIAA be liable for any damages whatsoever (including, without limitation, consequential damages, incidental damages, or damages for loss of use, loss of business profits, business interruption, loss of business information, loss of time, inconvenience, or other losses) arising out of the use, misuse, or inability to use a PIAA product. PIAA reserves the right to change the design its products without any obligation to modify any previous product.This warranty gives you specific legal rights. You may also have other rights that vary from state to state. REPAIR AND REPLACEMENT If a PIAA product is suspected of being defective, it must be submitted freight prepaid, to either an authorized dealer or distributor for warranty inspection. The receipt or other proof of purchase and a description of the problem must be included. The returned product will be inspected. If the product is found to be defective and covered by this Limited Warranty, the sole remedy is repair or replacement, at PIAA's option. A repaired or replacement product will be shipped back at no charge, and will be warranted to be free from defects in workmanship and materials under normal use for as long as the original purchaser owns it. Removal, installation, or reinstallation costs are not covered by this Limited Warranty. PIAA CORPORATION, USA 3004 NE 181st Avenue Portland, Oregon 97230 Telephone: 503.489.6666 - Fax: 503.489.6600 - Web: www.piaa.com
