tile a bathroom wall
advertisement
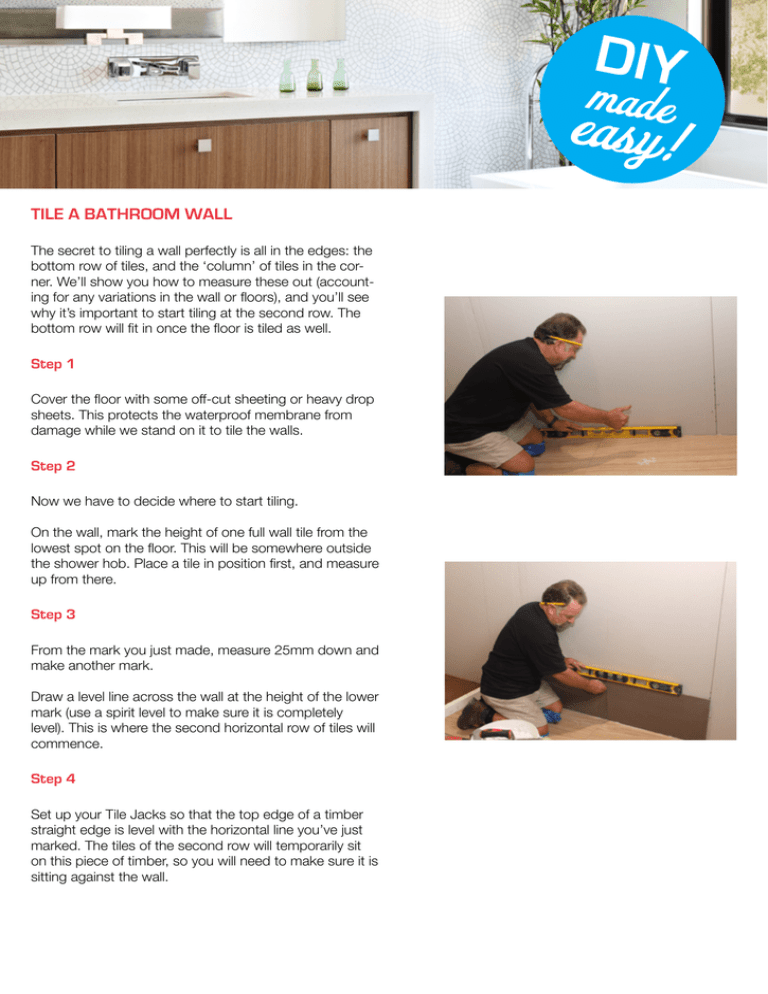
DIY made easy! TILE A BATHROOM WALL The secret to tiling a wall perfectly is all in the edges: the bottom row of tiles, and the ‘column’ of tiles in the corner. We’ll show you how to measure these out (accounting for any variations in the wall or floors), and you’ll see why it’s important to start tiling at the second row. The bottom row will fit in once the floor is tiled as well. Step 1 Cover the floor with some off-cut sheeting or heavy drop sheets. This protects the waterproof membrane from damage while we stand on it to tile the walls. Step 2 Now we have to decide where to start tiling. On the wall, mark the height of one full wall tile from the lowest spot on the floor. This will be somewhere outside the shower hob. Place a tile in position first, and measure up from there. Step 3 From the mark you just made, measure 25mm down and make another mark. Draw a level line across the wall at the height of the lower mark (use a spirit level to make sure it is completely level). This is where the second horizontal row of tiles will commence. Step 4 Set up your Tile Jacks so that the top edge of a timber straight edge is level with the horizontal line you’ve just marked. The tiles of the second row will temporarily sit on this piece of timber, so you will need to make sure it is sitting against the wall. DIY made easy! TILE A BATHROOM WALL Step 5 So we can decide if we can use a full tile at the wall junction (the corner between the two walls), we need to check that both walls are level and plumb. If they aren’t, we will need to cut these tiles and start with a narrower cut tile. This is to keep the tiles level and to hide the fact that the walls are out of plumb. Step 6 Mark the wall where the outside edge of the first tile will finish, then draw a line up the wall at that point (again, using the spirit level). This marks the first vertical row of tiles. TIP: Measure from the second row up so you can finish on a full tile at the top. Step 7 Spread about one square metre of adhesive so that it is enough for two horizontal rows of tiles and one vertical row of tiles on the first wall. Remember that we are starting one row up from the bottom. Step 8 With pre-mixed wall adhesive, we use a 6mm notched trowel (check the instructions on the pack) to apply the adhesive to the wall. Once the tile is bedded into place, these tracks flatten out to give full coverage to the surface. A 6mm notch will leave a bed of adhesive 3mm thick once the tile is in place. When applying wall adhesive, we always suggest that the notches run horizontally. Step 9 Place each tile in position by giving it a firm push into the adhesive and bed it into place with a slight up-and-down wiggle against the notches of the adhesive. DIY made easy! TILE A BATHROOM WALL Step 10 It is important to lift a tile every now and then after laying it into the adhesive. This is to check that you are achieving complete coverage of the adhesive to the tile. Step 11 As you lay the tiles, use spacers to set the grout joints and to make small adjustments to the tile placement. When you select your tiles, your Beaumont Tiles consultant will help you select grout joint sizes, but we usually recommend no less than 3mm for wall tiles. Step 12 The bottom row of tiles is the last to go in. These tiles will need to be cut to fit in the bottom row before being glued into place with the tile adhesive. Don’t forget to allow for a grout joint above and below the tiles when cutting them for the bottom row. Effectively, the tile will need to be 6mm smaller than the space where it will be placed.
