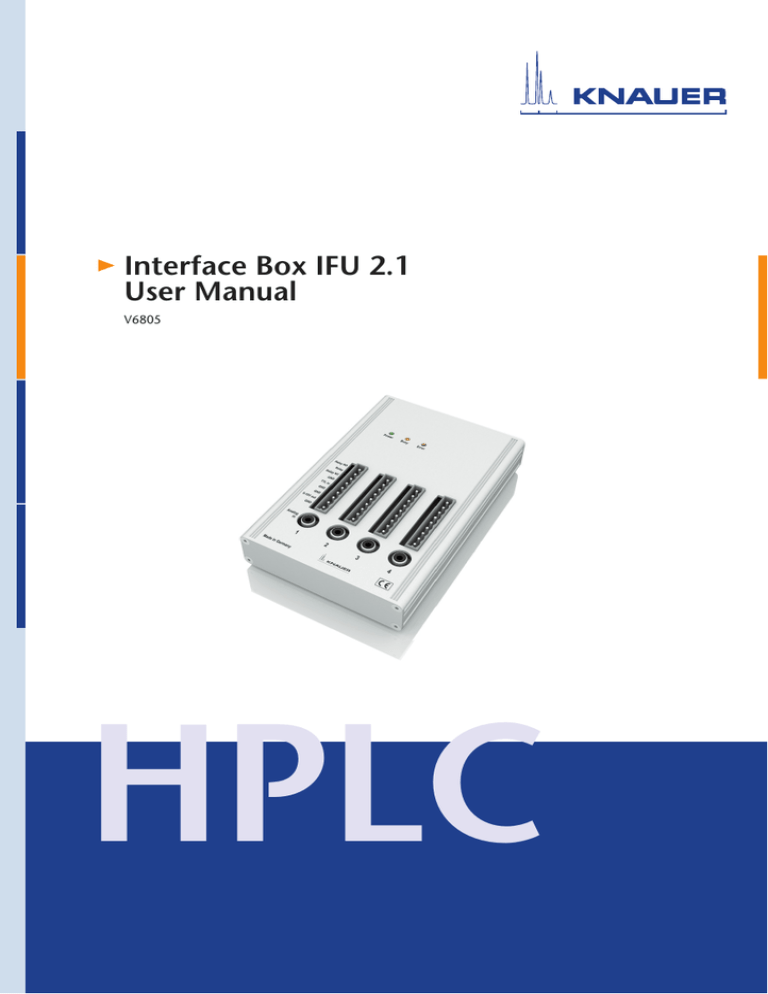
Interface Box IFU 2.1
User Manual
V6805
HPLC
Table of Contents
3
Table of Contents
Note: For your own safety, read the manual and always observe the warnings
and safety information on the device and in the manual.
Intended Use . . . . . . . . . . . . . . . . . . . . . . . . . . . . . . . . . . . . . . . . . . . . . . . . 4
Scope of Delivery . . . . . . . . . . . . . . . . . . . . . . . . . . . . . . . . . . . . . . . . . . . . . 4
Overview and Connectors . . . . . . . . . . . . . . . . . . . . . . . . . . . . . . . . . . . . . .
Front View of the Device . . . . . . . . . . . . . . . . . . . . . . . . . . . . . . . . . . . . . .
LED . . . . . . . . . . . . . . . . . . . . . . . . . . . . . . . . . . . . . . . . . . . . . . . . . . .
Analog Inputs (AN.IN) . . . . . . . . . . . . . . . . . . . . . . . . . . . . . . . . . . . . .
Analog Outputs (AN.OUT) . . . . . . . . . . . . . . . . . . . . . . . . . . . . . . . . . .
Digital Inputs (DIG.IN) . . . . . . . . . . . . . . . . . . . . . . . . . . . . . . . . . . . . .
Digital Outputs (DIG.OUT) . . . . . . . . . . . . . . . . . . . . . . . . . . . . . . . . .
5
5
5
6
6
6
7
Installation . . . . . . . . . . . . . . . . . . . . . . . . . . . . . . . . . . . . . . . . . . . . . . . . . .
Power Supply . . . . . . . . . . . . . . . . . . . . . . . . . . . . . . . . . . . . . . . . . . . . . .
Connecting the Interface Box to a Computer . . . . . . . . . . . . . . . . . . . . . .
Analog Inputs . . . . . . . . . . . . . . . . . . . . . . . . . . . . . . . . . . . . . . . . . . . . . .
Analog Outputs . . . . . . . . . . . . . . . . . . . . . . . . . . . . . . . . . . . . . . . . . . . .
Digital Connections . . . . . . . . . . . . . . . . . . . . . . . . . . . . . . . . . . . . . . . . .
Mounting the Remote Connector . . . . . . . . . . . . . . . . . . . . . . . . . . . . . . .
Cable Plan . . . . . . . . . . . . . . . . . . . . . . . . . . . . . . . . . . . . . . . . . . . . . .
7
7
7
8
8
8
9
9
Technical Data . . . . . . . . . . . . . . . . . . . . . . . . . . . . . . . . . . . . . . . . . . . . . . 10
Legal Information . . . . . . . . . . . . . . . . . . . . . . . . . . . . . . . . . . . . . . . . . . .
Transport Damage . . . . . . . . . . . . . . . . . . . . . . . . . . . . . . . . . . . . . . . . .
Warranty Conditions . . . . . . . . . . . . . . . . . . . . . . . . . . . . . . . . . . . . . . . .
Declaration of Conformity . . . . . . . . . . . . . . . . . . . . . . . . . . . . . . . . . . . .
IFU 2.1 User Manual V6805, Version 2.0
11
11
11
11
4
Intended Use
Intended Use
Interface box IFU 2.1 solely supports connections with USB 2.0
1.
1
Fig. 1 Interface box IFU 2.1 with USB connector.
The interface box IFU 2.1 has 4 channels for data recording and device control
for devices that are not supported by KNAUER software. This includes data
recording from detectors via analog inputs, flow rate control for HPLC pumps
via analog outputs or switching of valves via digital outputs. The only requirement is that the device supports these tasks. Further informations comes
included with the manual of the device.
The interface box is no standalone device, which means that software control is
strictly required (e. g. KNAUER ChromGate or KNAUER ClarityChrom).
Note: Which interface box functions are supported by the control software can
bef found in the software manual. The software manual also includes information on configuring and programming the interface box for the Smartline Manager 5000.
Scope of Delivery
Contents of the interface box accessories kit:
4 x remote connector, 9-pin
1 x depressor tool
1 x USB cable (mini B/standard A)
1 x cable with wired ends
3 x flat band cable, 10-pin
IFU 2.1 User Manual V6805, Version 2.0
Overview and Connectors
Overview and Connectors
Front View of the Device
Legend
1
2
3
4
5
AN.IN (data signal input)
AN.OUT (output of analog control signal)
DIG.IN (trigger input)
DIG.OUT and autozero
Channel 1
1 2 3 4 5
Fig. 2 Front view of interface box IFU 2.1
Computer defect
No electrical isolation is provided for the Interface Box. Voltages above 10 V
could damage connected computers.
Take protective measures.
Use the device according to the specifications.
LED
LEDs indicate the device's condition. The green LED „Power“ shows that the
device has successfully been connected to a computer. The yellow LED „Busy“
shortly lights up during calibration or after receiving a signal from the control
software. Calibration is done when starting a device or a run. „Busy“ permanently lights up if the control software checks on the device's status regularly,
e. g. every second.
IFU 2.1 User Manual V6805, Version 2.0
5
6
Overview and Connectors
Fig. 3 LED
The red LED „Error“ lights up if a calibration error is detected while running the
self-test or if the software sends a signal that is not recognized by the device.
Analog Inputs (AN.IN)
Serving the purpose of receiving analog signals, up to 4 channels or devices can
be connected to the interface box. Channels are independent of each other and
can be used simultaneously by one system or various systems.
Voltage range
2.56 to +2.56 V (bipolar mode)
Absolute maximum ratings
10 V to +10 V
Input impedance
10 MΩ
Maximum resolution
24 bit
Minimum noise level
7 μV (1 Hz, time constant 0.1 s)
Maximum data rate
up to 10 Hz (each channel)
Gain factor (for all channels)
1, 2, 4, 8, 16
Analog Outputs (AN.OUT)
These outputs send analog voltage signals to control devices, which have the
necessary inpus. According to the number of outputs, four of these devices can
be controlled with one interface box. The outputs can be programmed independently of each other. This e. g. refers to the control of pumps in a high pressure gradient system.
Voltage range
0 V to +10 V
Minimum voltage step (DAC resolution)
2.5 mV (12 bit)
Maximum load resistance
2 kΩ
Digital Inputs (DIG.IN)
These four inputs are trigger inputs receiving a start signal from the injection
system. They work with contact end on ground and are compatible for TTL/
CMOS or open collectors. If the channels are used for different systems, it is
possible to start each channel individually.
Max. high level input voltage
+15 V
Min. high level input voltage
+2.5 V
IFU 2.1 User Manual V6805, Version 2.0
Installation
Max. low level input voltage
+1 V
Min. low level input voltage
-15 V
Max. input, current at V (in) = 0,5 V
10 mA
7
Digital Outputs (DIG.OUT)
These four outputs are electromechanical relays with single pole switch (SPDT)
meaning they are to be used as NO (normally open, connectors 2 – 3. see front
view) or as NC (normally closed, connectors 1 – 2, see front view). You can program sampled signals or steady rate signals. A sampled signal has a duration of
appr. 1 s, the length of the steady rate signal is not predetermined.
Output type
either NO or NC
Max. switching voltage
max. 175 V, DC
Max. switching current
max. 0.25 A
Installation
Power Supply
The interface box is connected to a computer with an USB cable and receives
electricity from it. The USB cable is part of the accessories kit of the interface
box.
Computer defect
No electrical isolation is provided for the Interface Box. Voltages above 10 V
could damage connected computers.
Take protective measures.
Use the device according to the specifications.
Connecting the Interface Box to a Computer
To establish a connection between the interface box and the computer, you
take the USB cable from the accessories kit and plug it into both devices. It is
possible that your computer does not feature the correct drivers. In this case, go
to the website of the product and download the correct drivers.
The computer identifies the interface box as a serial device even though it was
connected using the USB interface. Now check for the COM ports in the Windows device manager.
Including the interface box in KNAUER chromatography software
Note: Read this segment carefully if the serial number of your interface box is
> 65000 and if you use OpenLAB®, ChromGate® or EuroChrom® 2000 for
Windows.
IFU 2.1 User Manual V6805, Version 2.0
8
Installation
OpenLAB® and ChromGate®: Upon registration you are asked to enter the
serial number of the interface box of which you need to enter the last 5 digits
only.
EuroChrom®: When the software requests the serial number of the interface
box in the hardware module, only the last 5 digits can be seen.
Analog Inputs
If you are to connect the analog output of a device (e. g. 1 V integrator output
of a detector) with the analog input of the interface box, use a RCA cable supplied or recommended by the manufacturer. Alternatively use a matching cable
included with the interface box accessory kit. Please pay attention to the
allowed maximum voltage. Otherwise the device can get damaged.
Note: The analog output and digital input of the same channel cannot be used
at the same time.
Analog Outputs
The analog outputs have to match the control input of the connected device.
Information on the control inputs come included with the user manual of the
device. Please pay attention to the allowed maximum voltage. Otherwise the
device can get damaged. KNAUER can not be held reliable in this case. The
required components of the remote connector and the USB cable are part of
the accessories kit of the interface box.
Note: The analog input and digital output of the same channel cannot be used
at the same time.
Digital Connections
Digital inputs can be used to forward trigger signals coming from the injection
unit. The connector for the trigger signal is the digital input of the channel,
which also servers for recording data from the detector.
Digital outputs can be programmed via control software.
The required components of the remote connector and the USB cable are part
of the accessories kit of the interface box. If you require a NO connect the contacts 2 and 3 (see rear view) or if you require NC connect the contacts 1 and 2
(see rear view).
Note: If the analog input of a channel is used, it is not possible to program the
digital output of the same channel. In this case, the digital output D.OUT sends
a sampled signal at the start of run that e. g. can be used as autozero signal for
a detector.
IFU 2.1 User Manual V6805, Version 2.0
Installation
9
Mounting the Remote Connector
Please follow the instructions below if you are to connect cables to the remote
connector.
Process
Figure
1.Guide the blunt side of the depressor tool into the square opening of the
desired connector.
2.Press down the lever as indicated by
the arrow.
3.Guide the non-insulated end of the
cable into the opening below the
lever.
4.At first let go of the lever 1 and secondly remove the depressor tool from
the plug 2.
The cable is now well-connected to
the remote connector.
22
1
1
Fig. 4 Remote connector
Cable Plan
The exemplary cable plan shows a possible connection scheme for the connectors. Pay attention to the fact that the digital output and analog input of a
channel can not be used at the same time, except the analog input is used for
autozero of a detector.
IFU 2.1 User Manual V6805, Version 2.0
10
Technical Data
Fig. 5 Exemplary cable plan
Technical Data
Power connection
via USB 2.0, 5 V max; 500 mA
Dimensions
105 x 26 x 161.5 mm (W × H × D)
Weight
0.35 kg
IFU 2.1 User Manual V6805, Version 2.0
Legal Information
11
Legal Information
Transport Damage
The packaging of our devices provides the best possible protection against
transport damage. Check the devices for signs of transport damage. In case you
notice any damage, contact the Technical Support and the forwarder company
within three workdays.
Warranty Conditions
The factory warranty for the device is stipulated by contract. During the warranty period, any components with material or design-related defects will be
replaced or repaired by the manufacturer free of charge. Please connect to our
website for further information on terms and conditions.
All warranty claims shall expire in the event that any unauthorized changes are
made to the device. This warranty also excludes the following:
accidental or willful damage
damage or errors caused by third parties that are not contractually related to
the manufacturer at the time the damage occurs
wear parts, fuses, glass parts, columns, light sources, cuvettes and other optical components
damage caused by negligence or improper operation of the device and damage caused by clogged capillary
packaging and transport damage
In the event of device malfunctions, directly contact the manufacturer.
KNAUER Wissenschaftliche Geräte GmbH
Hegauer Weg 38
14163 Berlin, Germany
Phone:+49 30 809727-111
Telefax:+49 30 8015010
e-mail:info@knauer.net
Internet:www.knauer.net
Declaration of Conformity
The Declaration of Conformity is part of the delivery and accompanies the product as a separate document.
IFU 2.1 User Manual V6805, Version 2.0
©
KNAUER Wissenschaftliche Geräte GmbH
All rights reserved.
The information in this document is subject to change
without prior notice. Translation of the original German
edition of this manual, version 2.0.
2016-04-20
Printed in Germany on environmentally friendly paper
from sustainable forests.
See up-to-date manuals online:
www.knauer.net/downloads
www.knauer.net
HPLC · SMB · Osmometry
KNAUER
Wissenschaftliche Geräte GmbH
Hegauer Weg 38
14163 Berlin, Germany
Phone: +49 30 809727-0
Telefax: +49 30 8015010
E-Mail:info@knauer.net
Internet:www.knauer.net
© KNAUER 2015 V6805/0.1/11.12/Westkreuz


