[Eric Muller].
[emuller@exploratorium.edu]
Shake it up!
Make a Shake Table
A simple design for a shake table or vibrating platform.
This device can be used to simulate seismic waves as
well as used to test structural prototype designs.
th
Recommended Grade Level: 6 -12
th
Preparation: Purchase supplies and assembly; about
one hour.
th
th
NGSS Science & Engineering Practices: [6 to 12 ]
@ Asking Questions & Defining Problems. Define a design problem that can be solved through the
development of an object, tool, process or system and includes multiple criteria and constraints,
including scientific knowledge that may limit possible solutions.
@ Planning and Carrying Out Investigations. Collect data about the performance of a proposed object,
tool, process or system under a range of conditions.
@ Using Mathematics and Computational Thinking. Use digital tools, mathematical concepts, and
arguments to test and compare proposed solutions to an engineering design problem.
@ Designing Solutions. Optimize performance of a design by prioritizing criteria, making tradeoffs, testing,
revising, and re-testing.
Materials:
A Skateboard
2 long Bungee cords (at least 3 feet or 1 meter).
Cords can be used with or without hooks. Bungee cords
(aka elastic or shock cord) can also be purchase by the foot
at many hardware stores.
A table (a least 1.5m x 0.5m) with a smooth surface and legs on opposite
ends
2 Large Binder clips or clamps
Goggles (eye protection)
A structure to test
This device works well with the structure challenge presented on the
activity: Strain some Pasta! by Eric Muller. This activity can be found by
clicking here.
Background Information
Shake tables are devices scientists and engineers use to simulate the stresses and strains
caused by an earthquake on buildings and materials.
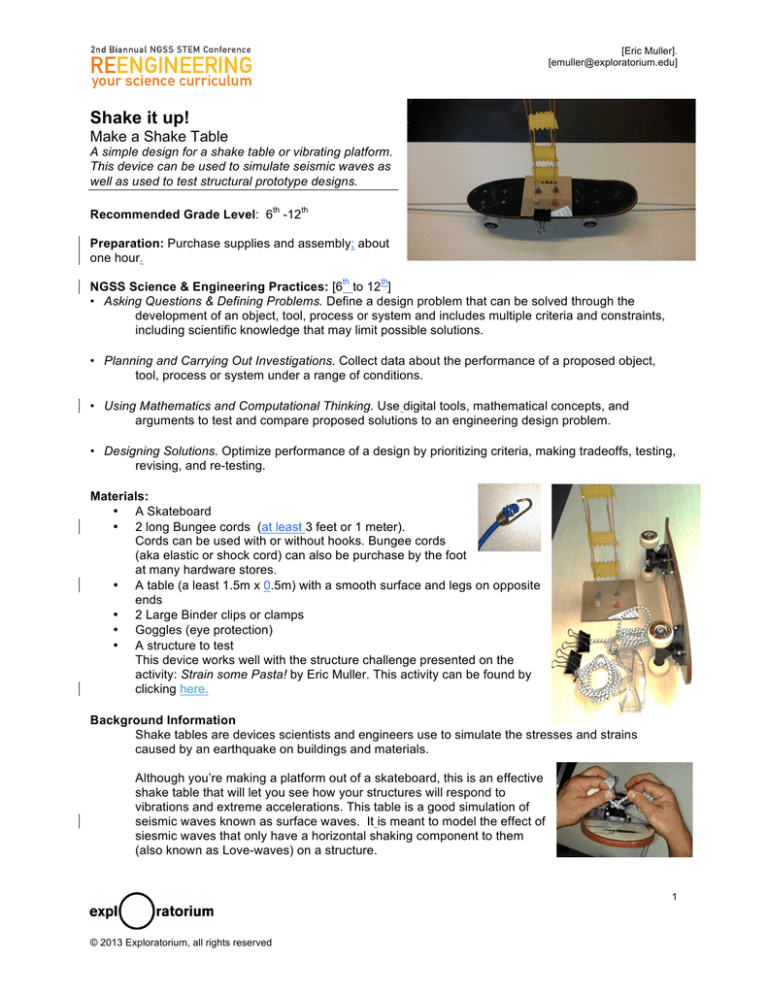
Although you’re making a platform out of a skateboard, this is an effective
shake table that will let you see how your structures will respond to
vibrations and extreme accelerations. This table is a good simulation of
seismic waves known as surface waves. It is meant to model the effect of
siesmic waves that only have a horizontal shaking component to them
(also known as Love-waves) on a structure.
1
© 2013 Exploratorium, all rights reserved
[Eric Muller].
[emuller@exploratorium.edu]
What to do
1. Attach the bungee cords to the axles of the skateboard
a. Tie one cord to the front axel and tie the other to
the rear axel.
b. Make sure that the cords and knots don’t
interfere with the spinning of the wheels.
c. Each cord should lead away from the board in
opposite directions.
d. Double check the knots to make sure they are secure.
2. Attach the cord ends to the table.
a. Tie one cord end to a table leg.
b. Place the skateboard, wheels down, on the table’s top.
c. Now, pull the other untied cord towards a leg on the opposite
end of the table.
d. Let the skateboard roll and pull the untied cord so it is slightly
taut.
e. Now, attach this cord to the opposing table leg.
f. Check to make sure that the skateboard can easily move back
and forth without falling off the table.
Hint: On a table with 4 legs, attach the cord to diagonal legs.
3. Do a Double check! Check the attachment of the cords and ensure that
they will not come off when the skateboard is pulled and released.
4. Test the rig (while wearing goggles). You can do this by pulling the
skateboard to one end of the table, in the same direction the wheels roll. One cord will be
stretched while the other cord will be slackened. Release the board and see that it makes a
smooth, but rapid back and forth motion.
5. Calibrate your shake table so it is consistent. So that every structure can experience the same
forces, you should have a standard procedure for releasing your skateboard.
Mark your table top where you held the board. This will be your “release point” (for example, pull
the skateboard so it’s nose just overhangs the edge of the table). Always pull the board to the
same mark. This will ensure uniform testing of your structures.
6. Always wear goggles. Cords can break and material can fly off your test structures.
7. You’re now ready to test your structures.
Going Further (optional):
You can test your device to see what kinds of effects your simulated earthquakes will have on your
structure. Data can be collected using mobile devices. There are many apps for cell phones and tablets
via online app stores. Search for things; such as “earthquake”, “seismometer”, “seismograph” and
“ground motion.”
Caution: If attaching an expensive mobile device to the skateboard, attach it carefully
and securely.
2
© 2013 Exploratorium, all rights reserved
[Eric Muller].
[emuller@exploratorium.edu]
Data you can collect and analyze with mobile devices:
Acceleration
Frequency and wavelength of motion
Equivalent siesmic magnitude
Students can also use the information collected in their first shake test to reinforce their structures and try
again. They can continue to revise their plans until they reach a specified goal such as keeping a small
figure in place at the top or observing no visible swaying.
Recommended Web Sites (optional)
Information about Seismology
Computer simulation of a Body and Surface wavess
Information about Love wavess
Don Rathjen’s shake table design
Large scale shake tables and earthquake engineering
3
© 2013 Exploratorium, all rights reserved

