Minimal Bone Resection
LMH
Lesser Metatarsal Head Implant
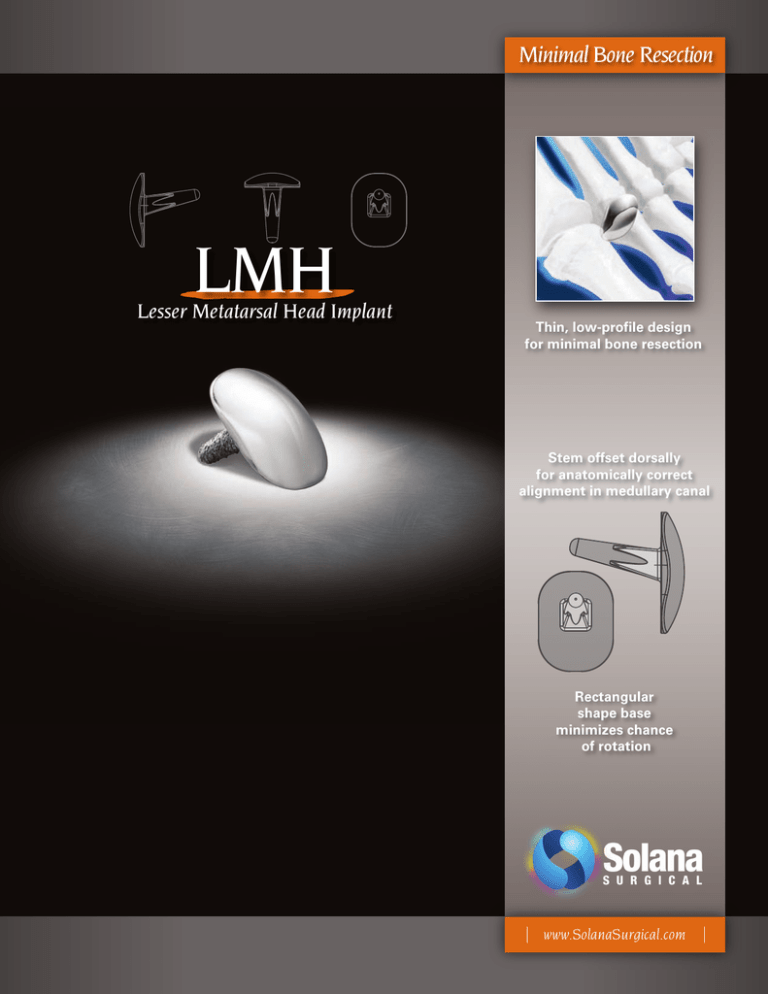
Thin, low-profile design
for minimal bone resection
Stem offset dorsally
for anatomically correct
alignment in medullary canal
Rectangular
shape base
minimizes chance
of rotation
www.SolanaSurgical.com
Minimal Bone Resection
LMH
Lesser Metatarsal Head Implant
Ordering
Info
CATALOG NO.
LMH-0001
LMH-0002
LMH-0003
LMH-1000
LMH-1003
LMH-1004
LMH-1005
DESCRIPTION
LMH, Implant Size 1*
LMH, Implant Size 2*
LMH, Implant Size 3*
LMH, Instrument Set
Trial, Size 1**
Trial, Size 2**
Trial, Size 3**
Surgical Technique
CATALOG NO.
LMH-1001
LMH-1002
LMH-1006
LMH-1007
LMH-1008
LMH-1009
LMH-1010
DESCRIPTION
Reamer**
Impactor**
Sizer, Size 1**
Sizer, Size 2**
Sizer, Size 3**
Broach**
.045" x 4" K-Wire**
*STERILE, **NON-STERILE
*
• Thin, low-profile design for
minimal bone resection
• Single piece implant
A dorsal longitudinal incision is made extending from the distal shaft of the lesser metatarsal to the
shaft of the corresponding proximal phalanx. The joint capsule is incised and the joint is dissected free.
1
• Highly-polished Cobalt
Chrome articular surface
2
DORSAL TAB
• Vertical cut angle reduces
potential for dorsal
impingement
• Plasma spray titanium coating
provides optimum interface
for osseointegration
• Stem offset dorsally for
anatomically correct
alignment in medullary canal
3
4
855. 214. 1860
Solana Surgical, LLC | 6363 Poplar Ave. | Memphis, TN 38119
TF: 855. 214. 1860 | V: 901. 818. 1860 | F: 855. 540. 1861
1. All hypertrophic
bone is resected from
the metatarsal head
and phalanx base. An
osteotomy of the distal
end of the lesser
metatarsal is performed using a power saw
aligned perpendicular
to the weight bearing
surface.
2. Plantar flex the digit
for exposure to the
metatarsal head. Place
the Sizer Instrument
over the resected metatarsal head. Select
the size that best
covers the cut bone
surface without overhanging. The Sizer
Instrument is centered on the metatarsal
with the dorsal locating
feature resting on the
dorsal surface of the
lesser metatarsal head.
A 0.045” K-wire is
placed through the
sizer hole. The Sizer
Instrument is removed
leaving the K-wire to
act as a guide pin for
the Reamer.
3. The cannulated
Reamer is now placed
over the K-wire guide
pin, and the medullary
canal is reamed until
the Reamer hits its
depth stop. The
Reamer and K-wire are
now removed.
4. The Broach
Instrument is used to
square the entrance to
the medullary canal.
5
6
7
5. The Broach
Instrument is inserted
into the medullary
canal and impacted to
create the rectangular
geometry of the
Implant stem.
6. An Implant Trial is
placed in the medullary canal to finalize
the fit and check
range of motion of
the joint.
7. The appropriate
size Implant is now
placed in the medullary canal and
completely seated
using the Impactor
Instrument.
8. The joint capsule is
repaired using suture
of the surgeon’s
choice. The prosthesis
should be completely
covered by the joint
capsule. Subcutaneous closure and skin
closure are performed
in the usual manner.
Post-operative management is similar to
other joint arthroplasty
procedures.
8
*This brochure, device reference and the surgical technique outlined are furnished for informational purposes only. Each surgeon must evaluate the
appropriateness of the implant and techniques based on his or her own medical training, clinical judgement and surgical experience. Proper surgical
techniques and procedures are the responsibility of the medical professional. Solana Surgical cannot recommend a device or procedure that is
suitable for all patients. Indications, contraindications, warnings, and precautions are listed in the implant package insert and should be reviewed by
the physician and operating room personnel. © 2013 Solana Surgical LLC, Memphis, TN. All rights reserved 10359-A


