QUICK START
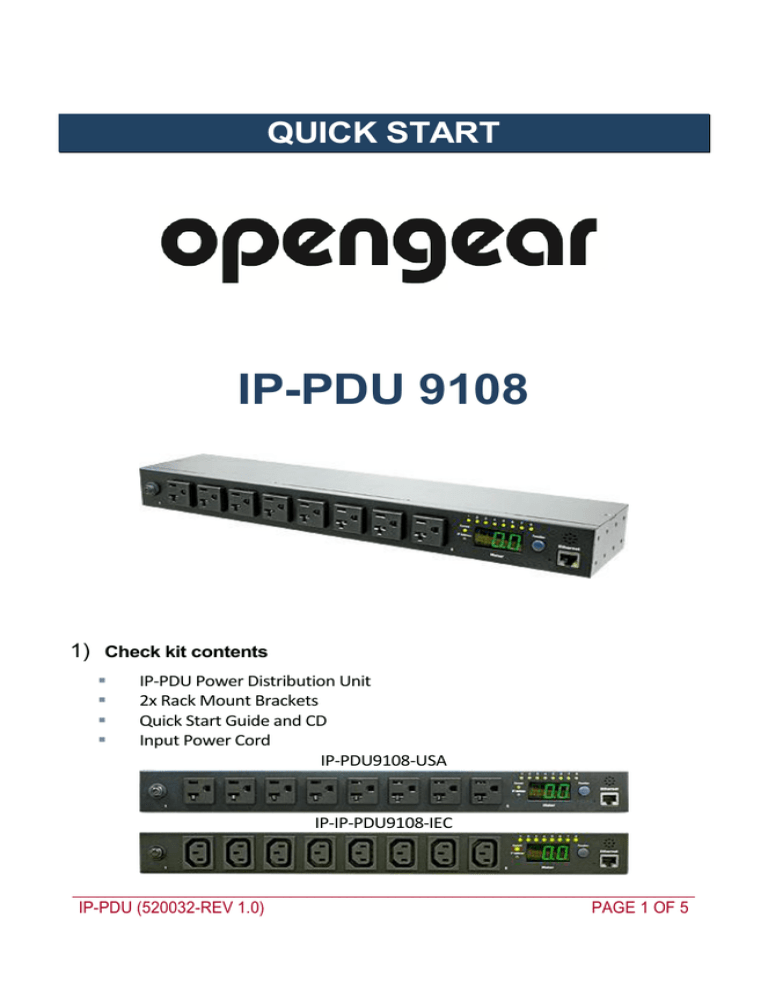
IP-PDU 9108
1) Check kit contents
IP-PDU Power Distribution Unit
2x Rack Mount Brackets
Quick Start Guide and CD
Input Power Cord
IP-PDU9108-USA
IP-IP-PDU9108-IEC
_____________________________________________________________________________
IP-PDU (520032-REV 1.0)
PAGE 1 OF 5
2) IP connect your IP-PDU to your PC
8
PC
PDU
Install mounting brackets and install the IP-PDU in the rack
Connect input and output power
Connect Ethernet cable to the PDU.
Switch on the PDU
Press and hold “Function” button.
Release button after 2 beeps
The “Meter” will now display 4
numbers in sequence; this is IP
address of the IP-PDU. If the IP-PDU
cannot get a new IP address from
DHCP server on your Ethernet, then it
will stay at default (192.168.0.216)
Make sure that you PC IP address is in the same subnet with IP-PDU’s IP
Input the IP-PDU IP address in web browser to check IP-PDU information
Note: If you have many IP-PDUs to be connected to local LAN you will need to power
on and ensure DHCP is enabled as detailed in the (function Button Description
below) and then connect the IP-PDUs to the Ethernet one by one
_____________________________________________________________________________
IP-PDU (520032-REV 1.0)
PAGE 2 OF 5
DHCP Server
PC
Network
8
PDU
Press and
release
Press, hold 1
beep and then
release
… 2 beeps
… 4 beeps
… 6 beeps
8
8
PDU
PDU
“Function” Button Description
Turns off the Alarm warning beeping (which is 1 beep per
second). The Alarm overload beeping (3 beeps/ sec) will
keep beeping until the current gets back to normal and
the current is lower than the threshold to 0.5 amps
Meter displays the current information
Meter displays 4 numbers in sequence. This is the IP
address of IP-PDU
Change the way to get IP between DHCP and fixed IP
After a long beeping, IP-PDU will be reset back to default
setting. Note that IP-PDU power will restart
3) Web interface
To login to the PDU IP address from the web browser, enter the default
User Name snmp and Password is 1234
From the web interface you can monitor load current, control outlets,
set alerts and thresholds etc (refer User Manual on CD for details)
_____________________________________________________________________________
IP-PDU (520032-REV 1.0)
PAGE 3 OF 5
4) Software Quick Installation
You may also wish to install the IP-PDU utility software on your CD. To login
to the utility, the default ID and password is admin and 1234
Select the “Scan Subnet” in the pull-down menu of “System Management”
Select the proper network interface to scan the IP-PDU that installed under
this subnet
Check the “Add” box and click the name in the “Device Group”.
Check the IP-PDU information in the main window.
WARNING
_____________________________________________________________________________
IP-PDU (520032-REV 1.0)
PAGE 4 OF 5
This equipment has been proven by CE & FCC to be prevented from the influence of
harmful electronic jamming in normal business use conditions. Any changes to this
equipment without permission may cause damages to your equipment!
We have no responsibility for possible damage caused by improper usage
or abnormal working environment
Do not use IP IP-PDU in strong vibrating condition
Please contact the dealer If IP IP-PDU works improperly
Copyright © 2010 All rights reserved. No part of this publication may be reproduced,
stored in a retrieval system, or transmitted in any form or by any means, electronic,
mechanical, photocopying, recording or otherwise, without the prior written consent of
us. All other products mentioned in this document are trademarks of their respective
manufactures. We are exempt to notify any change of our products.
_____________________________________________________________________________
IP-PDU (520032-REV 1.0)
PAGE 5 OF 5

