SKU #300522 | v01
ROTATABLE SEP LED TUBE LAMP INSTALLATION
INFORMATION & INSTRUCTIONS
RETROFIT/INSTALLATION INFORMATION
FEATURES
•
•
•
•
•
•
•
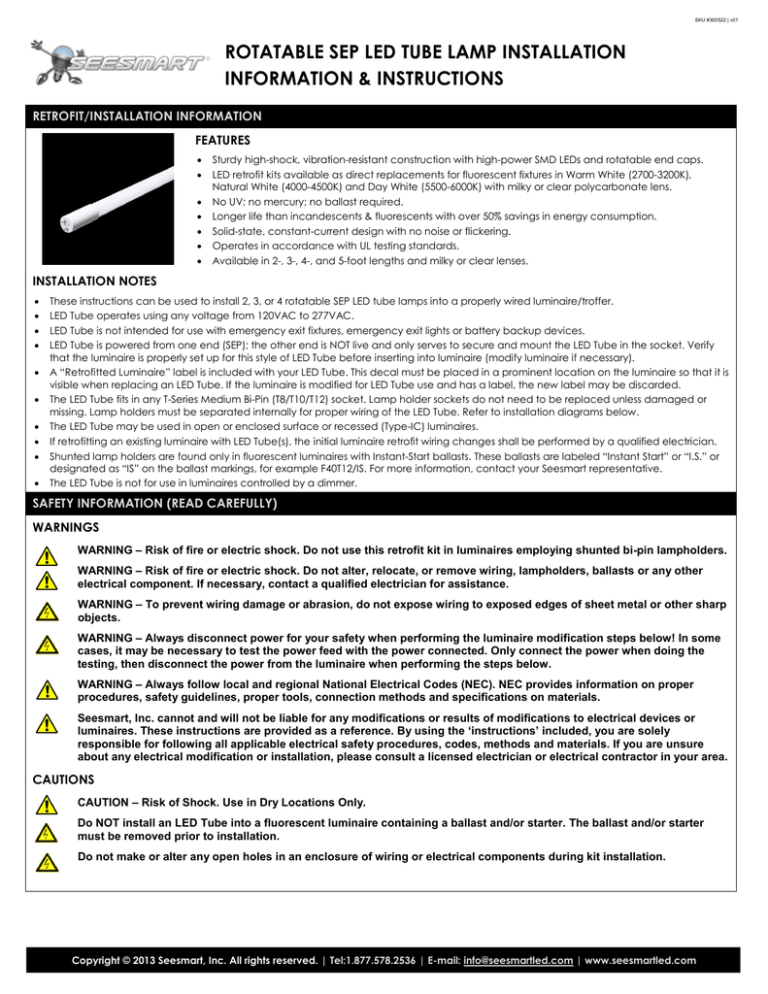
Sturdy high-shock, vibration-resistant construction with high-power SMD LEDs and rotatable end caps.
LED retrofit kits available as direct replacements for fluorescent fixtures in Warm White (2700-3200K),
Natural White (4000-4500K) and Day White (5500-6000K) with milky or clear polycarbonate lens.
No UV; no mercury; no ballast required.
Longer life than incandescents & fluorescents with over 50% savings in energy consumption.
Solid-state, constant-current design with no noise or flickering.
Operates in accordance with UL testing standards.
Available in 2-, 3-, 4-, and 5-foot lengths and milky or clear lenses.
INSTALLATION NOTES
•
•
•
•
•
•
•
•
•
•
These instructions can be used to install 2, 3, or 4 rotatable SEP LED tube lamps into a properly wired luminaire/troffer.
LED Tube operates using any voltage from 120VAC to 277VAC.
LED Tube is not intended for use with emergency exit fixtures, emergency exit lights or battery backup devices.
LED Tube is powered from one end (SEP); the other end is NOT live and only serves to secure and mount the LED Tube in the socket. Verify
that the luminaire is properly set up for this style of LED Tube before inserting into luminaire (modify luminaire if necessary).
A “Retrofitted Luminaire” label is included with your LED Tube. This decal must be placed in a prominent location on the luminaire so that it is
visible when replacing an LED Tube. If the luminaire is modified for LED Tube use and has a label, the new label may be discarded.
The LED Tube fits in any T-Series Medium Bi-Pin (T8/T10/T12) socket. Lamp holder sockets do not need to be replaced unless damaged or
missing. Lamp holders must be separated internally for proper wiring of the LED Tube. Refer to installation diagrams below.
The LED Tube may be used in open or enclosed surface or recessed (Type-IC) luminaires.
If retrofitting an existing luminaire with LED Tube(s), the initial luminaire retrofit wiring changes shall be performed by a qualified electrician.
Shunted lamp holders are found only in fluorescent luminaires with Instant-Start ballasts. These ballasts are labeled “Instant Start” or “I.S.” or
designated as “IS” on the ballast markings, for example F40T12/IS. For more information, contact your Seesmart representative.
The LED Tube is not for use in luminaires controlled by a dimmer.
SAFETY INFORMATION (READ CAREFULLY)
WARNINGS
WARNING – Risk of fire or electric shock. Do not use this retrofit kit in luminaires employing shunted bi-pin lampholders.
WARNING – Risk of fire or electric shock. Do not alter, relocate, or remove wiring, lampholders, ballasts or any other
electrical component. If necessary, contact a qualified electrician for assistance.
WARNING – To prevent wiring damage or abrasion, do not expose wiring to exposed edges of sheet metal or other sharp
objects.
WARNING – Always disconnect power for your safety when performing the luminaire modification steps below! In some
cases, it may be necessary to test the power feed with the power connected. Only connect the power when doing the
testing, then disconnect the power from the luminaire when performing the steps below.
WARNING – Always follow local and regional National Electrical Codes (NEC). NEC provides information on proper
procedures, safety guidelines, proper tools, connection methods and specifications on materials.
Seesmart, Inc. cannot and will not be liable for any modifications or results of modifications to electrical devices or
luminaires. These instructions are provided as a reference. By using the ‘instructions’ included, you are solely
responsible for following all applicable electrical safety procedures, codes, methods and materials. If you are unsure
about any electrical modification or installation, please consult a licensed electrician or electrical contractor in your area.
CAUTIONS
CAUTION – Risk of Shock. Use in Dry Locations Only.
Do NOT install an LED Tube into a fluorescent luminaire containing a ballast and/or starter. The ballast and/or starter
must be removed prior to installation.
Do not make or alter any open holes in an enclosure of wiring or electrical components during kit installation.
Copyright © 2013 Seesmart, Inc. All rights reserved. | Tel:1.877.578.2536 | E-mail: info@seesmartled.com | www.seesmartled.com
SKU #300522 | v01
ROTATABLE SEP LED TUBE LAMP RETROFIT KIT CONTENTS
Check contents upon opening Retrofit Kit. Contact Seesmart, Inc. if an item is missing.
Qty. 1
SEP LED TUBE LAMP WITH ROTATABLE END
CAPS
SEP LED Tube Lamp with Rotatable End Caps and clear or milky lens. Available
in 2-, 3-, 4-, and 5-foot lengths and color temperatures of warm white (27003200K), natural white (4000-4500K), and day white (5500-6000K).
[SKU #: (as ordered)]
Qty. 1
“LUMINAIRE POWER SOURCE SOCKET” LABEL
[SKU #: 300003]
Qty. 1
“RETROFITTED LIGHT LUMINAIRE” LABEL
This decal must be placed in a prominent location on the LED-modified
luminaire so that it is visible when replacing an LED Tube (only one label per
retrofitted luminaire required).
[SKU #: 300002]
Qty. 1
This decal must be placed at the base of the powered LED Tube socket on the
LED-modified luminaire so that it is visible when replacing an LED Tube. The
arrow should point in the direction of the powered socket (only one label per
retrofitted luminaire required at powered end).
LED TUBE INSTALLATION INSTRUCTIONS
Provides information necessary to retrofit a luminaire to accept a rotatable
SEP LED Tube or replace an SEP LED Tube in an existing retrofitted luminaire.
[SKU #: 300522]
ROTATABLE SEP LED TUBE LAMP RETROFIT KIT OR LAMP-ONLY INSTALLATION INSTRUCTIONS
STEP 1 – DISCONNECT POWER TO LUMINAIRE
•
Disconnect power to luminaire or circuit (if
possible). Ensure all power is off using a
voltmeter or other method.
STEP 2 – REMOVE EXISTING TUBE LAMPS
a)
b)
Remove troffer lens, if present.
Remove existing fluorescent or LED tube lamps
by rotating one quarter turn and sliding each
lamp out.
Remove ballast cover. (Cover may be secured
with screws or tabs.)
NOTE: When installing these LED tube lamp(s) in
a previously retrofitted luminaire with a singleend power source, do not remove ballast
cover and skip to STEP 4 below.
c)
a) Remove Lens
b) Tube Lamps Removed
c) Remove Ballast Cover
a)
STEP 3 – MODIFY EXISTING FLUORESCENT LUMINAIRE
Remove
Socket Covers,
Both Ends
OR
Cut & Remove All
Wires, One Troffer
End Only
b)
Ballast
c)
a) Cut Ballast Wires
Cut all ballast wires as close to ballast as
possible, and then choose one of the following
options:
- Unscrew screw(s) and remove ballast from
luminaire. Then reinsert original screw(s) into
ballast mounting hole(s).
- Abandon and leave ballast in its original
mounting location.
Remove lamp-holder (socket/tombstone)
covers from both ends of luminaire. (Covers
may be secured with screws or tabs.)
Cut and remove all wires from the sockets at
ONE END of luminaire. (Only one side of
luminaire needs wired sockets.)
b) Remove Socket Covers c) Remove Wires, One End
Copyright © 2013 Seesmart, Inc. All rights reserved. | Tel:1.877.578.2536 | E-mail: info@seesmartled.com | www.seesmartled.com
SKU #300522 | v01
STEP 3 (CON’T) – MODIFY EXISTING FLUORESCENT LUMINAIRE
d)
e)
f)
g)
d) Typical Wiring Before Retrofit
e) Wiring After Retrofit
h)
i)
d) Typical Wiring Before Retrofit
d) Typical Wiring Before Retrofit
j)
e) Wiring After Retrofit
If you have ordered one of Seesmart’s SEP
Socket Retrofit Kits, remove existing powered
tombstones and install kit per instructions.
Ensure that powered sockets are wired
according to diagrams e) “Wiring After
Retrofit,” which depict 2-, 3-, and 4-tube SEP
configurations.
Cut and strip approximately 1/2” of insulation
from the free ends of the hot (black) and
neutral (white) socket wires.
Splice the hot and neutral incoming power
leads with the corresponding hot and neutral
socket wires using the appropriate wire nuts.
See Photo f) “Splicing Wires” below.
CAUTION: Make sure that hot and neutral wires
are correctly identified.
Secure all fasteners, clips and wires (use
electrical tape if necessary) and reinstall
socket covers at both ends of troffer.
Apply supplied label SKU #300003 with arrow
pointing to wired sockets of troffer, indicating
modified power socket.
Apply Retrofitted Luminaire Label SKU #300002
on inside of luminaire housing near one end of
housing, next to powered sockets. Ensure that
the label will not be covered by any cover
pieces, trim pieces, or other items. If necessary,
clean the area where label will be placed
before affixing the self-adhesive label.
e) Wiring After Retrofit
L = Load Wires
(Typically Black)
N = Neutral Wires
(Typically White)
f) Splicing Wires
Copyright © 2013 Seesmart, Inc. All rights reserved. | Tel:1.877.578.2536 | E-mail: info@seesmartled.com | www.seesmartled.com
SKU #300522 | v01
a)
STEP 4 – ADJUST ANGLE OF LED TUBES
b)
Beam Spread = 120°
c)
d)
Normal Orientation – 0°
Angled Orientation – 45°
e)
f)
g)
h)
a)
STEP 5 – INSTALL LED TUBE(S)
b)
c)
d)
a) Install LED Tube
Lamps
b) Replace Ballast
Cover
STEP 6 – RESTORE POWER TO LUMINAIRE & TEST
Each end cap of the LED tube lamp can be
rotated through a total angle of 180° in twenty
9° increments (clicks).
Ensure that each end cap has the factoryinstalled sticker locking its position at the
normal orientation of 0°.
To ensure that each end cap is positioned at
0°, verify that the semicircle of tick marks
imprinted on the cap’s end align with the semicylindrical lamp lens.
If the tick marks do not align with the lens, or if
you want to change the angle from its normal
0° orientation, carefully remove the end cap
sticker(s) and set aside.
To zero the end-cap position, grasp each
section of the rotatable end cap in each hand
and turn the adjustable cap in either direction
until it stops, then back it off 10 clicks. Repeat
this procedure for the opposite end cap, if
necessary.
To change the lamp position from 0° to 45°, for
example, rotate the first end cap 5 clicks in the
desired direction (clockwise or
counterclockwise), then, working at the other
end of the lamp, rotate the second end cap 5
clicks in the opposite direction
(counterclockwise or clockwise).
For other angles, perform the above step,
rotating the end caps the desired number of 9°
increments in the desired direction.
Once the desired angle is set, replace each
end-cap sticker to its original location and
press firmly to lock end-cap angle. The lamp is
now ready for installation.
Read label on the LED tube lamp to ensure
that powered end of the LED is aligned with
the powered luminaire socket, then insert
single-end-powered LED lamp in the normal
way by sliding the pins into both tombstone
sockets and gently rotating a quarter turn until
LED tube locks in place. LED lamp is now fully
installed.
CAUTION: Do not attempt to make adjustments
to end-cap angle after LED tube lamp is
securely mounted in sockets, since this could
cause misalignment of bi-pin connectors and
malfunction or accidental detachment of
lamp.
Repeat above step for all LED tube lamps.
Replace ballast cover.
Replace troffer lens, if present.
c) Replace Troffer Lens
•
Restore power to circuit/luminaire and test
light. If necessary, adjust position of LED tubes,
and enjoy your new Seesmart LED Tube Lights!
Copyright © 2013 Seesmart, Inc. All rights reserved. | Tel:1.877.578.2536 | E-mail: info@seesmartled.com | www.seesmartled.com

