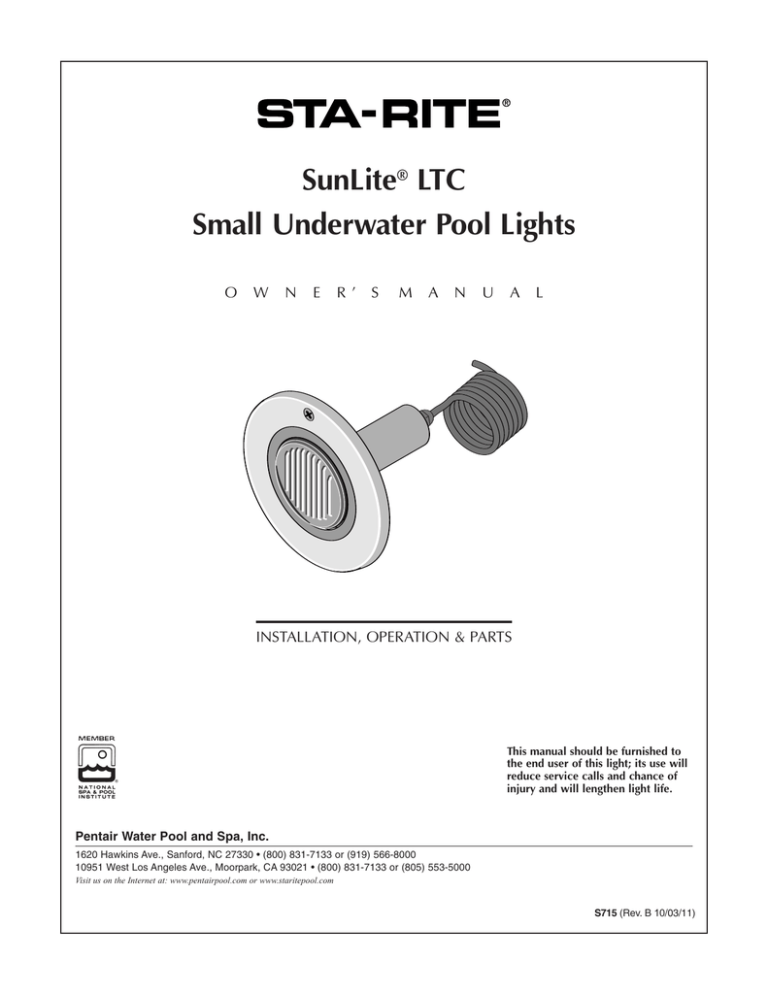
SunLite® LTC
Small Underwater Pool Lights
O
W
N
E
R’
S
M
A
N
U
A
L
INSTALLATION, OPERATION & PARTS
3051 0997 ASB
This manual should be furnished to
the end user of this light; its use will
reduce service calls and chance of
injury and will lengthen light life.
Pentair Water Pool and Spa, Inc.
1620 Hawkins Ave., Sanford, NC 27330 • (800) 831-7133 or (919) 566-8000
10951 West Los Angeles Ave., Moorpark, CA 93021 • (800) 831-7133 or (805) 553-5000
Visit us on the Internet at: www.pentairpool.com or www.staritepool.com
S715 (Rev. B 10/03/11)
Attention Installer: This manual contains important information about the installation, operation and safe
use of this product. This information should be given to the owner and/or operator of this equipment after installation.
WARNING — Before installing this product, read and follow all warning notices and instructions which are included.
Failure to follow safety warnings and instructions can result in severe injury, death, or property
damage. Call (800) 831-7133 for additional free copies of these instructions.
DANGER! Risk of Electrical Shock or Electrocution!
This product must be installed by a licensed or certified electrician or a qualified pool serviceman
in accordance with the National Electrical Code and all applicable local codes and ordinances.
Improper installation will create an electrical hazard which could result in death --- or serious
injury to pool users, installers or others due to electrical shock, and may also cause damage
to property. Always disconnect the power to the pool light at the circuit breaker before servicing
the light. Failure to do so could result in death or serious injury to serviceman, pool users or
others due to electrical shock. READ AND FOLLOW ALL INSTRUCTIONS IN THIS MANUAL.
WARNING — Important Safety Information for Pentair Niche and Light Installation
•
All Niche and Light installations must conform with all codes.
•
Under no circumstances replace lights by splicing wire under water or behind niche.
WARNING — RISK OF ELECTRIC SHOCK AND INJURY.
USE ONLY THE INSTALLATION METHOD SPECIFIED BELOW.
WARNING — THE LIGHT LENS MAY GET HOT WHEN IN USE. USERS SHOULD AVOID CONTACT WITH THE LIGHT
AS SERIOUS BURNS MAY RESULT FROM PROLONGED CONTACT WITH THE LIGHT.
Important Safety Information for Fountain Fixture Installations
Location of
Luminaire Use
Pentair Fountain Fixture*
(P/N 560000 – P/N 560001)
(P/N 560002 – P/N 560003)
Required Installation Method
Swimming Pool or Spa
Wet-Niche Swimming Pool
(or Spa) Luminaire (Light)
Fixture Housing (Forming Shell) ONLY.
DO NOT USE Fountain Fixture Stand.
Fountain
Wet-Niche Submersible
Swimming Pool (or Spa)
Luminaire (Light)
Fixture Housing (Forming Shell) or
Fountain Fixture Stand.
(*) Note: Wet-niche luminaires complying with requirements for both uses may bear both the Listed Wet-Niche Swimming Pool (or Spa)
Luminaire UL Mark and the Listed Wet-Niche Submersible Luminaire UL Mark. A luminaire not bearing the corresponding UL Listing Mark
is not considered by UL to have been produced under UL’s Listing and Follow-Up Service for the associated usage location.
© 2011 Pentair Water Pool and Spa, Inc. All rights reserved.
Sta-Rite® and SunLite® are trademarks and/or registered trademarks of Pentair Water Pool and Spa, Inc. Unless noted, names and brands of others
that may be used in this document are not used to indicate an affiliation or endorsement between the proprietors of these names and brands and Pentair
Water Pool and Spa, Inc. Those names and brands may be the trademarks or registered trademarks of those parties or others.
2
READ AND FOLLOW
SAFETY INSTRUCTIONS!
Burn hazard. Never operate this light fixture for more than 10 seconds unless it is completely
submerged in water. This fixture requires total submersion for cooling.
This is the safety alert symbol. When you see this
symbol in this manual, look for one of the following signal words and be alert to the potential for personal
injury.
Breakage hazard. Install fixture in a vertical
pool or spa wall – not in floor. Failure to install the fixture properly could result in personal injury and/or property damage. Do not push off from the poolside against
the light.
warns about hazards that will cause serious
personal injury, death or major property damage if
ignored.
Except when the fixture is installed in an area of the
swimming pool that is not used for swimming and the
lens is adequately guarded to keep any person from contacting it, the fixture shall be installed in or on a wall of
the pool, with the top of the lens opening not less than
18" below the normal level of the pool.
warns about hazards that can cause serious
personal injury, death or major property damage if
ignored.
warns about hazards that will or can cause
minor personal injury or property damage if ignored.
Locate junction box at least 8" above maximum water
level and not less than 4 feet from the perimeter of the
pool.
The label NOTICE indicates special instructions which
are important but not related to hazards.
Carefully read and follow all safety instructions in this
manual and on equipment.
The junction box must be located:
• at least 4’ from the perimeter of the pool (unless separated from the pool by a solid fence, wall or other
permanent structure,
• at least 8" above maximum water level,
• at least 4" above the deck or ground level.
End user should save these instructions.
GENERAL SAFETY!
Hazardous voltage. Incorrectly installed or
tested equipment may fail, causing severe injury or property damage. Read and follow instructions in owner's
manual when installing and operating equipment.
Installation and maintenance of this circuit, the light, light
niche, and any other accessories attached to the circuit,
must be performed by a licensed electrician.
Make sure that the installation is in compliance with
local codes, the NEC, and the CEC, as applicable. See
Figure 1, Page 5.
The improper use of Ozone generators, Chlorine generators, Copper/Silver Ion generators or certain chemicals
for water purification may cause damage to the fixture.
When such water purification methods are used, be sure
to monitor the water conditions. Subjecting the fixture to
extreme conditions or harsh environments may cause
corrosion and premature failure of the fixture or its
components.
The complete electrical system must be installed, tested,
and approved by a licensed electrician before it is placed
in operation. Failure to have this product installed by a
licensed professional will void the product warranty.
Risk of electrical shock. Before removing
fixture from pool wall, ALWAYS TURN OFF THE POWER
at the breaker.
Cutting hazard if light is improperly
installed. This light is for use only in commercial and
residential swimming pools and spas. It has not been
designed, tested, or approved for use in wave pools,
lazy rivers, or other waterpark features, and should not
be used in them. Use in any application other than a
swimming pool or spa may lead to damage to the light
and cuts to swimmers and will void the warranty.
Sta-Rite will not be responsible for any damages or
injuries due to misapplication of this light.
All 12 Volt lamps require the installation of a 12 Volt
transformer.
This light and its light niche must be installed in accordance with Article 680 of the National Electrical Code
(NEC), in the United States, or Section 68 of the Canadian
Electrical Code (CEC), as applicable, and all local code
requirements.
Install an approved Ground Fault Circuit Interrupter in
the electrical circuit for this light.
All devices in the system must be directly grounded to a
positive electrical ground. All devices in the system must
meet all applicable code requirements for bonding.
3
SPECIFICATIONS
Table I
Type of Pool
Small Residential Pools
(Less than 800 sq. ft.)
Large Public Pools
Diving Pools
(Less than 12 ft. deep)
Diving Pools
(12 to 20 ft. deep)
Competition Pools
SunLite® LTC Small Underwater Pool Lights
with Stainless Steel Face Ring
Allowance of Watts/Sq. Foot
of Pool Area
Model No.
12V - 75 Watts
05603-2030
05603-2050
05603-2100
120V - 100 Watts
05605-2030
05605-2050
05605-2100
120V - 250 Watts
05607-2030
05607-2050
05607-2100
1/2 to 1*
1 to 11⁄2
11⁄2 to 2
2 to 3
2 to 3**
* One 500 watt light at deep end of pool is recommended.
** For competition pools:
1. Make sure that the start/finish ends of lanes are well
lighted.
2. Never install lights in end walls at end of swimming
lanes. However, if short course racing is provided across
width of a 50 meter course, light fixtures may be
installed between lanes (under racing lines) on a seperate
switch.
4
Cord Length in Feet (m)
30 (9.1)
50 (15.2)
100 (30.5)
30 (9.1)
50 (15.2)
100 (30.5)
30 (9.1)
50 (15.2)
100 (30.5)
INSTALLATION
3. Make connections in the conduit box (be sure to follow code requirements!). Connect the supply circuit
grounding wire (green, green and yellow, or bare
copper) to the green ground conductor from the light
fixture. Connect the line supply wire (the black or
’hot’ wire) to the black wire from the light fixture.
Connect the neutral (white) supply wire to the neutral
(white) wire from the light fixture.
SunLite® LTC Lamp Housing Installation
(Refer to Figure 1, below)
Burn hazard. This light should never be
energized while laying face down on the pool deck.
Installation of a 12 Volt transformer is required when
installing the 12 Volt model of this light. The transformer
must be located:
4. Coil the remaining cord in the back of the niche and
place the lamp housing in the niche. The mounting
tab on the bottom of the lamp housing must be in the
notch at the bottom of the niche.
• at least 10’ from the pool wall,
• installed near a grounded, 3-prong, 120V, GFCI
protected outlet. If you do not have a GFCI protected
outlet, have a qualified electrician install one.
5. Fasten the lamp housing into the niche with the
captive leader screw at the top of the lamp housing
(use a No. 2 Phillips screwdriver). Tighten this screw
securely (20 inch-pounds torque) to insure good
electrical bonding.
Do not use a 3-prong adapter. The adapter voids the
grounding of the system.
Do not cut the grounding pin.
NOTICE: The leader screw in the face ring may be
recessed.
Do not use an extension cord! Purchase a light with a
longer cord.
NOTE: Do not try to loosen the strain relief (cord nut) on
the back of the lamp housing; the cord is not detachable
from the lamp housing. Attempting to loosen the strain
relief will damage the lamp housing assembly, void the
warranty and may cause an electrical shock hazard if the
pool bonding is not connected and functioning correctly
(see “General Safety”, Page 2).
1. Be sure the power is off.
2. Place lamp housing on the deck above the niche.
Feed the cord through the back of the lamp housing
and to the conduit box. Make sure that there is
enough cord to allow the fixture to be placed on the
deck for re-lamping.
Junction box
4 Ft. Min.
Fixture removed
for relamping
To
service
Max. water
level
8” Min.
18” Min.
8” Min.
Low level
probe
To service
Brass conduit
Fixture
Pool wall
Figure 1: Lamp Housing Installation
Sufficient cord to allow fixture to
be put on the deck for relamping
5
To fixture
Lamp Installation Instructions (Re-lamping)
6. To close the fixture, make sure the clamp ring is open
to about 4 inches and that the nut is at the end of the
leader screw.
See Figure 2, Page 7, for Key numbers.
1. Be sure that the power is off. Allow the lamp to cool
before relamping.
7. Lay the face ring face down on a flat surface.
Carefully align the clear lens (Key No. 4) and lens
gasket (Key No. 5) over the flanged hole in the face
ring (key No. 2), with the word “top” on the lens
lined up with the leader screw on the face ring. The
silver tape should be on top and the arrow pointing
toward the lamp.
2. Remove the leader screw (Key No. 1) from the face
ring and lift the lamp housing up and out of the
niche.
3. Loosen the screw and nut on the clamp ring assembly
(Key No. 5) until the nut is near the end of the screw.
Swing the screw and nut out of the forked slot of the
clamp ring assembly and bend the clamp ring open
to about 4 inches.
8. Align the lamp housing over the lens gasket with the
word “top” inline with the leader screw in the face
ring.
4. To relamp 120V model, remove the lamp by turning
it counterclockwise and pulling it straight out.
Replace with an equivalent lamp. For the 12V model,
remove the lamp by pulling it straight out while holding the spring clip back (away from the socket).
Replace with an equivalent lamp.
9. Position one half of the clamp ring around the metal
flanges of the face ring and lamp housing.
10. Close the clamp ring, fitting the other half over the
same flanges.
11. Swing the nut and screw into the slotted end of the
clamp assembly. Tighten this screw securely (20 inchpounds torque) to insure good electrical bonding.
5. Using a clean soft lint free cloth, carefully wipe all
sealing surfaces on the lamp housing and lens.
12. To replace the lamp housing in the pool wall hook
the bracket at the bottom of the niche and tighten the
leader screw on the face ring of the lamp housing.
NOTE: Do not touch the lamp with your bare fingers. If
contact occurs, clean the lamp glass with alcohol and a
clean cloth.
6
7
LAMP
6
5
4
3
Note gasket orientation.
2
4405 0903
1
Figure 2 – SunLite® LTC Lamp Exploded View
REPAIR PARTS LIST – SUNLITE® LTC LAMPS
3051 0997
Key
No.
1
2
3
4
5
6
7
•
•
•
•
Part Description
Leader Screw*
Face Ring, SS, Assy Kit
Rubber Retainer for Leader Screw*
Clear Lens, Kit
Gasket, Lens
Clamp Ring Assembly
Lamp Housing
Lamp, 100W, 120V, Halogen, T-4 MC
Lamp, 75W, 12V, Halogen, MR 16
Lamp, 250W, 130V, Halogen, T-4 MC
Replacement Screw Kit
Qty.
05603 Series
12V, 75W
05605 Series
120V, 100W
05607 Series
120V, 250W
1
1
1
1
1
1
1
1
1
1
1
05601-0001
05601-0005
34620-0002
05601-0014
05601-0006
†
79112400
05601-0101
05601-0001
05601-0005
34620-0002
05601-0014
05601-0006
†
79102900
05601-0101
05601-0001
05601-0005
34620-0002
05601-0014
05601-0006
†
79113800
05601-0101
† Not sold separately.
• Not illustrated.
* Included with Replacement Screw Kit.
SAVE THESE INSTRUCTIONS
7
© 2011 Pentair Water Pool and Spa, Inc. All rights reserved.
1620 Hawkins Ave., Sanford, NC 27330 • (800) 831-7133 or (919) 566-8000
10951 W. Los Angeles Ave., Moorpark, CA 93021 • (800) 831-7133 or (805) 553-5000
This document is subject to change without notice.
S715 (Rev. B 10/03/11)
8

