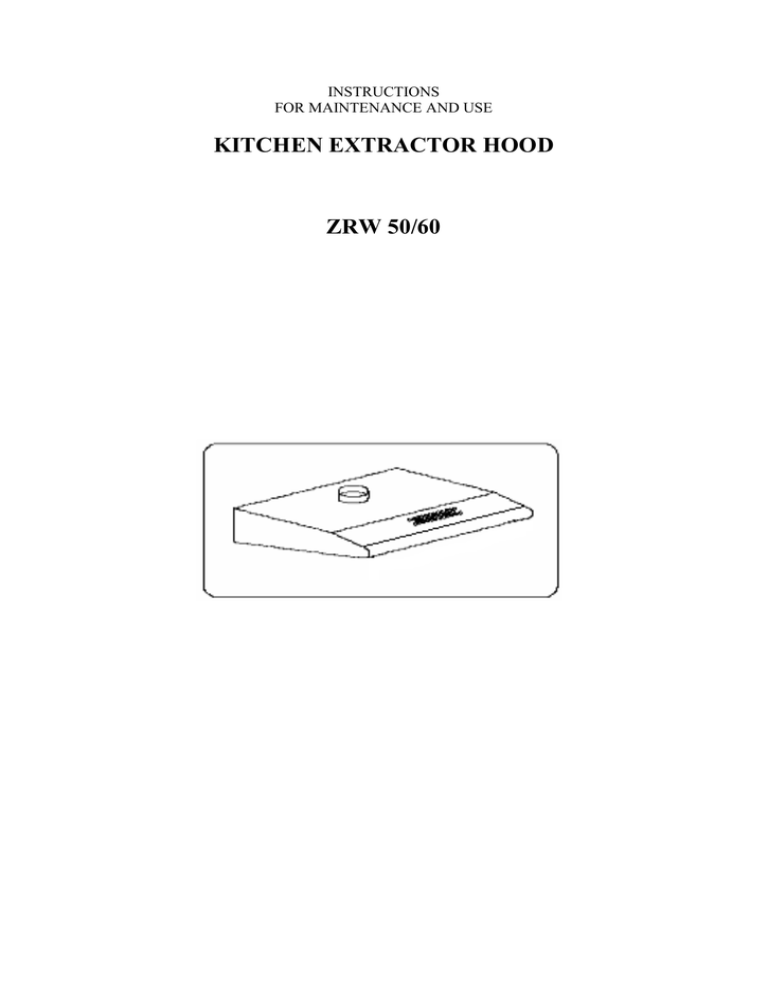
KITCHEN EXTRACTOR HOOD ZRW 50/60
advertisement

INSTRUCTIONS FOR MAINTENANCE AND USE KITCHEN EXTRACTOR HOOD ZRW 50/60 Dear Customer You are now a user of a kitchen extractor hood of ZRW type. This hood has been designed and manufactured specially with a view to satisfying your expectations and it will certainly constitute a fitting element of a modern kitchen. The modern structural solutions and the newest technologies used in production of this hood guarantee its high effectiveness and good appearance. Please read these instructions carefully before installing the hood. They will help you avoid mistakes during installation and operation of the hood. We wish you a lot of satisfaction from choosing our kitchen extractor hood. NOTE: The manufacturer will accept no responsibility for any damage due to installation or operation not conforming to these instructions.. I Characteristics ZRW kitchen extractor hood was designed to remove or neutralize kitchen fumes. It has to be installed permanently over a gas or electric cooker. It requires installation of a conduit discharging used air to the outside if working in fume removal mode. The conduit (a pipe Ø120 mm) shall not be longer than 4-5 m. The hood can operate as an odour absorber after installation of an active carbon filter. In such case a conduit discharging used air to the outside is not necessary. The kitchen hood is an electrical appliance manufactured according to class II of fire protection, equipped with a permanent supply cord and plug. It has its own lighting and an exhaust fan which can be set to one of three rotational speeds. II Technical data Power supply voltage Fan motor Lighting Number of grease filters Number of speeds Width (cm) Depth (cm) Height (cm) Mass (kg) Air outlet (ø mm) Capacity (m3/h) Power consumption (W) Noise level (dBA) AC 230V 50 Hz 1 40 W 1 3 50, 60 50 13 6 (60 cm) / 4,8 (50 cm) 120 320 max. 135 max. 51 2 III Components ZRW kitchen hood consists of the following elements (Fig. 1): Hood casing [A], provided with fan outlets [B] and [F], set of switches [D], flange [C] for connecting the ventilation conduit. Fig.1 IV Operating conditions 1. The kitchen hood was designed for removal of kitchen fumes to the outside. It should be connected to an appropriate ventilation duct (do not connect the hood to any chimney, smoke or flue-gas ducts which are in use). 2. The safe distance between a cooker plate and the kitchen hood should be at least 650 mm. 3. Do not leave open flame under the hood. When removing pots from the burners set the flame to its minimum level. 4. Any food cooked in fat shall be constantly monitored, since overheated fat can ignite very easily. 5. The textile grease filter should be replaced, and the aluminium filter should be cleaned at least every 2 months in connection with the existing fire danger (saturated fat is very flammable). 6. Pull the plug of the power cord from a wall socket before any filter cleaning or repair operation. 7. If any other non-electric devices are used in the same room as the hood (e.g. liquid fuel ovens, flow-through or volumetric water heaters), it is necessary to provide appropriate ventilation (air supply). Safe operation is possible when during simultaneous operation of the hood and combustion devices dependent on air supply the negative pressure of not more than 0.004 milibar is maintained at the location of these devices inside the room (this point does not apply when the hood is used as an odour absorber). 8. When connecting to 230V power supply network use an electric socket in working order. Fig. 2 3 V Installation To install the hood perform the following operations: 1. mount the hood body [C], 2. connect the hood to power supply network. 1. Installation of the hood body a) trace a vertical line on the wall to indicate the center of the cooker plate, dismantle the grease filter, hold the hood body „A” to the wall with its indicated center point on the vertical line, with the distance between the holes and the cooker plate at least 710 mm (Fig.2). Note: make sure that the hood body „A” is level. Fig. 3 b) mark the locations of fixing holes on the wall c) drill the holes as marked on the wall, using drills of diameter corresponding to the attached expansion plugs, drive the plugs in and then screw the hood body „A” to the wall (rys 3). 2. Connecting to the power network and operation check After connecting the device to the power supply network (in accordance with the requirements defined above) it is necessary to check operation of the motor and lighting of the hood. 3. Setting the operation mode of the kitchen extractor hood 3.1 Setting the air extractor mode of operation of the hood In the extractor mode air is discharged to the outside by a special conduit. In that setting any carbon filters shall be removed. The hood should be connected to the opening discharging air to the outside by means of a rigid or flexible conduit of 120 mm diameter, which should be purchased in a shop selling installation materials. A qualified installer should be commissioned to make the connection. 4 3.2 Setting the odour absorber mode of operation of the hood In this option filtered air returns to the room through openings in the front of the hood. In this setting it is necessary to install the carbon filter (Fig. 6). VI Operation and maintenance] 1. Operational safety. All safety instructions included in chapter IV must be observed. Textile grease filters and carbon filters should be replaced and aluminium filter should be cleaned according to manufacturer’s instructions, or more frequently in periods of intensive use (more than 4 hours a day). If a gas cooker is used it is forbidden to leave uncovered flame. When removing pots from gas burners set the flame to its minimum level. Always make sure that flame does not extend outside the pot. Such a situation causes undesired energy losses and dangerous heat build-ups. The hood should not be used for other purposes than those for which it was designed. 2. Operation: 2.1 Control panel Fig. 4 Operation of the hood can be controlled by means of switches „W” and „O” (Fig. 4): - switch „O” controls lighting. Shifting the switch to the left turns the lighting on, to the right turns the lighting off. - switch „W” is used to control the hood motor. Successive shifts to the left turn on three fan operation speeds. These control options enable the user to set the optimum fan speed for his requirements at minimum noise. 3. Maintenance. Regular maintenance and cleaning of the device will guarantee its good and fault-less operation, and extend its life. Attention should be paid to replacing grease and carbon filters according to instructions. 5 3.1 Grease filter a) replacement The grease filter should be replaced at least every two months during normal operation of the hood. The filter can be dismantled by releasing its securing studs (Fig. 5), keeping in mind that the filter has to be protected with your hand during releasing the studs, removing catches D which secure the filters (Fig. 6), then you can replace the filter and reinstall the catches and the mesh. Fig. 5 3.2 Carbon filter a) operation Carbon filters (C Fig. 6) can absorb odours until they are saturated. They cannot be washed or regenerated and should be replaced at least every 2 months or more frequently in case of very intensive use. b) replacement - remove masking cover A (Fig. 6) together with grease filter B, - replace carbon filter C situated on the textile filter B, - install the grease filter with the carbon filter in the hood. Fig. 6 3.3 Lighting The lighting system consists of 40 W power light bulb. To replace a light bulb proceed as follows: a) remove the masking cover A from the hood body (see section 3.1 a) b) replace the bulb using a piece of cloth or paper for that purpose, c) install the masking cover A. 3.4 Cleaning When cleaning your hood never use: - solvents or alcohols which might dull lacquered surfaces - caustic or abrasive substances, particularly for cleaning stainless steel surfaces It is recommended to us moist cloth and liquid neutral cleaning agents. 6


