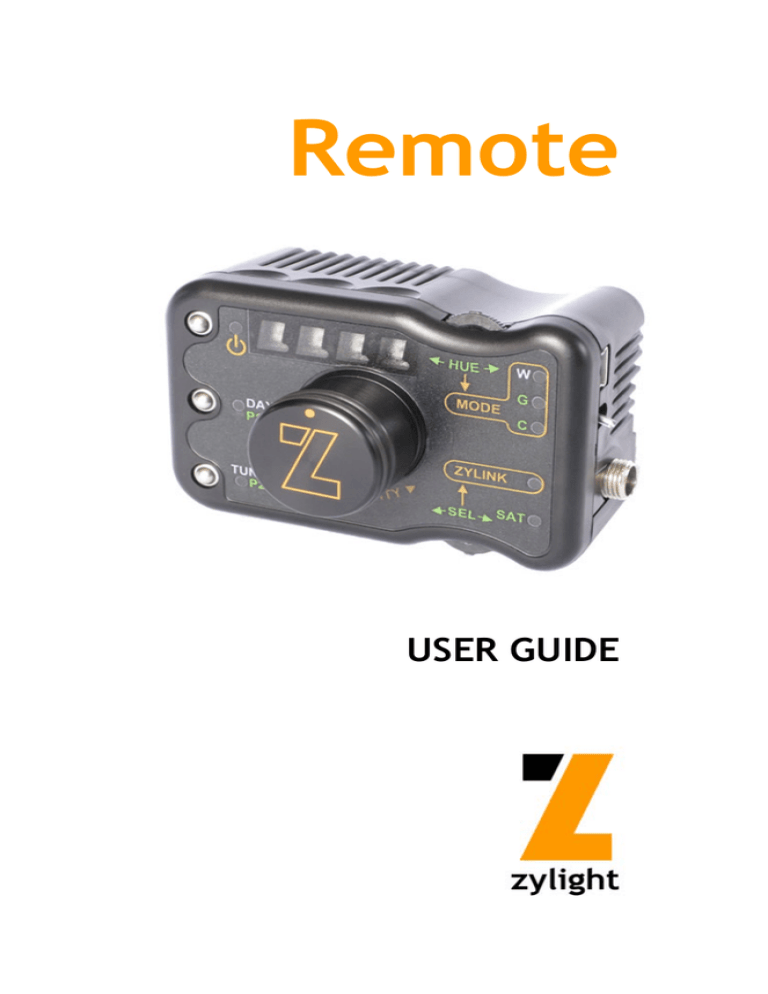
Remote
USER GUIDE
Thank you for choosing Zylight.
We at Zylight are happy that you chose the Remote.
There are many lighting systems out there to choose
from, and we think you will agree that what you hold in
your hands is part of the most versatile production
lighting system on the planet.
At Zylight our mission is to bring truly intelligent lighting
to your shoots. With its small size and weight, DMX
compatibility, and wireless ZyLink™ technology, the
Remote gives you unmatched flexibility and creativity
in the palm of your hand.
The people who engineered and built your Remote are
the same folks who will answer any questions you may
have about it. We use our lights everyday, and would
love to hear any comments or suggestions you may
have about how we can improve our products.
The Remote may be small, but it is certain to have a
big impact on your next project!
Enjoy,
- The Zylight Team
info@zylight.com
www.zylight.com
2
Remote Overview
FADER
PRESET 1
FADER
PRESET 2
DMX CHANNEL
BUTTON
TOP
THUMBWHEEL
POWER
BUTTON
USB PORT
POWER
SWITCH
DAY / P1
BUTTON
DC POWER
JACK
TUNGSTEN / P2
BUTTON
INTENSITY KNOB
BOTTOM
THUMBWHEEL
ANTENNA
CONNECTOR
(NOT VISIBLE)
BELT CLIP
ATTACHMENT
DMX INPUT JACK
(5-PIN XLR)
3
Powering the Remote
The Remote is turned on or off by using the power toggle switch on the right
side of the Remote. Move the switch up to turn on the Remote.
The Remote includes an internal rechargeable NiMH battery giving up to eight
hours of standalone (non-DMX) operation. To extend battery life, the Remote
should be turned off when not in use.
To charge the Remote’s battery, you may plug in a Zylight Z90 or Z50 AC
Adapter into the DC jack, or you may plug in a standard mini-USB cable into the
USB port. The other end of the USB cable must be connected to a compatible
USB port on a computer, and that computer must be turned on. The Remote
will accept any power supply from 6-20VDC and requires 500mA to charge
properly. The power toggle switch will light up red to indicate the Remote is
charging. When charging is complete, the red light will turn off.
Please note that battery operation in DMX mode is discouraged and will
significantly shorten the run time of the Remote. It is advised to power the
Remote via AC adapter or USB while operating in DMX mode.
Standalone Mode
To use the Remote in standalone mode, simply turn on the power toggle switch
on the right side of the Remote. The Remote will display an interface identical to
a Zylight Z90. Operate the Remote as you would another Z90 in ZyLink mode.
Be sure ZyLink is enabled on the lights you wish to control, and the Remote is
set to the same ZyLink channel as the lights: Z90s have ten ZyLink channels to
choose from, while Z50s always communicate on channel 1. [See the Zylight
Z90 or Z50 Instruction Manuals for specific information on ZyLink
operation.]
Please note: The Remote will not respond to ZyLink commands sent from
other lights. Also, due to the wireless functionality of the Remote, ZyLink mode
cannot be disabled on the Remote as it can on our lights.
Fader Operation
The Remote includes Faders to smoothly transition a Z90 from one setting to
another. The Faders are controlled using the left two Fader Preset buttons on
the top of the Remote. Note: Z50 lights are not compatible with Faders.
4
To use a Fader:
1. Adjust the Remote so your lights are producing the output you wish to fade
to. Then press and hold the desired Fader preset button until the power
light (top left) starts blinking. Release the Fader preset button.
2. Adjust the fade or transition time by pressing and holding the desired Fader
preset button and moving the top thumbwheel (labeled Hue) until the
desired fade time (1-10 seconds) appears on the display.
3. Adjust the Remote so your lights are producing the output you wish to fade
from. Press and release the desired Fader preset button, and the lights will
smoothly fade to the preset you defined earlier.
Tip: To quickly save and recall colors you wish to fade from, use the Preset
functionality of the Remote. This operates the same as Presets on a Z90.
Simply push and hold the P1 or P2 button to save a color. Then, after fading to
your new setting, recalling your original setting is as easy as pushing and
releasing the P1 or P2 button.
Faders are independently set in each of the Z90’s three modes, as indicated by
the Mode indicators: White Mode, Gel (or Variable Color Temperature) Mode,
and Color Mode. Therefore, there are two Fader Presets for each of the three
modes. Please Note: You cannot fade from one mode to another.
Fader Example
Example: Fade a Z90 from 5800k to 4200k over 3 seconds
Steps:
1. Set up a Z90 in ZyLink mode on channel 1 by pressing and holding the
Z90’s bottom rocker switch until the “ZYLINK” light turns on. Then
repeatedly press and release the Z90’s bottom rocker switch on the Z90
until the display reads CH 1.
2. Set the Remote to channel 1 by repeatedly pressing and releasing the
Remote’s bottom rocker switch until the display reads CH 1. The Z90
should now respond to control from the Remote. If the Z90 is not lit at this
time, turn on the light with the Power button on the Remote (top left).
3. Put the Z90 in Gel mode by holding the top rocker switch on the Remote
until the “MODE” light indicates “G”.
4. Choose 4200k by adjusting the top thumbwheel on the Remote.
5. Press and hold the Fader 1 button until the power light on the Remote
blinks. This will save 4200k as the destination output of Fader 1.
6. Press and hold the Fader 1 button while adjusting the top thumbwheel on
the Remote to choose the fade time of Fader 1. For this example, set the
display to read “3 s”, indicating a 3 second fade time.
7. Choose 5800k by adjusting the top thumbwheel on the Remote. This will
be the output you are fading from.
8. To execute the fade, press and release the Fader Preset 1 button. The Z90
will fade smoothly from 5800k to 4200k over 3 seconds.
5
External Antenna
For optimum range and reliability, the Zylight Remote requires the use of the
included external antenna. The antenna can be attached and removed from the
Remote by turning the knurled locking ring at the base of the antenna. The
antenna can be swiveled and tilted during use to a convenient position. The
Remote has an approximate transmit range of 66-feet [20-meters].
Belt Clip
A removable belt clip is included for convenience in securing the Remote during
use. To attach the belt clip, simply slide the slotted tabs of the belt clip into the
receptacle on the back of the Remote. To remove the belt clip, depress the
metal tab between the belt clip and the Remote body, and slide the belt clip out
of the receptacle.
Non-slip Feet
Four non-slip rubber feet are included to provide a sturdy base for desk-top use
of the Remote. To use them, simply peel the feet from their backing and place
them into the four round recesses on the bottom of the Remote.
DMX Operation
The Zylight Remote includes the capability to control up to ten banks of Zylights
wirelessly via DMX. Simply plug the Zylight Remote into a DMX controller and
set up the DMX channels as indicated on the facing page.
The Zylight Remote uses a total of 110 DMX slots. Each ZyLink channel uses
11 DMX slots, and all 10 ZyLink channels can be controlled by the Remote
simultaneously. Within the 110 DMX slots the first 11 slots correspond to ZyLink
channel 1, the second 11 to ZyLink channel 2, etc.
To change the DMX start address of the Remote, press and hold the DMX
Channel button while adjusting the start address with the top thumbwheel. The
start address can be set from 1 to 411. The DMX start address cannot be
changed while the Remote is in standalone mode (DMX not connected).
The Zylight Remote is a terminated device, and must be placed at the end of a
DMX chain. It is internally terminated with a 120-ohm resistor and does not
include a DMX output port for daisy-chaining. The Remote conforms to the
DMX512-A and DMX512 (1990) protocol standards.
The Zylight Remote automatically switches into DMX Slave mode when a DMX
plug is connected to the Remote. In this mode, the Remote will not function as a
handheld controller; it only accepts commands via DMX.
6
DMX Channel Map
Slot 1: ZyLink Channel Enable - This control disables broadcast on the
respective ZyLink channel when under 50%, and enables broadcast when
above 50%.
Slot 2: Shutter - This control turns the light off when under 50%, and turns the
light on when above 50%. It is equivalent to the power button on the Z90.
Slot 3: Mode. -This control changes the mode of the Z90. From 0-33% the light
is in White mode. From 33-66% the light is in Gel mode. From 66-100% the
light is in Color mode.
Slot 4: White Mode Color Temperature - This control changes the color
temperature while in White Mode. From 0-50% the light outputs Daylight
(5600K), and from 50-100% the light outputs Tungsten (3200K).
Slot 5: Gel Mode Color Temperature - This control changes the color
temperature while in Gel Mode, from 2500K (0%) to 9000K (100%).
Slot 6: Color Correction - This control changes the color correction while in Gel
Mode, from -10 (0%) to +10 (100%). If no color correction is desired, leave
this channel at 50%.
Slot 7: Color Hue - This control changes the hue while in Color Mode. It follows
an R-G-B-R color wheel.
Slot 8: Fine Color Hue - This control fine-tunes the hue while in Color Mode,
allowing finer color selection. This control can also be used with computerized
faders to allow smoother color fades.
Slot 9: Saturation - This control changes the saturation while in Color Mode,
from 0% (white) to 100% (fully saturated color).
Slot 10: Intensity - This control adjusts the intensity from 0% (minimum
brightness) to 100% (maximum brightness). Please note that to preserve color
fidelity, lights cannot turn off completely at minimum intensity. Use the Shutter
(Slot 2) to turn off the light completely.
Slot 11: Fine Intensity - This control fine-tunes the intensity, allowing finer
intensity selection. This control is best used with computerized faders to allow
smoother intensity fades.
7
REMOTE SPECIFICATIONS
MECHANICAL
SIZE:
3.2" x 2.5" x 2.0" [84mm x 64mm x 51mm]
WEIGHT:
4oz. [113g]
MOUNTING:
Belt Clip (removable)
ELECTRICAL
INPUT:
6-20V DC
DC PLUG:
Positive Locking Type
OD: 5.5mm, ID: 2.1mm
AC ADAPTER:
100-240V, 50-60Hz
BATTERY LIFE:
8 Hours: Standalone Mode
3 Hours: DMX Mode
WIRELESS FREQ:
2.45GHz
RANGE
66 Feet [20 meters]
CHANNELS:
10
ZYLIGHT PRODUCTS ARE PROTECTED BY THE FOLLOWING U.S. AND FOREIGN
PATENTS WITH OTHER U.S. AND FOREIGN PATENTS PENDING:
US 6,608,453
US 6,777,891
US 6,016,038
US 6,150,774
US 6,211,626
US 6,788,011
US 6,340,868
US 6,806,659
CA 2,302,227
EP 1 016 062 B1
AU 757000 B2
HK 1025416
DE 698 07 092 C0
This device complies with part 15 of the FCC Rules. Operation is subject to the following two conditions: (1)
This device may not cause harmful interference, and (2) this device must accept any interference received,
including interference that may cause undesired operation. Changes or modifications not expressly approved
by the party responsible for compliance could void the user's authority to operate the equipment.
Per FCC 15.105(a), Note: This equipment has been tested and found to comply with the limits for a Class A
digital device, pursuant to part 15 of the FCC Rules. These limits are designed to provide reasonable
protection against harmful interference when the equipment is operated in a commercial environment. This
equipment generates, uses, and can radiate radio frequency energy and, if not installed and used in accordance with the instruction manual, may cause harmful interference to radio communications. Operation of
this equipment in a residential area is likely to cause harmful interference in which case the user will be
required to correct the interference at his own expense.
Zylight LLC
152 SE 5th Avenue, Suite C
Hillsboro, OR 97123
+1-978-244-0011
www.zylight.com
© Copyright 2003-2011 Zylight LLC. All rights reserved. 24-07003 Rev. 3

