15P Working with Text
advertisement
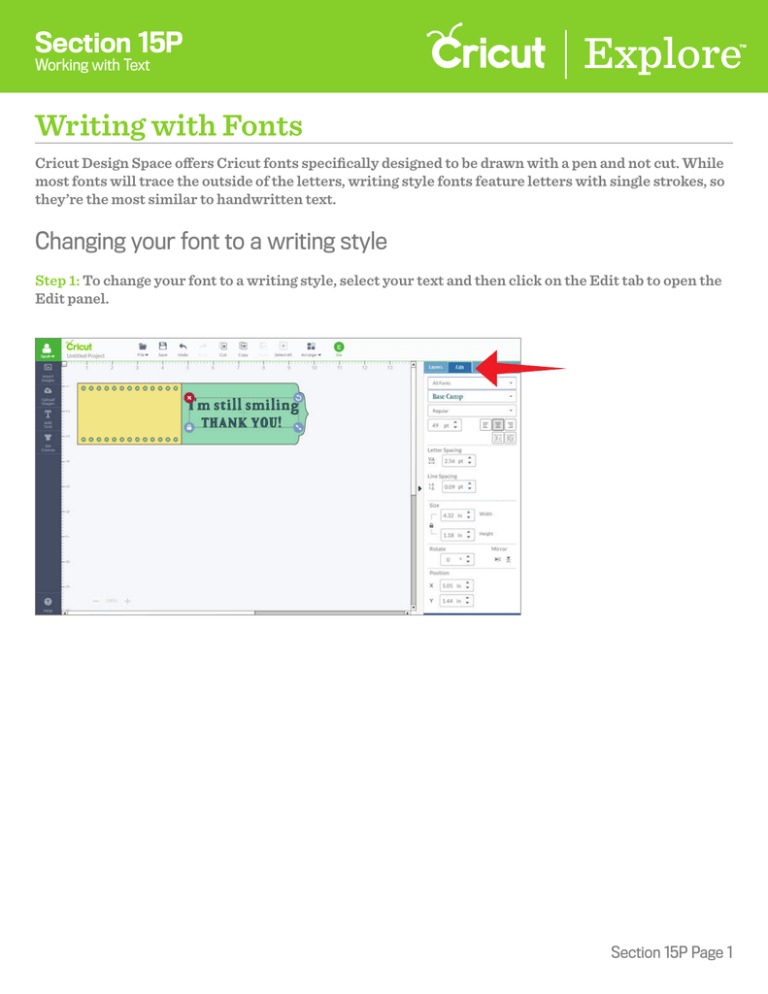
Section 15P Working with Text Writing with Fonts Cricut Design Space offers Cricut fonts specifically designed to be drawn with a pen and not cut. While most fonts will trace the outside of the letters, writing style fonts feature letters with single strokes, so they’re the most similar to handwritten text. Changing your font to a writing style Step 1: To change your font to a writing style, select your text and then click on the Edit tab to open the Edit panel. Section 15P Page 1 Section 15P Working with Text Writing with Fonts Step 2: Click on the first dropdown in the Edit panel to filter for different font options. There are five options to choose from. Select the “Has Writing Style” option to find fonts specifically designed to be drawn with a pen and not cut. Keep in mind that not all fonts have a writing style option available. Writing style fonts automatically default to being drawn with a pen rather than cut. The text on the design screen will be changed to a Write Line Types. Section 15P Page 2 Section 15P Working with Text Writing with Fonts Step 3: Choose a font design by clicking on the Font Type menu. Scroll through the options or enter a name in the search field and then click on a font of choice. The new font will be displayed. Step 4: Click on the Layers tab to open the Layers panel. Select the image layer to display the Line Type flyout. Make adjustments to the pen color. Tip: You will notice the line type is set to write and the color options have changed to match the colors of the available Cricut pens. Section 15P Page 3 Section 15P Working with Text Writing with Fonts Step 5: You need to indicate which layer the text should be written on. To do this, you need to use the Attach feature. Ungroup the image you are attaching your text to if it has multiple layers. Step 6: Select both the text to be written and the image or layer you would like it to write on. Section 15P Page 4 Section 15P Working with Text Writing with Fonts Step 7: Once your images have been selected, click “Attach” on the Layers panel. Your text will be converted to an image and will be written on the layer it has been attached to. Step 8: You will know that your images are attached because they will appear as an Attached Set on the layers panel. Click “Go” to begin the cutting process. Section 15P Page 5 Section 15P Working with Text Writing with Fonts Step 9: The images will appear on the Mat preview screen exactly as you have them arranged on your project. Click “Go” to continue. Step 10: During the cutting process, you will be prompted to insert your pen when necessary. Tip: If items are not attached, Cricut Design Space will cut in paper saver mode, meaning it will automatically place objects on the cutting mat as close together as possible to conserve material and written text will be placed on its own cutting mat. Section 15P Page 6
