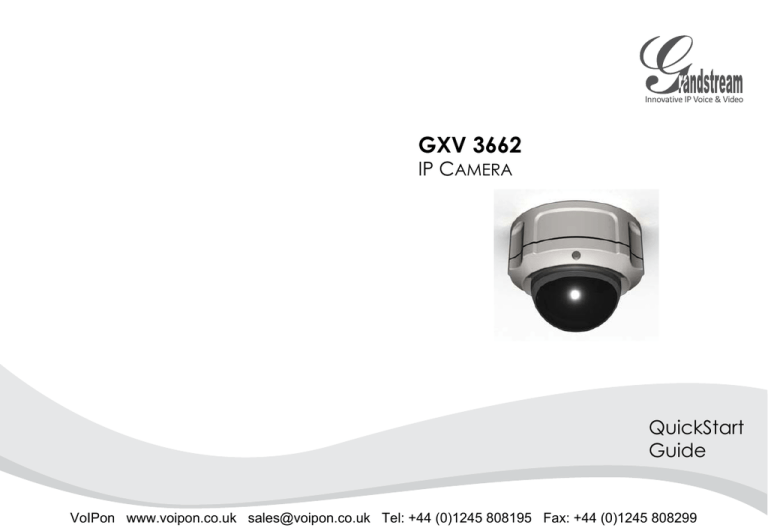
GXV 3662
advertisement

GXV 3662 IP CAMERA QuickStart Guide VoIPon www.voipon.co.uk sales@voipon.co.uk Tel: +44 (0)1245 808195 Fax: +44 (0)1245 808299 PRECAUTIONS • Do not attempt to disassemble, or modify the device • Do not use a third party power adapter • Do not expose this device to temperatures outside the range of -20 °C to +60 °C • Do not expose the GXV3662 to environments outside of the following humidity range: 10-90% RH (non-condensing) GXV3662 Indicators and Connectors IR-CUT Filter Internal Temperature Regulator Lens PACKAGE CONTENTS SD Card Slot V 12 GXV3662 Power Adapter Power Port x3 x3 Tool Set Reset Button Network Port Alarm/Audio Alignment Sticker Terminal Block ~1~ Quickstart Guide ~2~ VoIPon www.voipon.co.uk sales@voipon.co.uk Tel: +44 (0)1245 808195 Fax: +44 (0)1245 808299 Installation Lens Adjustment Step 1: Take out the 3 screws on the housing. Use the tool comes with the package. Step2: Open the cover. 1 2 Cable Cable Cable Cable Step3: Attach the alighment sticker onto the surface. Step4: Drill 3 holes at the place where the mounting holes ) and hammer the 3 plastic anchors into the holes. are ( Then, insert the screws. Feed the cables through the cable hole. 1. Adjust the lens VERTICALLY: - Loosen the screws on both sides of axle. - Adjust the lens to desired position. Allowed adjustment range is 0 ° ~160 °. -Tighten the screws to finish adjustment. 2. Adjust the lens HORIZONTALLY: - Turn the lens to desired position. Allowed adjustment range is 0 ° ~ 356 °. Step5: Adjust the lens. (More detail on page 4) Step6: Screw back to the housing. Step7: Complete the installtion. ~3~ ~4~ VoIPon www.voipon.co.uk sales@voipon.co.uk Tel: +44 (0)1245 808195 Fax: +44 (0)1245 808299 CONNECTING THE GXV3662 GXV3662 CONFIGURATION Configuring the GXV3662 using Microsoft Internet Explorer Connect the GXV3662 to the DHCP server Network Port Power Port Step 1: Navigate your browser to: http://www.grandstream.com/support/gxv_ series_surveillance/general/resources/gs_search.zip Step 2: Run the Grandstream GS_Search tool, that you just downloaded. Option A-Power over Ethernet(PoE) When using a PoE switch,plug an RJ45 Ethernet cable into the network port. Insert the other end into a Power over Ethernet (PoE) switch Step 3: Click on detection button in order to begin device Step 4: The detected devices will appear in the Output field Option B-Power Adaptor Insert the power adapter into the 12V DC port on the GXV3662. Plug the other end of the adapter into an AC power outlet. Plug an RJ45 Ethernet cable into the network port. Insert the other end into a hub, switch or router. ~5~ ~6~ VoIPon www.voipon.co.uk sales@voipon.co.uk Tel: +44 (0)1245 808195 Fax: +44 (0)1245 808299 Step 5: Open Microsoft Internet Explorer on your PC. Type in the IP in the address bar. Step 6: A pop-up window will appear with prompts for a user name and password. The default administrator user name and password are both set to “admin” at the default factory configuration. Step 7: Once you log into the GXV3662’s web interface Internet Explorer will indicate that “This website wants to install the following add-on: ‘GSViewer. cab’ from Grandstream Networks, Inc.” Install this add-on by following the instructions. Step 8: Once the installation of GSViewX.cab is completed, you will see the web page shown in the screenshot on the next page. Click on the play button to view the video feed. ~7~ ~8~ VoIPon www.voipon.co.uk sales@voipon.co.uk Tel: +44 (0)1245 808195 Fax: +44 (0)1245 808299 Step 9: Click through the menu on the left hand side of the web UI for more advanced configuration parameters. Connect the GXV3662 using Static IP Step 3: Open Microsoft Internet Explorer on your PC. Type 192.168.1.168 in the address bar. Step 4-7: Please refer to Step 6-9 on Page 7. If the camera does not get an response from the DHCP server after 3 minutes, it can be accessed by the default IP 192.168.1.168 Step 1: Connect your PC and the GXV3662’s to the same network. Step 2: Set the IP address of your PC to 192.168.1.X. Set the Default Gateway of your PC to 255.255.255.0. Please download the user manual and FAQ for more detailed configuration instructions: http://www.grandstream.com/support ~9~ ~10~ VoIPon www.voipon.co.uk sales@voipon.co.uk Tel: +44 (0)1245 808195 Fax: +44 (0)1245 808299 GXV3662 SAMPLE CONNECTION DIAGRAM ~11~ GXV3662 LENS SPECIFICATIONS Lens Format 1/3-Inch Image Sensor 1/3-Inch CMOS Focal Length 3.3mm-12mm Aperture Ratio F1.6-F3.2 View Angle D: 125.7°- 29.9° H: 89.8°-23.9° V: 63.6°-17.9° IRIS DC Auto Minimum Object Distance 50cm IR-CUT Filter Yes ~12~ VoIPon www.voipon.co.uk sales@voipon.co.uk Tel: +44 (0)1245 808195 Fax: +44 (0)1245 808299


