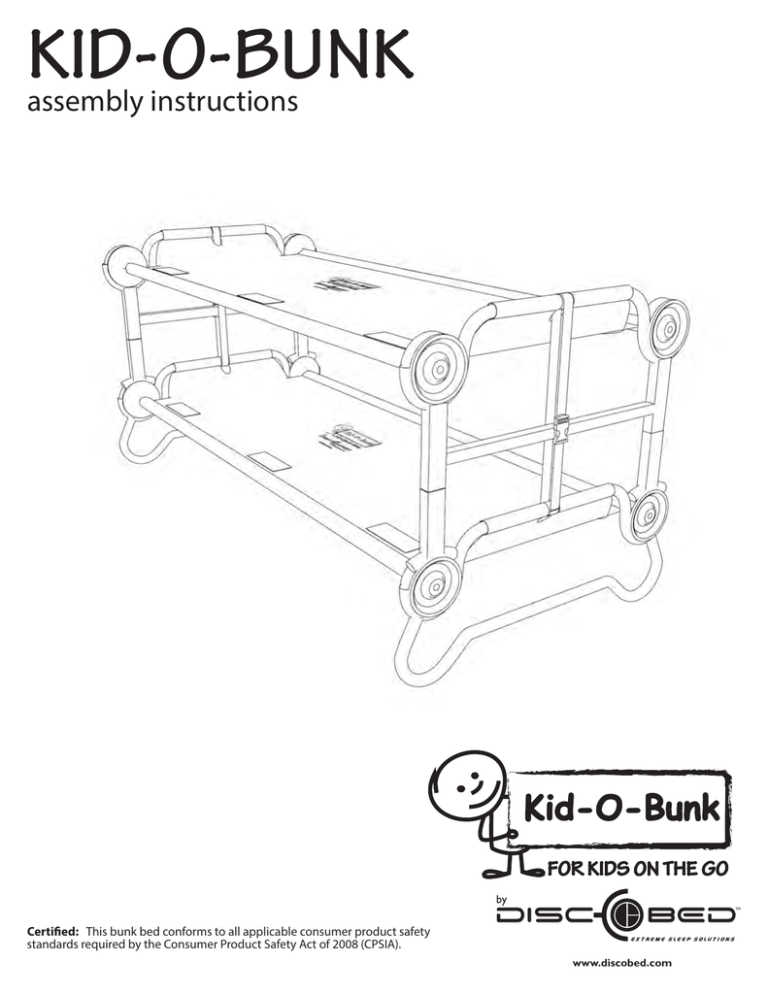
KID-O-BUNK
assembly instructions
FOR KIDS ON THE GO
Certified: This bunk bed conforms to all applicable consumer product safety
standards required by the Consumer Product Safety Act of 2008 (CPSIA).
www.discobed.com
IMPORTANT INFORMATION CONCERNING THIS PRODUCT TO
PREVENT SERIOUS OR FATAL INJURIES
Keep these instructions for future reference
1.
2.
3.
4.
5.
6.
7.
8.
9.
10.
11.
12.
Read carefully and fully understand the manufacturer’s assembly.
Care and special attention should be used where a warning is indicated.
Never allow a child under 6 years of age on the top bed. Only one person allowed on each level.
Use the bunk as it is intended – DO NOT use extension legs or triple stack.
Ensure that the 5 point check list is followed prior to each use of the bunk.
Openings in and between bunk parts can entrap head and neck of small children.
DO NOT allow horseplay on or under the bunk. NO jumping on the product. This product is not a toy.
DO NOT use substitute parts. Contact the manufacturer or dealer for replacement parts. The use of a guard rail is not required
with this product.
Metal parts could have sharp, pointed or jagged edges. Remove these with a file or an emery board. Children must not be
allowed to suck any metal part of this product.
Children should use this product under adult supervision.
Maximum weight tolerance is 200lbs per single cot and a total 400lbs in a bunk configuration ie. 200lbs per level.
STRANGULATION HAZARD – Never attach or hang items to any part of the bunk that are not designed for use with the bunk;
example, but not limited to, hooks, belts and jump ropes.
Before building scan QR code
or visit http://www.discobed.com/v/c/ and watch assembly video
1
PARTS
2x Sleeping Mats
2x Straight End Frames
4x Stack Adapters
2x Rounded End Frames
8x Discs
2x Locking Straps
4x Straight Side Rails
4x Foot Plugs
8x Swaged Side Rails
2
KID-O-BUNK
rounded frame assembly instructions
FOR KIDS ON THE GO
www.discobed.com
STEP 1. SECURING DISC TO SWAGED SIDE RAIL
1.1. Holding swaged rail, press pin (A) down and hold.
B
A
1.2. Line up pin (B) with hole in disc, insert rail into disc. Let pin (A) go.
B
B
A
A
Pin (B) is only securely locked in when you hear
a ‘click’ sound. Make sure pin (B) has popped up
before moving on.
B
A
1.3. Repeat steps 1.1 and 1.2 four times with each of the swaged side rails.
4x
4
STEP 2. CONNECTING SWAGED SIDE RAIL TO STRAIGHT SIDE RAIL
2.1. Attach a swaged side rail (completed in step 1) to a straight rail.
Make sure they slide into one
another completely.
2x
2.2. Repeat step 2.1 two times.
STEP 3. ATTACHING SLEEPING MAT TO SIDE RAILS
3.1. Open out sleeping mat with the correct (logo) side up.
3.2. At one end, slide the 2 rails (completed in step 2) into the sleeves of the mat.
3.3. On the other end slide the remaining 2 rails (completed in step 1) into the sleeves of the mat.
Make sure that the rails slide into one another
completely. Do this by running your fingers
over the side rails where the connections are.
It should feel smooth to the touch.
3.2
3.2
3.3
3.3
5
STEP 4. SECURING EACH DISC INTO THE END FRAME
4.1. Make sure pin (A) is visible, is not covered by the sleeping mat and is facing inwards. Check all four bed
posts (see diag. 4.1).
4.2. Loosely place each disc into the loop of the bed end frame, ensure your fingers are not in the way and
firmly push down on the side rail (see diag. 4.2).
4.3. Make sure the the disc fits completely into the bed end frame (see diag. 4.3).
4.4. Repeat steps 4.1, 4.2 and 4.3 on each bed post.
Diagram 4.2
1
2
4
A
3
Diagram 4.3
Diagram 4.1
A
Pinch hazard
X
Make sure pin (A) is facing inwards and
not covered by sleeping mat.
6
STEP 5. SECURING HEAD REST
5.1 Flap head rest over bed end frame and secure on underside hook and loop.
5.2 Repeat at other bed end.
THE ASSEMBLY OF YOUR KID-O-BUNK
ROUNDED FRAME SINGLE COT IS NOW COMPLETE.
7
STEP 6. STRAIGHT FRAME ASSEMBLY
6.1 Follow steps 1 - 5 to complete the assembly of the straight frame single cot.
THE ASSEMBLY OF YOUR KID-O-BUNK
STRAIGHT FRAME SINGLE COT IS NOW COMPLETE.
8
KID-O-BUNK
bunk assembly instructions
FOR KIDS ON THE GO
www.discobed.com
STEP 1. REMOVE FOOT PLUGS
1.1 Remove the 4 foot plugs from the straight bed end frame.
3
2
4
1
STEP 2. ATTACH STACK ADAPTERS TO STRAIGHT LEG BED END FRAME
2.1. Press pin (A) down on stack adapter and hold.
2.2. Line pin (A) with hole in leg of straight bed end frame.
Insert adapter into leg. Let pin (A) go.
A
Pin is only securely locked
in when you hear a ‘click’
sound. Make sure pin has
popped up before moving
on.
2.3. Repeat steps 2.1 and 2.2 on remaining legs.
4
3
2
1
10
STEP 3. STACK STRAIGHT END FRAME ONTO ROUNDED END FRAME
3.1 Place straight end frame (fitted with stack adapters completed in step 2) onto rounded end frame.
3
4
2
1
STEP 4. CORRECT STACK ADAPTER FITMENT
4.1 Make sure the stack adapter fits directly into the groove of each disc on the bottom cot.
4.2 Check all four bed posts.
4
3
2
1
11
STEP 5. ATTACHING LOCKING STRAP
5.1. Feed locking strap through center of each head rest and lock buckle in place
5.2. Pull down on strap in order to secure bunk in position and ensure there is no movement.
5.3 Repeat step 5.1 and 5.2 at other bed end.
2
1
Make sure strap
is pulled tight
YOU HAVE NOW SUCCESSFULLY COMPLETED THE ASSEMBLY
OF YOUR KID-O-BUNK.
We hope that you are completely happy with our product and it is exactly what you expected
12
KID-O-BUNK
bench setup
FOR KIDS ON THE GO
www.discobed.com
STEP 1. DETACH HEAD REST
1.1 Detach head rest from from hook and loop, on both sides of top bunk.
STEP 2. SETTING UP BACK REST
2.1 Lift disc 1 and 2 out of bed end frame of top cot.
1
2
14
2.2 Place disc 1 and 2 on bed end rail of bottom cot.
1
2
2.3 Let disc rest between bed end rail and stack adapter. The disc should not be able to roll forward.
1
2
15
YOU HAVE NOW SUCCESSFULLY COMPLETED THE SETUP
OF YOUR KID-O-BUNK BENCH
IMPORTANT TO NOTE WHEN CONVERTING YOUR KID-O-BUNK
BENCH BACK TO A KID-O-BUNK CONFIGURATION
2
1
A
Make sure pin (A) is facing inwards and
not covered by sleeping mat.
16
KID-O-BUNK
side
organizer assembly instructions
(optional accessory - may not come standard with your Kid-O-Bunk)
FOR KIDS ON THE GO
www.discobed.com
STEP 1. SETTING UP SIDE-ORGANIZER
2
1
3
KID-O-BUNK
rounded frame package instructions
KID-O-BUNK
straight frame package instructions
17
5 POINT CHECK LIST
Make sure that these simple checks are followed PRIOR TO EACH use of your Kid-O-Bunk.
1.
2.
3.
4.
5.
The pin (B) is securely locked in to the disc. STEP 1 page 4.
Side rails fit into one another completely. Should feel smooth to the touch. STEP 3 page 5.
The pin (A) is facing inwards before fitting the disc into bed end frame. STEP 4 page 6.
The disc is snug and completely fitted into the loop of the bed end frame. STEP 4 page 6.
The locking strap is tight and secure. STEP 5 page 12.
USAGE & CARE INSTRUCTIONS
1.
2.
3.
4.
This product is not designed or manufactured to be used as permanent outdoor furniture.
Prolonged exposure to the elements will result in rapid deterioration of the product and void any warranty.
Ensure product is completely dry and clean before storage.
Hand wash only:- Clean the fabric and frame using a soft cloth and a mix of soft detergent and warm water – do not
use bleach or any other abrasive cleaners. Simply air dry.
LIMITED WARRANTY
DISC-O-BED (“MANUFACTURER”) warrants only that this product shall be free from defects in materials and workmanship for a period
of one year after the date of delivery. If within the applicable warranty period, (i) the purchaser discovers any defects in the materials or
workmanship of this product and (ii) notifies MANUFACTURER in writing of such defects and returns the defective product to MANUFACTURER, MANUFACTURER shall repair or replace the defective product, or, at MANUFACTURER’s sole option, refund the purchase price for
the defective product. This warranty shall not apply to any of the following:
(a) products that have been repaired or altered by anyone other than MANUFACTURER approved personnel; (b) products that have been
damaged by negligence or accident or by other circumstances beyond the reasonable control of MANUFACTURER; or (c) products that
have been improperly used or maintained, or that have been subjected to abnormal conditions of use or maintenance not in conformity
with MANUFACTURER’s written instructions concerning use and maintenance. In no case whatsoever, including justified warranty claims,
is the purchaser entitled to retain payments due, except upon the written consent of MANUFACTURER with respect to undisputed claims.
No claims for warranty will be processed if received after the warranty period.
IN ALL EVENTS, THE LIABILITY OF MANUFACTURER, WHETHER BASED IN TORT, BREACH OF CONTRACT, BREACH OF WARRANTY, OR OTHERWISE, SHALL NOT UNDER ANY CIRCUMSTANCES EXCEED THE PRICE OF THE DEFECTIVE PRODUCT IN QUESTION OR WITH RESPECT TO
WHICH SUCH BREACH, DEFAULT, OR NEGLIGENCE IS CLAIMED. THE PURCHASER ACKNOWLEDGES THAT THE REMEDIES PROVIDED HEREIN
ARE EXCLUSIVE AND IN LIEU OF ALL OTHER REMEDIES. THE FOREGOING LIMITED WARRANTY IS IN LIEU OF ALL OTHER WARRANTIES,
EXPRESSED OR IMPLIED, INCLUDING BUT NOT LIMITED TO ANY WARRANTIES OF MERCHANTABILITY, FITNESS FOR ANY PARTICULAR PURPOSE, OR NON-INFRINGEMENT, ALL OF WHICH ARE HEREBY EXPRESSLY DISCLAIMED.
“Patented” US 8,356,369/US 7,797,772/US 7,921,483/USD600,446/USD600,469/USD611,742
ECD Reg. Nos. 001095061-0001/001095061-0002/001095020-0001
SATISFACTION GUARANTEED
We hope that you are completely satisfied with our product and it is exactly what you expected. Should you have any questions,
comments or concerns, please don’t hesitate to contact us via:
Toll Free: +1 800.613.0910 Monday – Friday 8:30 to 5:00pm (EST)
cs@discobed.com OR info@discobed.com
www.discobed.com
Like us on FB http://www.facebook.com/discobedworldwide
All returns of defective items shall be made to the following address:
Disc-O-Bed Retail, Inc.
2408 Tech Center Pkwy Ste. 100
Lawrenceville GA 30043
© 2014 Disc-O-Bed Retail, Inc. All rights reserved
FOR KIDS ON THE GO
www.discobed.com
IMPORTANT SAFETY WARNING
1. Refer to the assembly instructions and ensure that the 5 point check list is followed prior to each use. Give special care and
attention where a warning is indicated.
2. Never allow a child under 6 years of age on the top bed. Only one person allowed on each bed level.
3. DO NOT allow horseplay on or under the product. NO jumping on the product. This product is not a toy.
4. DO NOT use substitute parts. Contact the manufacturer or dealer for replacement parts.
STRANGULATION HAZARD - Never attach or hang items to any part of the product that are not designed for use with the
product; for example, but not limited to, hooks, belts and jump ropes.
If you have any questions, comments or concerns, please don’t hesitate to contact us:
Disc-O-Bed Retail, Inc. 2408 Tech Center Pkwy STE 100, Lawrenceville, GA 30043 USA
Toll Free: +1 800.613.0910 Monday – Friday 8:30 to 5:00pm (EST)
cs@discobed.com
www.discobed.com

