Installation Instructions
License Plate Bracket
Accessory
1. Remove existing license plate and screws.
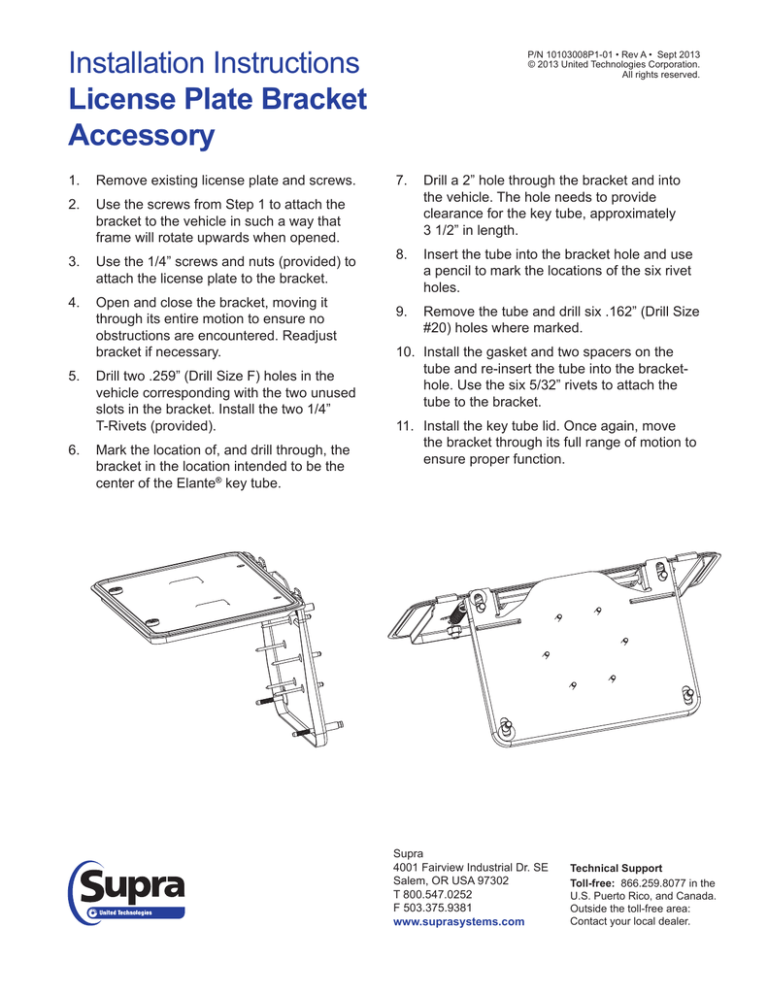
2. Use the screws from Step 1 to attach the
bracket to the vehicle in such a way that
frame will rotate upwards when opened.
3. Use the 1/4” screws and nuts (provided) to
attach the license plate to the bracket.
4. Open and close the bracket, moving it
through its entire motion to ensure no
obstructions are encountered. Readjust
bracket if necessary.
5. Drill two .259” (Drill Size F) holes in the
vehicle corresponding with the two unused
slots in the bracket. Install the two 1/4”
T-Rivets (provided).
6. Mark the location of, and drill through, the
bracket in the location intended to be the
center of the Elante® key tube.
P/N 10103008P1-01 • Rev A • Sept 2013
© 2013 United Technologies Corporation.
All rights reserved.
7. Drill a 2” hole through the bracket and into
the vehicle. The hole needs to provide
clearance for the key tube, approximately
3 1/2” in length.
8. Insert the tube into the bracket hole and use
a pencil to mark the locations of the six rivet
holes.
9. Remove the tube and drill six .162” (Drill Size
#20) holes where marked.
10. Install the gasket and two spacers on the
tube and re-insert the tube into the brackethole. Use the six 5/32” rivets to attach the
tube to the bracket.
11. Install the key tube lid. Once again, move
the bracket through its full range of motion to
ensure proper function.
Supra
4001 Fairview Industrial Dr. SE
Salem, OR USA 97302
T 800.547.0252
F 503.375.9381
www.suprasystems.com
Technical Support
Toll-free: 866.259.8077 in the
U.S. Puerto Rico, and Canada.
Outside the toll-free area: Contact your local dealer.


