Bargraph Meters - for the Clearest Indication
advertisement

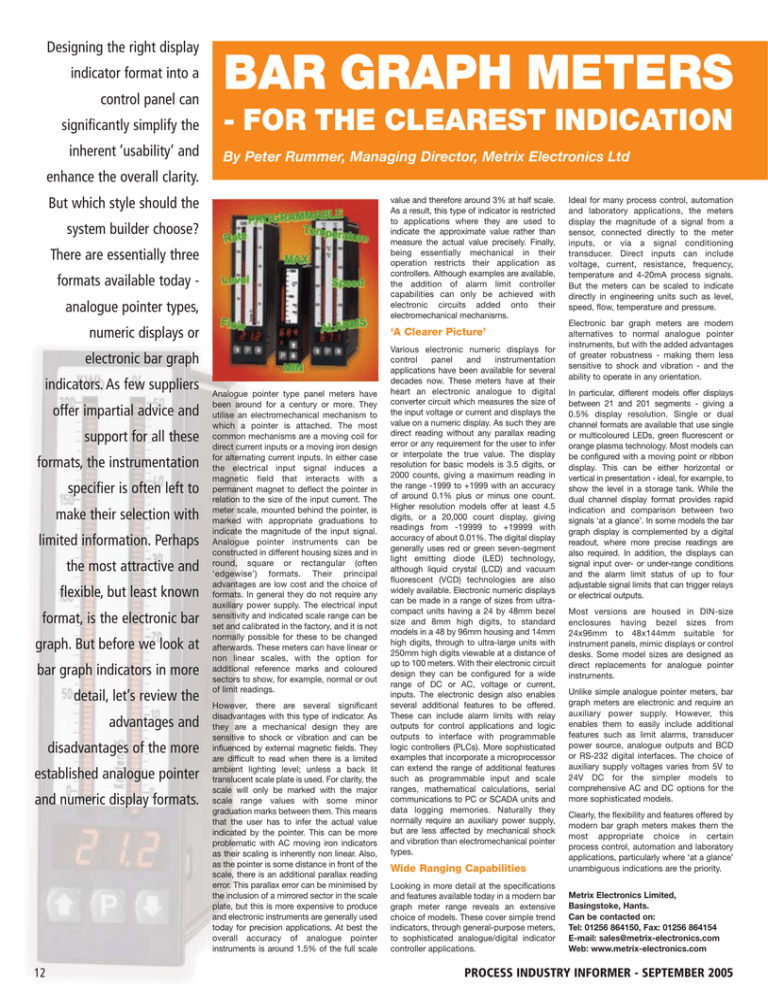
Designing the right display indicator format into a control panel can significantly simplify the inherent ‘usability’ and BAR GRAPH METERS - FOR THE CLEAREST INDICATION By Peter Rummer, Managing Director, Metrix Electronics Ltd enhance the overall clarity. But which style should the value and therefore around 3% at half scale. As a result, this type of indicator is restricted to applications where they are used to indicate the approximate value rather than measure the actual value precisely. Finally, being essentially mechanical in their operation restricts their application as controllers. Although examples are available, the addition of alarm limit controller capabilities can only be achieved with electronic circuits added onto their electromechanical mechanisms. system builder choose? There are essentially three formats available today analogue pointer types, numeric displays or ‘A Clearer Picture’ electronic bar graph indicators. As few suppliers offer impartial advice and support for all these formats, the instrumentation specifier is often left to make their selection with limited information. Perhaps the most attractive and flexible, but least known format, is the electronic bar graph. But before we look at bar graph indicators in more detail, let’s review the advantages and disadvantages of the more established analogue pointer and numeric display formats. 12 Analogue pointer type panel meters have been around for a century or more. They utilise an electromechanical mechanism to which a pointer is attached. The most common mechanisms are a moving coil for direct current inputs or a moving iron design for alternating current inputs. In either case the electrical input signal induces a magnetic field that interacts with a permanent magnet to deflect the pointer in relation to the size of the input current. The meter scale, mounted behind the pointer, is marked with appropriate graduations to indicate the magnitude of the input signal. Analogue pointer instruments can be constructed in different housing sizes and in round, square or rectangular (often ‘edgewise’) formats. Their principal advantages are low cost and the choice of formats. In general they do not require any auxiliary power supply. The electrical input sensitivity and indicated scale range can be set and calibrated in the factory, and it is not normally possible for these to be changed afterwards. These meters can have linear or non linear scales, with the option for additional reference marks and coloured sectors to show, for example, normal or out of limit readings. However, there are several significant disadvantages with this type of indicator. As they are a mechanical design they are sensitive to shock or vibration and can be influenced by external magnetic fields. They are difficult to read when there is a limited ambient lighting level; unless a back lit translucent scale plate is used. For clarity, the scale will only be marked with the major scale range values with some minor graduation marks between them. This means that the user has to infer the actual value indicated by the pointer. This can be more problematic with AC moving iron indicators as their scaling is inherently non linear. Also, as the pointer is some distance in front of the scale, there is an additional parallax reading error. This parallax error can be minimised by the inclusion of a mirrored sector in the scale plate, but this is more expensive to produce and electronic instruments are generally used today for precision applications. At best the overall accuracy of analogue pointer instruments is around 1.5% of the full scale Various electronic numeric displays for control panel and instrumentation applications have been available for several decades now. These meters have at their heart an electronic analogue to digital converter circuit which measures the size of the input voltage or current and displays the value on a numeric display. As such they are direct reading without any parallax reading error or any requirement for the user to infer or interpolate the true value. The display resolution for basic models is 3.5 digits, or 2000 counts, giving a maximum reading in the range -1999 to +1999 with an accuracy of around 0.1% plus or minus one count. Higher resolution models offer at least 4.5 digits, or a 20,000 count display, giving readings from -19999 to +19999 with accuracy of about 0.01%. The digital display generally uses red or green seven-segment light emitting diode (LED) technology, although liquid crystal (LCD) and vacuum fluorescent (VCD) technologies are also widely available. Electronic numeric displays can be made in a range of sizes from ultracompact units having a 24 by 48mm bezel size and 8mm high digits, to standard models in a 48 by 96mm housing and 14mm high digits, through to ultra-large units with 250mm high digits viewable at a distance of up to 100 meters. With their electronic circuit design they can be configured for a wide range of DC or AC, voltage or current, inputs. The electronic design also enables several additional features to be offered. These can include alarm limits with relay outputs for control applications and logic outputs to interface with programmable logic controllers (PLCs). More sophisticated examples that incorporate a microprocessor can extend the range of additional features such as programmable input and scale ranges, mathematical calculations, serial communications to PC or SCADA units and data logging memories. Naturally they normally require an auxiliary power supply, but are less affected by mechanical shock and vibration than electromechanical pointer types. Ideal for many process control, automation and laboratory applications, the meters display the magnitude of a signal from a sensor, connected directly to the meter inputs, or via a signal conditioning transducer. Direct inputs can include voltage, current, resistance, frequency, temperature and 4-20mA process signals. But the meters can be scaled to indicate directly in engineering units such as level, speed, flow, temperature and pressure. Electronic bar graph meters are modern alternatives to normal analogue pointer instruments, but with the added advantages of greater robustness - making them less sensitive to shock and vibration - and the ability to operate in any orientation. In particular, different models offer displays between 21 and 201 segments - giving a 0.5% display resolution. Single or dual channel formats are available that use single or multicoloured LEDs, green fluorescent or orange plasma technology. Most models can be configured with a moving point or ribbon display. This can be either horizontal or vertical in presentation - ideal, for example, to show the level in a storage tank. While the dual channel display format provides rapid indication and comparison between two signals ‘at a glance’. In some models the bar graph display is complemented by a digital readout, where more precise readings are also required. In addition, the displays can signal input over- or under-range conditions and the alarm limit status of up to four adjustable signal limits that can trigger relays or electrical outputs. Most versions are housed in DIN-size enclosures having bezel sizes from 24x96mm to 48x144mm suitable for instrument panels, mimic displays or control desks. Some model sizes are designed as direct replacements for analogue pointer instruments. Unlike simple analogue pointer meters, bar graph meters are electronic and require an auxiliary power supply. However, this enables them to easily include additional features such as limit alarms, transducer power source, analogue outputs and BCD or RS-232 digital interfaces. The choice of auxiliary supply voltages varies from 5V to 24V DC for the simpler models to comprehensive AC and DC options for the more sophisticated models. Wide Ranging Capabilities Clearly, the flexibility and features offered by modern bar graph meters makes them the most appropriate choice in certain process control, automation and laboratory applications, particularly where ‘at a glance’ unambiguous indications are the priority. Looking in more detail at the specifications and features available today in a modern bar graph meter range reveals an extensive choice of models. These cover simple trend indicators, through general-purpose meters, to sophisticated analogue/digital indicator controller applications. Metrix Electronics Limited, Basingstoke, Hants. Can be contacted on: Tel: 01256 864150, Fax: 01256 864154 E-mail: sales@metrix-electronics.com Web: www.metrix-electronics.com PROCESS INDUSTRY INFORMER - SEPTEMBER 2005


