Designing a Nameplate
advertisement
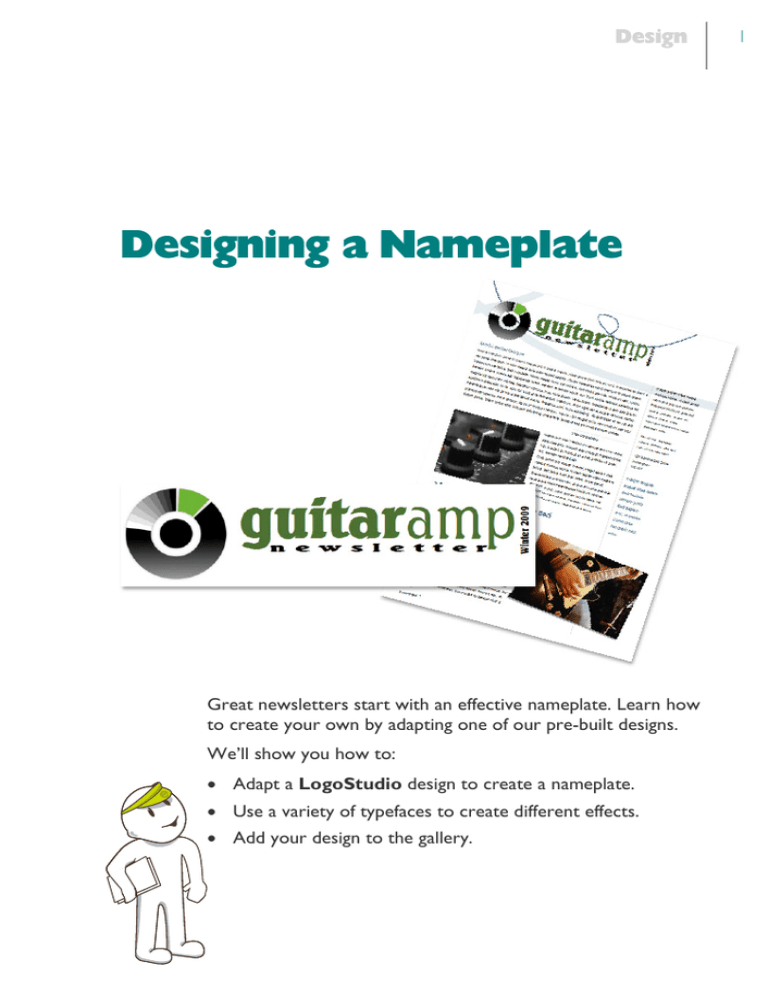
Design Designing a Nameplate Great newsletters start with an effective nameplate. Learn how to create your own by adapting one of our pre-built designs. We’ll show you how to: · Adapt a LogoStudio design to create a nameplate. · Use a variety of typefaces to create different effects. · Add your design to the gallery. 1 2 Design Designing a Nameplate Designing a Nameplate Among other things, nearly all newsletters will contain a nameplate, body text and headlines. The nameplate provides a visual identity for the newsletter. It’s usually found as a banner across the top (or down the side) of the front page. The nameplate contains the name of the newsletter, but it may also have graphics or a logo, and perhaps a subtitle, motto, and the publication information (Volume, Issue or Date). We’re going to add a customized nameplate to a themed layout. To open a themed layout 1 On the File menu, click New from Startup Wizard. In the Startup Wizard, click the Use Design Template option. 2 In the dialog: · In the Theme Layouts list on the left, select the Tickle category. · In the center pane, select the Newsletter template. · In the Scheme drop-down list, select Scheme 2. · Click Open. 3 In the User Details dialog click Update. The template opens as a new, one page document in the workspace. Now to add our nameplate. To get us started quickly, we’re going to customize one of the logo designs in the Gallery tab. Masthead or Nameplate? Although it is sometimes used as an alternate name for a nameplate, the masthead is actually the section of a newsletter that lists the name of the publisher and other pertinent data. It may include staff names, contributors, subscription information, addresses, logo, etc. Design Designing a Nameplate To create a nameplate 1 Click on the title frame to select it and press Delete. 2 On the Gallery tab, select the Logos category from the drop-down menu. 3 Scroll down to logo 34. Then, click and drag it from the tab onto the page. The Insert Logo dialog opens. 4 In the dialog: · In the Designs pane, click the third design down. · In the Name text box, type ‘guitaramp’. · In the Motto text box, type ‘newsletter’. · Click OK. The nameplate is placed on the page. 5 Drag the Move button to move the design into position within the margin guides and in the Transform tab: · Click Anchor Top Left. · Make sure Aspect Ratio is locked (if unlocked the tab displays ) and then change the height to 3.5 cm. The basic nameplate is in place, however, we can make it more eyecatching by editing it in LogoStudio. Let’s do this now. 3 4 Design Designing a Nameplate You can use the Fonts tab to find, preview and apply any font. Many fonts have both a ‘heavy’ and a ‘light’ style. These can be used to add interest to title text without looking over-complicated or fussy. To edit a logo in Logo Studio 1 With the logo selected, click the Edit in LogoStudio button. The logo opens for editing in LogoStudio. 2 Click and drag to select the word ‘guitar,’ then, in the Fonts tab, click on a heavy version of your chosen font to apply it. 3 Click and drag to select the word ‘amp,’ then, in the Fonts tab, click on a light version of your chosen font to apply it. 4 Next, click to select the ‘newsletter’ frame border - the frame turns gray to show it’s selected. 5 In the Fonts tab, click to apply the same heavy font as before. 6 On the Transform tab, ensure Lock Aspect Ratio is off and then, change the height to 0.5 cm and the width to 4.5 cm. 7 Drag the Move button to place the frame below the word ‘guitar.’ Design Designing a Nameplate 8 On the Character tab, change the Spacing to 4 pt. The ‘newsletter’ text expands to fit between the descenders of ‘g’ and ‘p’. 9 On the Tools toolbar, click the Artistic Text Tool and click once on the page to create an insertion point. Type ‘Winter 2009’. 10 Select the border of the new object and on the Text context toolbar, set the size to 9 pt. 11 On the Arrange toolbar, click Rotate Left. The text object rotates by 90º. 12 Finally, drag the object into position and resize so that it is the same height as the letter ‘p.’ 13 Click Close LogoStudio to return to the main PagePlus workspace. Your nameplate is complete! By making these simple adjustments to font style, size, and spacing, we have created contrast— an important element in any type of publication layout. Now that we’ve spent time creating our nameplate, we can save a copy of it in the Gallery tab to make it available for every new publication. 5 6 Design Designing a Nameplate To add an object to the gallery 1 On the Gallery tab, in the category drop-down list, select My Designs. 2 On the page, click to select the nameplate object—the frame will turn gray to show it is selected. 3 Press and hold the Ctrl key and drag a copy of the nameplate onto the Gallery tab. 4 In the dialog, type ‘Nameplate’ and click OK. A copy of the object appears in the tab and is now ready for use in all of your future projects! When you first drag an object into an empty gallery category, PagePlus automatically creates a sub-category in which to store your objects. As you use the gallery more and more, you may choose to add your own sub-categories to organize your designs. For information, see online Help.
