Lemon Battery
advertisement

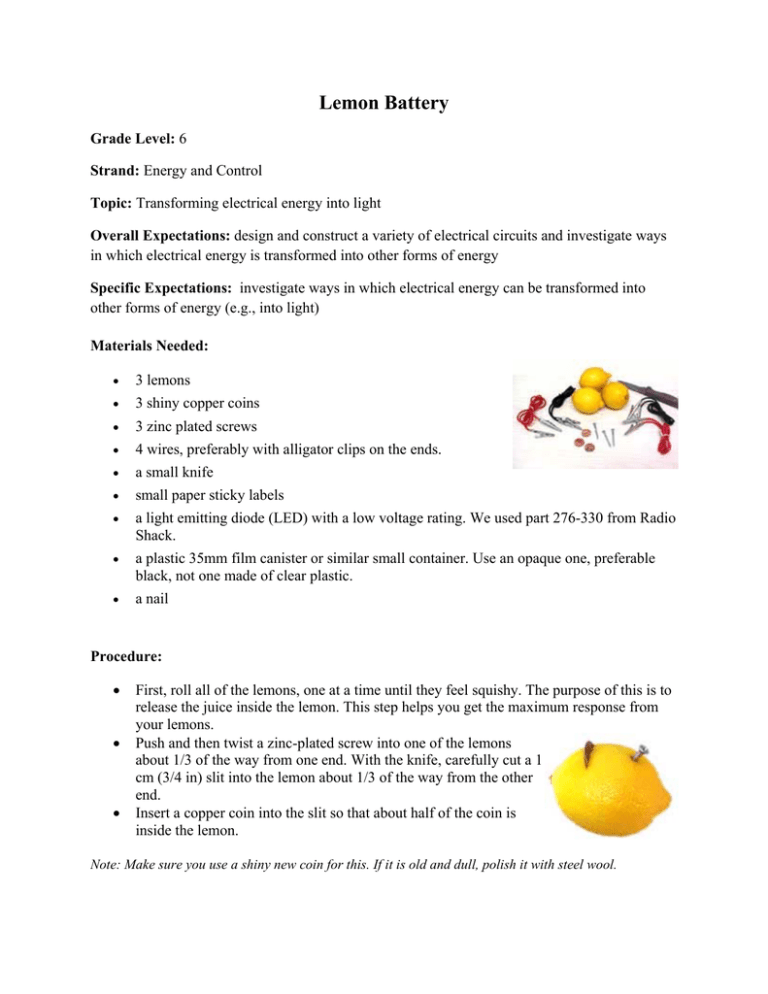
Lemon Battery Grade Level: 6 Strand: Energy and Control Topic: Transforming electrical energy into light Overall Expectations: design and construct a variety of electrical circuits and investigate ways in which electrical energy is transformed into other forms of energy Specific Expectations: investigate ways in which electrical energy can be transformed into other forms of energy (e.g., into light) Materials Needed: • 3 lemons • 3 shiny copper coins • 3 zinc plated screws • 4 wires, preferably with alligator clips on the ends. • a small knife • small paper sticky labels • a light emitting diode (LED) with a low voltage rating. We used part 276-330 from Radio Shack. • a plastic 35mm film canister or similar small container. Use an opaque one, preferable black, not one made of clear plastic. • a nail Procedure: • • • First, roll all of the lemons, one at a time until they feel squishy. The purpose of this is to release the juice inside the lemon. This step helps you get the maximum response from your lemons. Push and then twist a zinc-plated screw into one of the lemons about 1/3 of the way from one end. With the knife, carefully cut a 1 cm (3/4 in) slit into the lemon about 1/3 of the way from the other end. Insert a copper coin into the slit so that about half of the coin is inside the lemon. Note: Make sure you use a shiny new coin for this. If it is old and dull, polish it with steel wool. • Add coins and screws to the other two lemons the same as done with the first. Then, with the wires and clips, join the three lemon cells together, so that the screw of the first lemon is connected to the coin of the second lemon, and so on. Add wires and clips to the first coin and the last screw also. • Finally, label the clip from the first coin with a “+” and the clip from the last screw with a “-” to show the lemon battery has a positive (+) terminal and a negative (-) terminal. • With the nail, carefully punch two holes in the sides of the film canister, about halfway down. • Next, mark one hole with a “+” label and the other with a “-” label. • Bend the wires of the LED into smooth outward curves. Then observe the LED closely. It is mostly round. However, if you tilt it in a certain way, you will be able to see a flat surface near one of the wires. The wire nearest this flat surface is the negative terminal. In the photograph, the wire on the left is the negative terminal of the LED. • Line up the negative terminal wire of the LED with the “-” labeled hole in the film canister. Insert the LED into the canister. Thread the negative terminal wire of the LED through the “-” labeled hole, and the other (positive terminal) wire through the “+” labeled hole. • Pull the wires through the holes and secure them in place with the labels. Add labels to the top of the canister as well. Make sure that the LED is facing up. • Line up the “+” side of the LED canister with the “+” clip of your lemon battery. Bring the “-”clip of your lemon battery close to the “-” side of the canister. • Connect the positive terminal of the LED to the positive terminal of your lemon battery. Connect the negative terminal of the LED to the negative terminal of your battery. The LED lights up! Scientific Explanation: There is a chemical reaction between the steel in the zinc plated screw and the lemon juice. There is also a chemical reaction between the copper in the penny and the lemon juice. These two chemical reactions push electrons through the wires. Because the two metals are different, the electrons get pushed harder in one direction than the other. If the metals were the same, the push would be equal and no electrons would flow. The electrons flow in one direction around in a circle and then come back to the lemon battery. While they flow through the LED, they make it work. This flow is called an electric current. When connected like this in what is called a series connection, the lemons work together to create about the same voltage, or electrical force, as a couple of small flashlight batteries, somewhere between 2.5 and 3 volts. However, this lemon battery does not create enough electrical current to light a flashlight bulb. The LED is very dim, due to the small electrical current from the battery. The dark canister helps to see this dim light. References: http://www.seed.slb.com/en/scictr/lab/fruit/index.htm http://pbskids.org/zoom/activities/sci/lemonbattery.html Opportunities and other considerations: This experiment could be used as the hook to introduce a lesson on transforming electric energy into light. Since lemon juice is an acid, some modifications using other acidic products can be used as a modification or an alternative to future experiments. Oranges, cola, or apples can also be tested to see if they will light the LED. Students could change one variable and predict what they might think would happen. Students would then be asked to test their hypotheses. The result could also be discussed in more detail during a social studies lesson. Students could transfer their knowledge about the lemon battery to a discussion on conserving energy. Students may suggest alternatives to our daily energy use, and discuss plans they would make in the future to conserve energy. Names of Presenters: Celia DiMicoli and Teresa Kras


