MSJPKM4A RIK0276A Adding Aux Rack Tray
advertisement

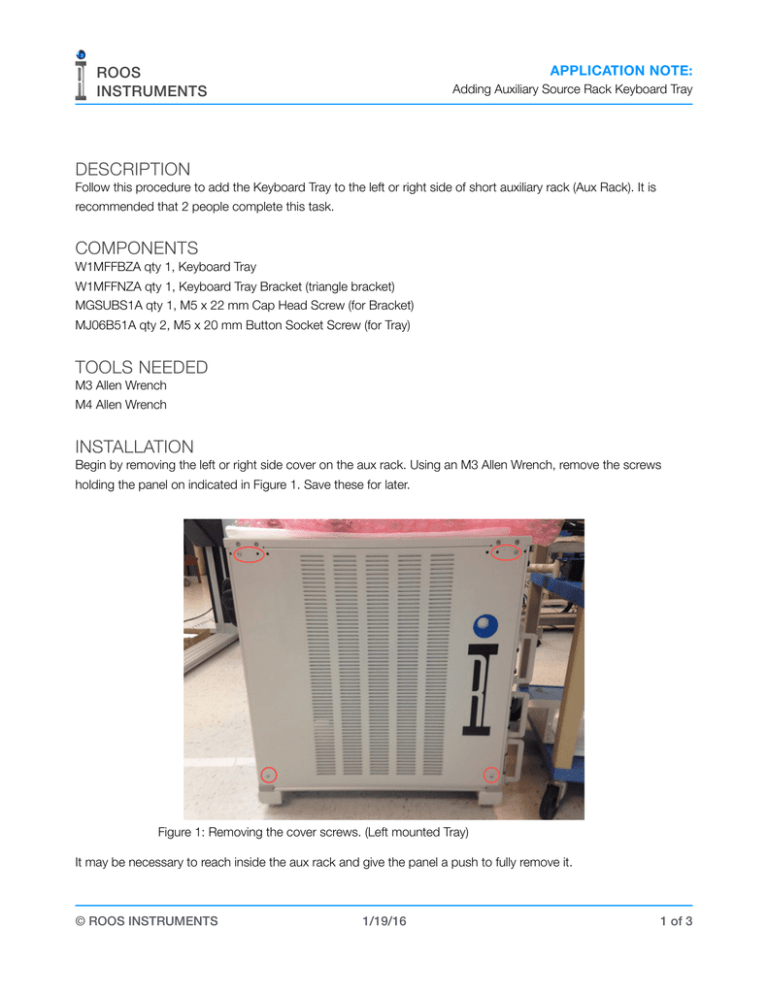
! ROOS INSTRUMENTS ! APPLICATION NOTE: ! Adding Auxiliary Source Rack Keyboard Tray DESCRIPTION Follow this procedure to add the Keyboard Tray to the left or right side of short auxiliary rack (Aux Rack). It is recommended that 2 people complete this task. COMPONENTS W1MFFBZA qty 1, Keyboard Tray W1MFFNZA qty 1, Keyboard Tray Bracket (triangle bracket) MGSUBS1A qty 1, M5 x 22 mm Cap Head Screw (for Bracket) MJ06B51A qty 2, M5 x 20 mm Button Socket Screw (for Tray) TOOLS NEEDED M3 Allen Wrench M4 Allen Wrench INSTALLATION Begin by removing the left or right side cover on the aux rack. Using an M3 Allen Wrench, remove the screws holding the panel on indicated in Figure 1. Save these for later. Figure 1: Removing the cover screws. (Left mounted Tray) It may be necessary to reach inside the aux rack and give the panel a push to fully remove it. © ROOS INSTRUMENTS 1/19/16 ! of 3 1 ! ! ROOS INSTRUMENTS ! APPLICATION NOTE: Adding Auxiliary Source Rack Keyboard Tray ! After the panel is removed, add the triangle bracket to the left or right metal extrusion upright (as shown in Figure 2) using the M5 x 22 mm Cap Head Screw (MGSUBS1A) and M4 Allen Wrench. Left mounted triangle bracket is for a right offset tray, and right mounted triable bracket is for a left offset tray. Note: The hole in the extrusion is already drilled and tapped. Figure 2: Installing the triangle bracket Reattach the cover to the frame, reusing the previously removed screws. Ensure the hole in the triangle bracket lines up with the hole in the cover as shown in Figure 3. Figure 3: Reinstalling the cover © ROOS INSTRUMENTS 1/19/16 ! of 3 2 ! ! ROOS INSTRUMENTS ! APPLICATION NOTE: Adding Auxiliary Source Rack Keyboard Tray ! Using the provided M5 x 20 mm Button Socket screws (MJ06B51A) and an M3 Allen Wrench, attach the tray as shown in Figures 4-6. Note: The keyboard tray will be offset to the right as shown in Figure 4. Figure 4: Installing the keyboard tray (left side) Figure 5: Installing the keyboard tray (rear) © ROOS INSTRUMENTS Figure 6: Installing the keyboard tray (front) 1/19/16 ! of 3 3 !

