Instructions / Assembly
advertisement
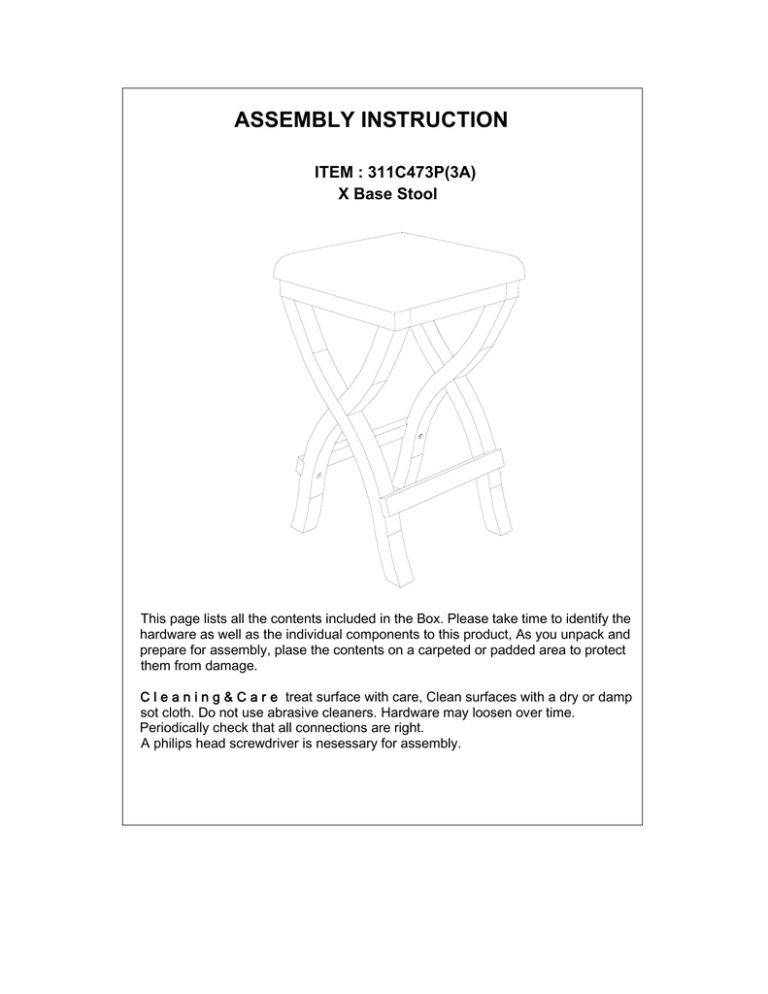
ASSEMBLY INSTRUCTION ITEM : 311C473P(3A) X Base Stool This page lists all the contents included in the Box. Please take time to identify the hardware as well as the individual components to this product, As you unpack and prepare for assembly, plase the contents on a carpeted or padded area to protect them from damage. C l e a n i n g & C a r e treat surface with care, Clean surfaces with a dry or damp sot cloth. Do not use abrasive cleaners. Hardware may loosen over time. Periodically check that all connections are right. A philips head screwdriver is nesessary for assembly. GENERAL INFORMATION, TIPS & TRICKS 1. Please read the assembly instructions prior to assembling this product. 2. To avoid damages, assemble this product on a non-abrasive surface such as carpet. 3. Make sure all bolts and nuts are tightly fastened before the product is used. 4. Not for commercial use. 5. Care: Wipe with a damp cloth. Use furniture polish or lemon oil on the wood as needed. Avoid prolonged exposure to moisture. Please make sure you have all parts before begining assembly. Please wait until all steps are completed before tightening bolts. We recommend two people to assemble. A Phillips head screwdriver is necessary for assembly. Do not put hot pots or objects which are more than Fahrenheit 80 degrees directly on the table. 2 ASSEMBLY INSTRUCTION - STOOL A. Seat Cushion B. Stool Side C. Stool Top Crossbar QTY: 2 PCS QTY: 4 PCS QTY: 4 PCS 1. Wood Screw 2. Plastic Washer 3. Long Allen Bolt QTY: 8 PCS QTY: 8 PCS QTY: 8 PCS 4. Small Wood Dowel 5.Short Allen Bolt 6. Allen Key QTY: 8 PCS QTY: 8 PCS QTY: 1 PC D. Stool Bottom Crossbar QTY: 4 PCS 3 ASSEMBLY INSTRUCTION - STOOL DIAGRAM #1 B a 4 B b 2 C C 3 a+b a+b a+b 6 a+b 1. Attach two stool top crossbars (C) to two stool sides (B) using four small wood dowels (4) as instruction (a). 2. Secure the stool top crossbars (C) to the stool sides (B) using four middle Allen bolts (3) and four plastic washers (2) as instruction (b). Tighten the Allen bolts with Allen wrench (6). DIAGRAM #2 D a 5 a a a D B a B 6 1. Attach two stool bottom crossbar (D) to the stool sides (B) using four short Allen bolts (5) as instruction (a). Tighten the bolts with Allen wrench (6). 4 ASSEMBLY INSTRUCTION - STOOL DIAGRAM #3 a 1 A C C a a a a 4. Place the seat cushion (A) upside down on a non-abrasive surface such as carpet. Attach the stool base to the seat cushion (A) using four wood screws (1) as instruction (a). DIAGRAM #4 5. Turn the stool upright. The stool is now ready for use. 6. Repeat Diagram #1 to #4 to assembly the second stool. Printed in Vietnam 5
