Reorder Number
GP3090
Reorder Number
1.0
GP3090
1.0
Windy Day Kite Craft Kit (Pk/48)
Windy Day Kite Craft Kit (Pk/48)
PLEASE READ ALL INSTRUCTIONS BEFORE STARTING
PLEASE READ ALL INSTRUCTIONS BEFORE STARTING
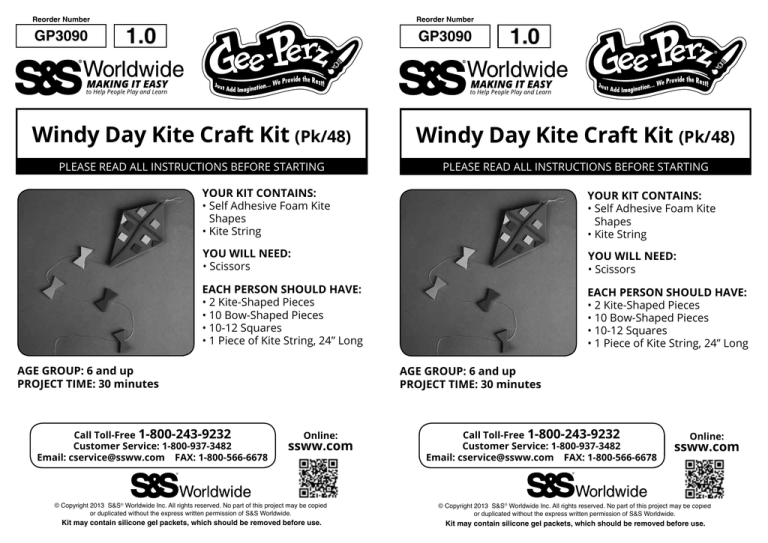
Your kit contains:
• Self Adhesive Foam Kite
Shapes
• Kite String
Your kit contains:
•S
elf Adhesive Foam Kite
Shapes
• Kite String
You WILL NEED:
• Scissors
You WILL NEED:
• Scissors
each person should have:
• 2 Kite-Shaped Pieces
• 10 Bow-Shaped Pieces
• 10-12 Squares
• 1 Piece of Kite String, 24” Long
each person should have:
• 2 Kite-Shaped Pieces
• 10 Bow-Shaped Pieces
• 10-12 Squares
• 1 Piece of Kite String, 24” Long
Age Group: 6 and up
Project Time: 30 minutes
Age Group: 6 and up
Project Time: 30 minutes
Call Toll-Free 1-800-243-9232
Customer Service: 1-800-937-3482
Email: cservice@ssww.com FAX: 1-800-566-6678
Online:
ssww.com
®
© Copyright 2013 S&S® Worldwide Inc. All rights reserved. No part of this project may be copied
or duplicated without the express written permission of S&S Worldwide.
Kit may contain silicone gel packets, which should be removed before use.
GP3090
GP3090
PREPARATION INSTRUCTIONS:
PREPARATION INSTRUCTIONS:
INSTRUCTIONS:
INSTRUCTIONS:
Have each person:
1.Choose his/her foam color combinations.
2. Lay the kite shape for the back of the project on the work surface with
the self adhesive side up. DON’T peel the paper off yet.
3. Take a piece of kite string and fold it in half. Lay the kite string on top
of the kite shape with the center loop sticking above the top of the kite
shape approximately 4”. The ends of the kite string should hang together
out of the bottom of the kite piece (this makes the tail). Each person can
adjust how long the tail will be. Just trim the kite string with scissors.
4. Remove the kite string off the foam kite shape. Peel off the paper on the
foam kite shape with the sticky side up.
5. Reposition the kite string similar to Step 3. Make sure the kite string is
together at the bottom point of the kite.
6. Peel off the top foam kite piece and carefully match it to the bottom
foam pieces. Press the pieces together.
7. Peel the paper off 2 foam bow pieces, lay one on the work surface. Put
the kite string “tail” through the piece, match the 2nd foam piece to this
and press together. Repeat this step with the other pairs of foam bow
shapes. NOTE: The foam is really sticky. If pieces are not lined up, it is
hard to reposition.
8. Decorate both sides of the kite with the foam squares. You can also use
the leftover foam from the die cut sheets to cut shapes and lines to add
detail to the kite and bows. TIP: Refer to the finished photo for assembly.
MORE IDEAS: Add details with glitter glue or permanent markers!
MORE IDEAS: Add details with glitter glue or permanent markers!
1. It is easiest to punch out the pieces from the foam sheets ahead of
time. Make a pile of kite shapes, a pile of bow shapes and a pile of foam
squares in the center of the work surface. Keep the punched out sheets.
2. Pre-cut the kite string into pieces and put with the foam pieces.
NOTE: This project “sandwiches” the string in between the foam pieces.
Follow the steps carefully.

