1
Adobe Acrobat
Fine-tune your PDF files for Web and print
Adobe® Acrobat® Distiller® lets you optimize your PDF
files for specific uses, including Web distribution,
network printing and CD publication, and professional
quality printed output. We’ll show you how to optimize
your file for high-quality printing, but you can use the
same process for to optimize for digital printing and
Web projects.
Step 1. Select the end use for the PDF.
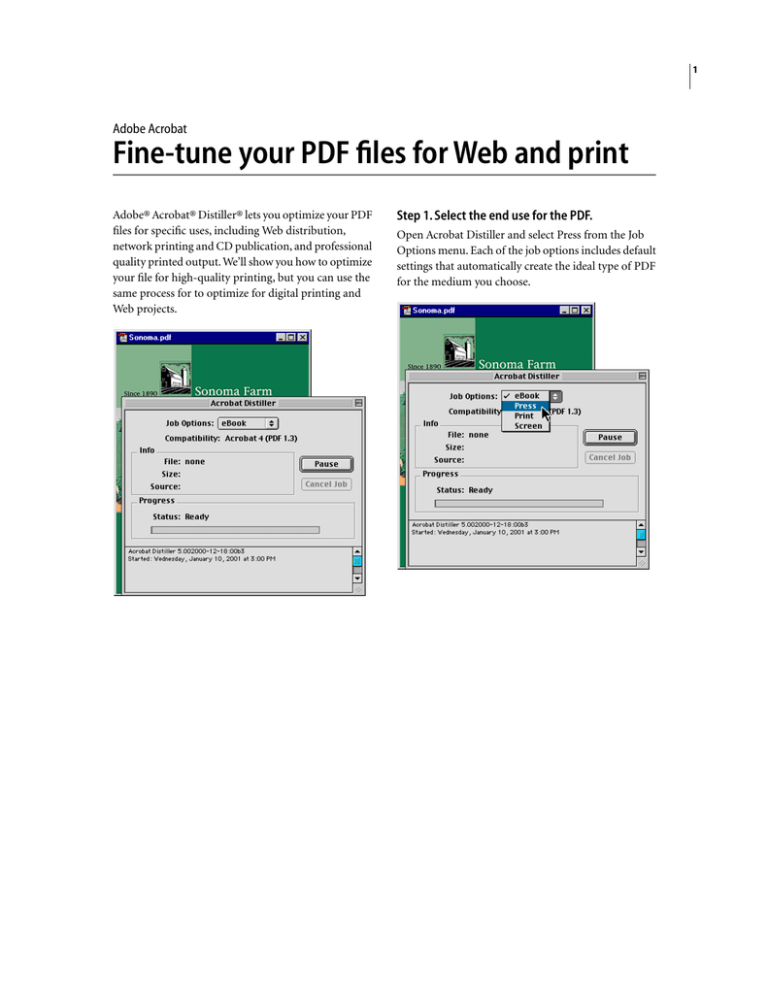
Open Acrobat Distiller and select Press from the Job
Options menu. Each of the job options includes default
settings that automatically create the ideal type of PDF
for the medium you choose.
ADOBE ACROBAT 2
Fine-tune your PDF files for Web and print
Step 2. Open the Job Options dialog box.
Step 3. Set color management profiles.
From the Settings menu, choose Job Options. The
default settings are designed for top-end output
devices. For example, 2400 dpi is the default output
resolution. This resolution is used in commercial
typesetting systems, and is far beyond the range of laser
printers.
Click the Color tab, and choose Tag Everything for
Color Management from the color Management
Policies pop-up menu.
For comparison, the Screen option creates the smallest
possible files and retains the best features for online
viewing. Between those two extremes lies the Print
setting, which assumes that high-quality digital
printing is the ultimate output.
In the Working Spaces area, you can accept or deselect
default values for Gray, CMYK, and RGB profiles. You
can experiment with these settings and save your
favorites to use in future files.
ADOBE ACROBAT 3
Fine-tune your PDF files for Web and print
Step 4. Embed the fonts.
Click the Fonts tab, and review the list of fonts included
in the document. Then select Embed All Fonts and
Subset All Embedded Fonts Below 100%. These selections ensure that viewers will see the fonts you used in
the PDF file, not substituted fonts.
Base 14 fonts are never embedded. These are standard
system fonts, so there is no danger of substitution.
Step 6. Save the settings for future jobs.
When you have explored all the job options, click the
Save As button. Select the location and enter a name for
your custom settings. The next time you open Acrobat
Distiller, your settings will appear in the Job Options
menu.
Step 5. Explore the Compression settings.
When you click the Compression tab, notice that
Bicubic Downsampling is checked for all image types.
The default Press resolutions—300 dpi for Color and
Grayscale, 1200 dpi for Monochrome—are designed for
high-quality printing, not small file size.
Adobe, the Adobe logo, and Acrobat are either registered trademarks or trademarks of Adobe Systems Incorporated in the United States and/or
other countries.
©2000 Adobe Systems Incorporated. All rights reserved.
