How to Create Accessible Scanned Documents: What is OCR?
advertisement
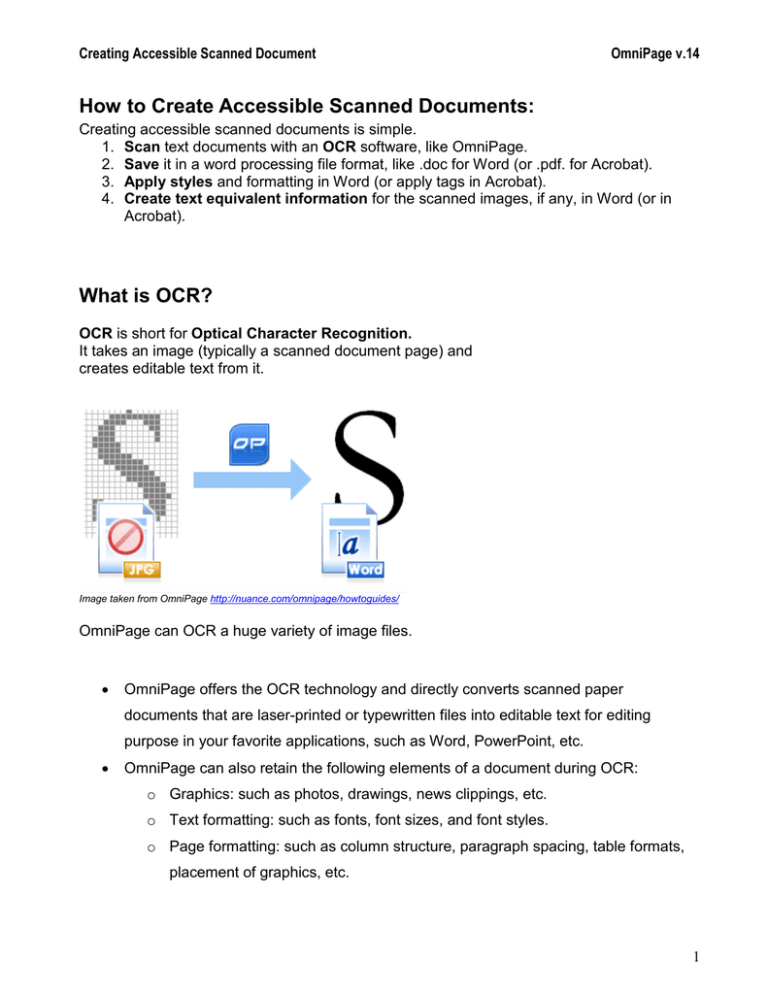
Creating Accessible Scanned Document OmniPage v.14 How to Create Accessible Scanned Documents: Creating accessible scanned documents is simple. 1. Scan text documents with an OCR software, like OmniPage. 2. Save it in a word processing file format, like .doc for Word (or .pdf. for Acrobat). 3. Apply styles and formatting in Word (or apply tags in Acrobat). 4. Create text equivalent information for the scanned images, if any, in Word (or in Acrobat). What is OCR? OCR is short for Optical Character Recognition. It takes an image (typically a scanned document page) and creates editable text from it. Image taken from OmniPage http://nuance.com/omnipage/howtoguides/ OmniPage can OCR a huge variety of image files. • OmniPage offers the OCR technology and directly converts scanned paper documents that are laser-printed or typewritten files into editable text for editing purpose in your favorite applications, such as Word, PowerPoint, etc. • OmniPage can also retain the following elements of a document during OCR: o Graphics: such as photos, drawings, news clippings, etc. o Text formatting: such as fonts, font sizes, and font styles. o Page formatting: such as column structure, paragraph spacing, table formats, placement of graphics, etc. 1 Creating Accessible Scanned Document OmniPage v.14 1. Launch OmniPage or ScanSoft OmniPage from your Start menu > Program (for PC) or from the application folder or dock (for Mac). 2. Set Preferences: Select your preferences for the procedure (Based on OmniPage v. 14) by clicking on the downward arrows of each phase and make your selection. **For normal B&W page scanning of primarily text, we recommend choosing the 1-2-3 procedure; Scan B&W for phase 1; Automatic (recognition) for phase 2; and Save to File for phase 3.** 3. Start Scanning: Click on the >1-2-3 button to start scanning. 4. Multiple Pages: After the first page is scanned the Continue Automatic Processing window appears (see below).If you have more pages to scan then place new page in the scanner and click the Add More Pages button. Otherwise click the Stop Loading Pages button to complete scanning. 2 Creating Accessible Scanned Document OmniPage v.14 5. OCR & Proofreading: After scanning is completed, you will see your image in the Image Panel and the 100% bar appears below the second button of get file type. The OCR and Proofreading steps will follow automatically. You can respond to the OCR Proofreader’s suggestions (see below). 6. Save File: When done with the Proofreader, click the Close button on the Proofreader window. The Save to File window appears automatically (see below). Select your preferred format in the Files of type pop-down window. Highly recommend save file as a Word document so that you would have an original digital copy in a file format that is easy to edit in the future. You can also save your scanned file as PDF file. In both cases (Word or Acrobat) you will also need to structure the content by assigning tags/styles to the text and adding text equivalent information to the images, if any. 3 Creating Accessible Scanned Document OmniPage v.14 Scan from Acrobat Professional 1. Turn on the scanner. 2. Launch Acrobat Professional. Go to the Document menu and navigate to Scan to PDF then select your type of document to scan. 3. When you scan from an existing digital image document you might see this dialog box: Click to perform the OCR process. 4 Creating Accessible Scanned Document OmniPage v.14 4. After scanning choose Recognize Text Using OCR to convert image text to editable text. 5. Click Find OCR Suspect to identify and fix errors from the OCR process using the Touchup Text Tool in the Tools menu’s Advanced Editing group. 5 Creating Accessible Scanned Document OmniPage v.14 Check Accessibility in Acrobat Professional 1. Go to the Advanced menu > Accessibility and select Quick Check You will be notified if you have problems or not in a message window. If you have problems, then do a Full Check. You can select or check all the boxes of accessibility criterion. A check report will be generated and informing you what and where are the errors. 2. Generally if you have done everything correctly in Word, you should be able to pass the quick and full check report. Otherwise the followings quick fix procedure might help: 3. Check Tags (descriptors of your structure) in your PDF a. Go to File menu > Properties. On description tab, look for yes or no next to the tagged PDF entry b. If No tags, then go to Advanced menu > Accessibility > Add Tags. Automatically Acrobat will add tags to your document that used styles correctly the first place. 4. Check Language (specification of type of language by default) in your .pdf 6 Creating Accessible Scanned Document OmniPage v.14 a. Go to File menu > Document Properties > Advanced >. Find Reading Option and under Language, select the language of your choice 5. Add Alternative Text after adding Tags a. Go to Tools menu > Advanced Editing > TouchUp Object Tool. b. Click on the object, such as image, and right click and select Properties. The TouchUp Properties window appears. c. Select the Tag tab in the TouchUp Properties window and enter the necessary information in the Alternative Text fields. Click Close. d. Save the document in Acrobat. 7
