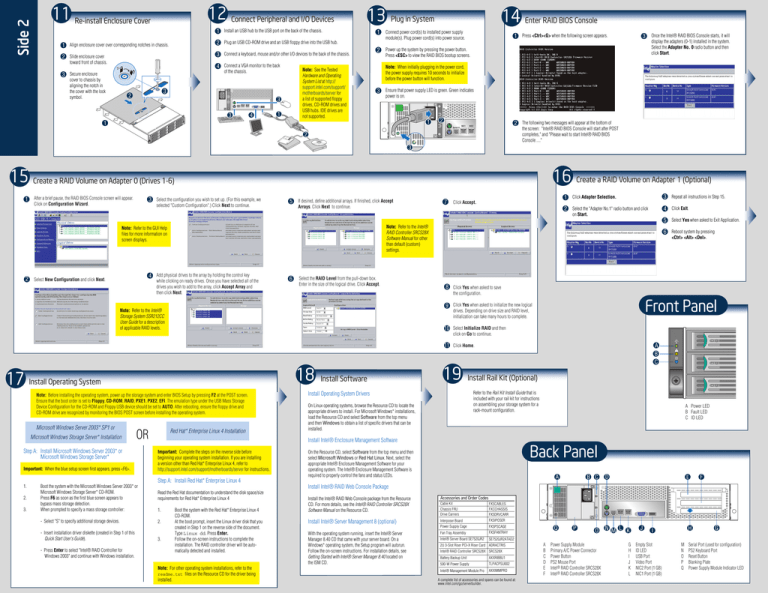
Back Panel Front Panel
advertisement

Side 2 12 Connect Peripheral and I/O Devices 11 Re-install Enclosure Cover 13 1 Install an USB hub to the USB port on the back of the chassis. 1 Align enclosure cover over corresponding notches in chassis. 2 2 Slide enclosure cover 3 Connect a keyboard, mouse and/or other I/O devices to the back of the chassis. toward front of chassis. Note: See the Tested Hardware and Operating System List at http:// support.intel.com/support/ motherboards/server for a list of supported floppy drives, CD-ROM drives and USB hubs. IDE drives are not supported. of the chassis. 3 Secure enclosure cover to chassis by aligning the notch in the cover with the lock symbol. 3 2 1 Connect power cord(s) to installed power supply 3 3 4 1 1 Press <Ctrl><G> when the following screen appears. module(s). Plug power cord(s) into power source. Plug an USB CD-ROM drive and an USB floppy drive into the USB hub. 4 Connect a VGA monitor to the back 14 Enter RAID BIOS Console Plug in System 3 2 Power up the system by pressing the power button. Press <ESC> to view the RAID BIOS bootup screens. Once the Intel® RAID BIOS Console starts, it will display the adapters (0-1) installed in the system. Select the Adapter No. 0 radio button and then click Start. Note: When initially plugging in the power cord, the power supply requires 10 seconds to initialize before the power button will function. 3 Ensure that power supply LED is green. Green indicates power is on. 1 1 2 Serial A NIC1 2 The following two messages will appear at the bottom of NIC2 the screen: "Intel® RAID BIOS Console will start after POST completes," and "Please wait to start Intel® RAID BIOS Console ...." 2 HD 3 16 Create a RAID Volume on Adapter 1 (Optional) 15 Create a RAID Volume on Adapter 0 (Drives 1-6) 1 After a brief pause, the RAID BIOS Console screen will appear. Click on Configuration Wizard. 3 Select the configuration you wish to set up. (For this example, we selected "Custom Configuration".) Click Next to continue. 5 If desired, define additional arrays. If finished, click Accept Arrays. Click Next to continue. 7 Click Accept. 1 Click Adapter Selection. 3 Repeat all instructions in Step 15. 2 Select the "Adapter No.1" radio button and click 4 Click Exit. on Start. Note: Refer to the GUI Help files for more information on screen displays. 4 Add physical drives to the array by holding the control key 2 Select New Configuration and click Next. 5 Select Yes when asked to Exit Application. Note: Refer to the Intel® RAID Controller SRCS28X Software Manual for other than default (custom) settings. while clicking on ready drives. Once you have selected all of the drives you wish to add to the array, click Accept Array and then click Next. 6 Select the RAID Level from the pull-down box. Enter in the size of the logical drive. Click Accept. 6 Reboot system by pressing <Ctrl> <Alt> <Del>. 8 Click Yes when asked to save the configuration. Front Panel 9 Click Yes when asked to initialize the new logical Note: Refer to the Intel® Storage System SSR212CC User Guide for a description of applicable RAID levels. drives. Depending on drive size and RAID level, initialization can take many hours to complete. 10 Select Initialize RAID and then click on Go to continue. 11 Click Home. 18 17 Install Operating System Note: Before installing the operating system, power up the storage system and enter BIOS Setup by pressing F2 at the POST screen. Ensure that the boot order is set to Floppy, CD-ROM, RAID, PXE1, PXE2, EFI. The emulation type under the USB Mass Storage Device Configuration for the CD-ROM and Floppy USB device should be set to AUTO. After rebooting, ensure the floppy drive and CD-ROM drive are recognized by monitoring the BIOS POST screen before installing the operating system. Microsoft Windows Server 2003* SP1 or Microsoft Windows Storage Server* Installation OR Step A: Install Microsoft Windows Server 2003* or Microsoft Windows Storage Server* Important: When the blue setup screen first appears, press <F6>. 1. 2. 3. Boot the system with the Microsoft Windows Server 2003* or Microsoft Windows Storage Server* CD-ROM. Press F6 as soon as the first blue screen appears to bypass mass storage detection. When prompted to specify a mass storage controller: - Select "S" to specify additional storage devices. - Insert installation driver diskette (created in Step 1 of this Quick Start User's Guide). - Press Enter to select "Intel® RAID Controller for Windows 2003" and continue with Windows installation. Red Hat* Enterprise Linux 4 Installation Install Software 19 A B C Install Rail Kit (Optional) Refer to the Rail Kit Install Guide that is included with your rail kit for instructions on assembling your storage system for a rack-mount configuration. Install Operating System Drivers On Linux operating systems, browse the Resource CD to locate the appropriate drivers to install. For Microsoft Windows* installations, load the Resource CD and select Software from the top menu and then Windows to obtain a list of specific drivers that can be installed. Install Intel® Enclosure Management Software Important: Complete the steps on the reverse side before beginning your operating system installation. If you are installing a version other than Red Hat* Enterprise Linux 4, refer to http://support.intel.com/support/motherboards/server for instructions. Step A: Install Red Hat* Enterprise Linux 4 Read the Red Hat documentation to understand the disk space/size requirements for Red Hat* Enterprise Linux 4 1. 2. 3. Boot the system with the Red Hat* Enterprise Linux 4 CD-ROM. At the boot prompt, insert the Linux driver disk that you created in Step 1 on the reverse side of the document. Type Linux dd. Press Enter. Follow the on-screen instructions to complete the installation. The RAID controller driver will be automatically detected and installed. Note: For other operating system installations, refer to the readme.txt files on the Resource CD for the driver being installed. ID A Power LED B Fault LED C ID LED Back Panel On the Resource CD, select Software from the top menu and then select Microsoft Windows or Red Hat Linux. Next, select the appropriate Intel® Enclosure Management Software for your operating system. The Intel® Enclosure Management Software is required to properly control the fans and status LEDs. A B C D E F Install Intel® RAID Web Console Package Install the Intel® RAID Web Console package from the Resource CD. For more details, see the Intel® RAID Controller SRCS28X Software Manual on the Resource CD. Accessories and Order Codes Cable Kit Chassis FRU Drive Carriers FXSCABLES FXCCHASSIS FXSDRVCARR FXSIPOSER Install Intel® Server Management 8 (optional) Interposer Board Power Supply Cage With the operating system running, insert the Intel® Server Manager 8.40 CD that came with your server board. On a Windows* operating system, the Setup program will autorun. Follow the on-screen instructions. For installation details, see Getting Started with Intel® Server Manager 8.40 located on the ISM CD. Fan Tray Assembly FXSPSCAGE FXSFANTRAY Intel® Server Board SE7520JR2 SE7520JR2ATAD2 2U 3-Slot Riser PCI-X Riser Card ADRACTRIS Intel® RAID Controller SRCS28X SRCS28X Battery Backup Unit AXXRIBBU1 500-W Power Supply TLPACPSU002 Intel® Management Module Pro AXXIMMPRO A complete list of accessories and spares can be found at: www.intel.com/go/serverbuilder. Q A B C D E F P O Power Supply Module Primary A/C Power Connector Power Button PS2 Mouse Port Intel® RAID Controller SRCS28X Intel® RAID Controller SRCS28X N M L K G H I J K L J H I Empty Slot ID LED USB Port Video Port NIC2 Port (1 GB) NIC1 Port (1 GB) M N O P Q G Serial Port (used for configuration) PS2 Keyboard Port Reset Button Blanking Plate Power Supply Module Indicator LED


