Falk Drive One Type DH, DB, Sizes M1130-M1210 Shaft
advertisement
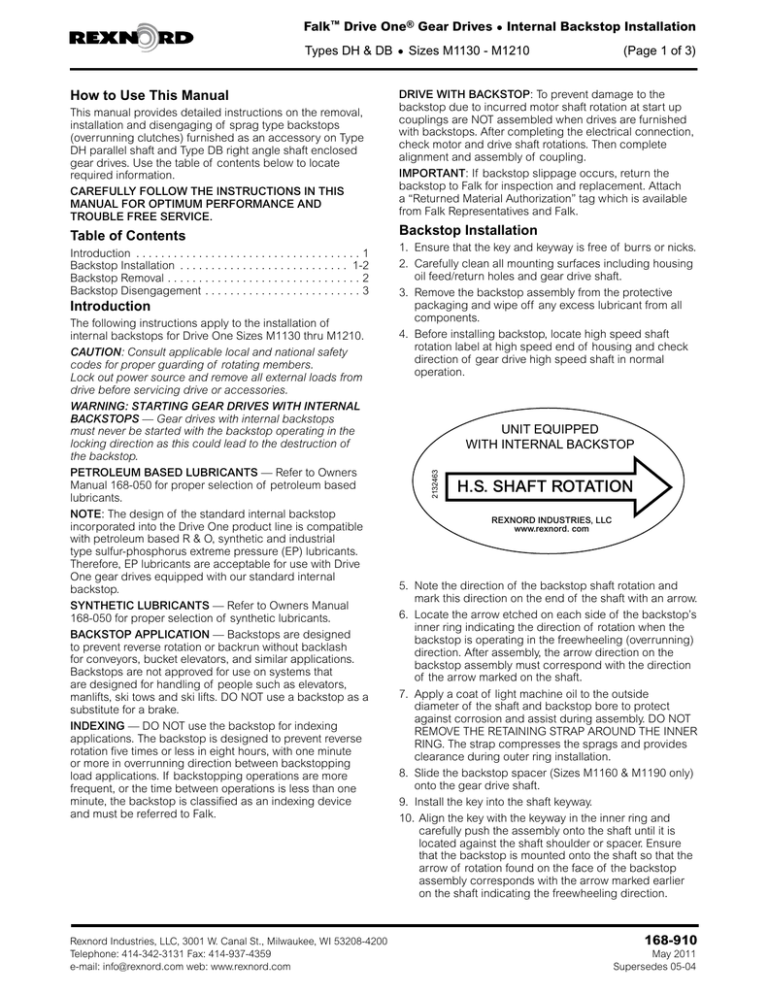
Falk™ Drive One® Gear Drives • Internal Backstop Installation Types DH & DB • Sizes M1130 - M1210 This manual provides detailed instructions on the removal, installation and disengaging of sprag type backstops (overrunning clutches) furnished as an accessory on Type DH parallel shaft and Type DB right angle shaft enclosed gear drives. Use the table of contents below to locate required information. CAREFULLY FOLLOW THE INSTRUCTIONS IN THIS MANUAL FOR OPTIMUM PERFORMANCE AND TROUBLE FREE SERVICE. Table of Contents Introduction . . . . . . . . . . . . . . . . . . . . . . . . . . . . . . . . . . . . . 1 Backstop Installation . . . . . . . . . . . . . . . . . . . . . . . . . . . . 1-2 Backstop Removal . . . . . . . . . . . . . . . . . . . . . . . . . . . . . . . . 2 Backstop Disengagement . . . . . . . . . . . . . . . . . . . . . . . . . . 3 Introduction The following instructions apply to the installation of internal backstops for Drive One Sizes M1130 thru M1210. CAUTION: Consult applicable local and national safety codes for proper guarding of rotating members. Lock out power source and remove all external loads from drive before servicing drive or accessories. WARNING: STARTING GEAR DRIVES WITH INTERNAL BACKSTOPS — Gear drives with internal backstops must never be started with the backstop operating in the locking direction as this could lead to the destruction of the backstop. PETROLEUM BASED LUBRICANTS — Refer to Owners Manual 168-050 for proper selection of petroleum based lubricants. NOTE: The design of the standard internal backstop incorporated into the Drive One product line is compatible with petroleum based R & O, synthetic and industrial type sulfur-phosphorus extreme pressure (EP) lubricants. Therefore, EP lubricants are acceptable for use with Drive One gear drives equipped with our standard internal backstop. SYNTHETIC LUBRICANTS — Refer to Owners Manual 168-050 for proper selection of synthetic lubricants. BACKSTOP APPLICATION — Backstops are designed to prevent reverse rotation or backrun without backlash for conveyors, bucket elevators, and similar applications. Backstops are not approved for use on systems that are designed for handling of people such as elevators, manlifts, ski tows and ski lifts. DO NOT use a backstop as a substitute for a brake. INDEXING — DO NOT use the backstop for indexing applications. The backstop is designed to prevent reverse rotation five times or less in eight hours, with one minute or more in overrunning direction between backstopping load applications. If backstopping operations are more frequent, or the time between operations is less than one minute, the backstop is classified as an indexing device and must be referred to Falk. Rexnord Industries, LLC, 3001 W. Canal St., Milwaukee, WI 53208-4200 Telephone: 414-342-3131 Fax: 414-937-4359 e-mail: info@rexnord.com web: www.rexnord.com DRIVE WITH BACKSTOP: To prevent damage to the backstop due to incurred motor shaft rotation at start up couplings are NOT assembled when drives are furnished with backstops. After completing the electrical connection, check motor and drive shaft rotations. Then complete alignment and assembly of coupling. IMPORTANT: If backstop slippage occurs, return the backstop to Falk for inspection and replacement. Attach a “Returned Material Authorization” tag which is available from Falk Representatives and Falk. Backstop Installation 1. Ensure that the key and keyway is free of burrs or nicks. 2. Carefully clean all mounting surfaces including housing oil feed/return holes and gear drive shaft. 3. Remove the backstop assembly from the protective packaging and wipe off any excess lubricant from all components. 4. Before installing backstop, locate high speed shaft rotation label at high speed end of housing and check direction of gear drive high speed shaft in normal operation. UNIT EQUIPPED WITH INTERNAL BACKSTOP 2132463 How to Use This Manual (Page 1 of 3) H.S. SHAFT ROTATION REXNORD INDUSTRIES, LLC www.rexnord. com 5. Note the direction of the backstop shaft rotation and mark this direction on the end of the shaft with an arrow. 6. Locate the arrow etched on each side of the backstop’s inner ring indicating the direction of rotation when the backstop is operating in the freewheeling (overrunning) direction. After assembly, the arrow direction on the backstop assembly must correspond with the direction of the arrow marked on the shaft. 7. Apply a coat of light machine oil to the outside diameter of the shaft and backstop bore to protect against corrosion and assist during assembly. DO NOT REMOVE THE RETAINING STRAP AROUND THE INNER RING. The strap compresses the sprags and provides clearance during outer ring installation. 8. Slide the backstop spacer (Sizes M1160 & M1190 only) onto the gear drive shaft. 9. Install the key into the shaft keyway. 10.Align the key with the keyway in the inner ring and carefully push the assembly onto the shaft until it is located against the shaft shoulder or spacer. Ensure that the backstop is mounted onto the shaft so that the arrow of rotation found on the face of the backstop assembly corresponds with the arrow marked earlier on the shaft indicating the freewheeling direction. 168-910 May 2011 Supersedes 05-04 Internal Backstop Installation (Page 2 of 3) • Falk™ Drive One® Gear Drives Types DH & DB • Sizes M1130 - M1210 WARNING: EXCESSIVE FORCE — When mounting the inner ring onto the shaft, pressure should only be exerted on the face of the inner ring. Pressure applied to the sprag cage could damage the backstop, resulting in a premature failure. DO NOT FORCE OR HAMMER backstop onto shaft. BEARING ADJUSTMENT NUT HOUSING CAP SCREW HEX SOCKET HEAD COVER RETAINING RING KEY INTERMEDIATE SOS PINION SPACER (SIZES M1160 & M1190) INNER RING OUTER RING 11.Install retaining ring into groove on shaft extension to hold backstop assembly on shaft. NOTE: Clearance between backstop and retaining ring allows for backstop to float axially on shaft. 12.Clean mounting surfaces on both sides of backstop outer ring, cover, and housing with solvent. Carefully apply a 3mm (.12 inch) continuous bead of Saf-T-Eze® Flange-Seal (or equivalent) to the mounting surface of backstop outer member, circling all holes. Ensure that it is applied sparingly and evenly and that none is allowed to enter the sprag cage or the oil feed/return holes. ++ Product of Saf-T-Lock International Corp., Lombard, IL. CAUTION: BACKSTOP LUBRICATION — The backstop incorporates oil feed and return holes that run through the housing and backstop outer ring. The oil feed/ return holes must be open to allow lubricant to reach the backstop. 13.With the retaining strap around the inner ring assembly, gently slide the outer ring over the inner ring assembly while rotating the outer ring in the direction opposite of the arrow marked on inner ring face. Remove the retaining strap when the all sprags are engaged. 14.Align the outer ring fastener holes with the fastener holes in the drive housing. 168-910 May 2011 Supersedes 05-04 15.Install four (4) socket head cap screws into the outer ring and hand tighten to secure the backstop assembly. Confirm operation of backstop by turning the input shaft in the required direction of rotation by hand. 16.Remove the four (4) fasteners from the outer ring. Carefully apply a 3mm (.12 inch) continuous bead of Saf-T-Eze Flange-Seal (or equivalent) to the mounting surface of backstop outer member, circling all holes. Ensure that it is applied sparingly and evenly and that none is allowed to enter the sprag cage or the oil feed/ return holes. 17.Assemble the cover to the outer ring. Apply Loctite #242 medium strength thread locker (or equivalent) to fastener threads and secure the outer ring to the drive housing. Cross tighten fasteners according to Table 1. Table 1 —Tightening Torque: ±5% (DO NOT Lubricate Fasteners) Drive Size Fastener Size Hexagon Key Size (mm) ISO Property Class M1130 M1140 M1150 M1160 M1170 M1180 M1190 M1200 M1210 M8 x 1.25 M10 x 1.50 M12 x 1.75 M12 x 1.75 M12 x 1.75 M16 x 2.00 M16 x 2.00 M16 x 2.00 M16 x 2.00 6 8 10 10 10 14 14 14 14 12.9 12.9 12.9 12.9 12.9 12.9 12.9 12.9 12.9 Tightening Torque Nm lb-ft 35 69 120 120 141 304 304 304 304 25 51 89 89 104 224 224 224 224 18.Fill drive to oil level marked on dipstick with lubricant specified in Owners Manual 168-050. 19.Check motor for correct rotation before completing connection to drive. Backstop Removal 1. Clean exterior of drive to prevent contaminants from entering drive. 2. Drain oil from drive. 3. Remove fasteners from the backstop assembly. 4. Remove backstop cover. 5. Gently remove the outer ring from the backstop assembly while rotating the outer ring in the direction opposite of the arrow marked on the inner ring face. 6. Remove the retaining ring from the backstop shaft extension. 7. If backstop is to be reinstalled, place a strap or wire tie wrap around the inner ring sprag assembly to depress the sprags and assist in the installation of the outer ring. Rexnord Industries, LLC, 3001 W. Canal St., Milwaukee, WI 53208-4200 Telephone: 414-342-3131 Fax: 414-937-4359 e-mail: info@rexnord.com web: www.rexnord.com Falk™ Drive One® Gear Drives • Internal Backstop Installation Types DH & DB • Sizes M1130 - M1210 (Page 3 of 3) 8. Install two fasteners (refer to Table 2 for correct fastener size) into the inner ring of the backstop assembly. Carefully pull inner ring assembly off the shaft. Table 2 —Fastener Size for Inner Ring Removal Drive Size Fastener Size M1130 M1140 M1150 M1160 M1170 M1180 M1190 M1200 M1210 M5 x 0.80 M5 x 0.50 M6 x 1.00 M8 x 1.25 M8 x 1.25 M12 x 1.75 M10 x 1.50 M12 x 1.75 M12 x 1.75 Backstop Disengagement When shaft mounting a drive, there are times when disengaging the backstop is desired; for example installing a torque arm. The backstop may be disengaged by the following procedure. 1. Drain oil from drive. 2. Remove the 12 fasteners from the backstop assembly. 3. Rotate the backstop outer ring in the direction opposite of the arrow marked on the inner ring face and pull the backstop outer ring away from the drive housing approximately 1mm (.04 inch) or far enough to break the seal. 4. The drive now has limited freedom of rotation in both directions. 5. To re-engage backstop, install and cross tighten fasteners according to Table 1. Rexnord Industries, LLC, 3001 W. Canal St., Milwaukee, WI 53208-4200 Telephone: 414-342-3131 Fax: 414-937-4359 e-mail: info@rexnord.com web: www.rexnord.com 168-910 May 2011 Supersedes 05-04
