Phy 1033 Discovering Physics Laboratory #5 Ohm`s law and circuits
advertisement

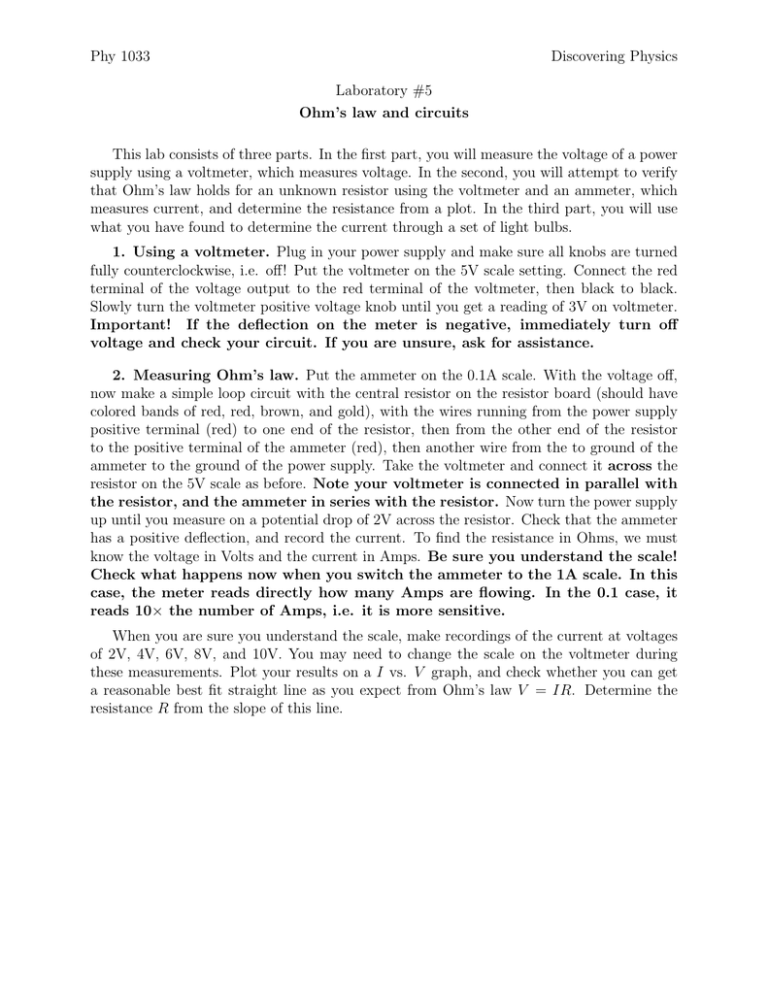
Phy 1033 Discovering Physics Laboratory #5 Ohm’s law and circuits This lab consists of three parts. In the first part, you will measure the voltage of a power supply using a voltmeter, which measures voltage. In the second, you will attempt to verify that Ohm’s law holds for an unknown resistor using the voltmeter and an ammeter, which measures current, and determine the resistance from a plot. In the third part, you will use what you have found to determine the current through a set of light bulbs. 1. Using a voltmeter. Plug in your power supply and make sure all knobs are turned fully counterclockwise, i.e. off! Put the voltmeter on the 5V scale setting. Connect the red terminal of the voltage output to the red terminal of the voltmeter, then black to black. Slowly turn the voltmeter positive voltage knob until you get a reading of 3V on voltmeter. Important! If the deflection on the meter is negative, immediately turn off voltage and check your circuit. If you are unsure, ask for assistance. 2. Measuring Ohm’s law. Put the ammeter on the 0.1A scale. With the voltage off, now make a simple loop circuit with the central resistor on the resistor board (should have colored bands of red, red, brown, and gold), with the wires running from the power supply positive terminal (red) to one end of the resistor, then from the other end of the resistor to the positive terminal of the ammeter (red), then another wire from the to ground of the ammeter to the ground of the power supply. Take the voltmeter and connect it across the resistor on the 5V scale as before. Note your voltmeter is connected in parallel with the resistor, and the ammeter in series with the resistor. Now turn the power supply up until you measure on a potential drop of 2V across the resistor. Check that the ammeter has a positive deflection, and record the current. To find the resistance in Ohms, we must know the voltage in Volts and the current in Amps. Be sure you understand the scale! Check what happens now when you switch the ammeter to the 1A scale. In this case, the meter reads directly how many Amps are flowing. In the 0.1 case, it reads 10× the number of Amps, i.e. it is more sensitive. When you are sure you understand the scale, make recordings of the current at voltages of 2V, 4V, 6V, 8V, and 10V. You may need to change the scale on the voltmeter during these measurements. Plot your results on a I vs. V graph, and check whether you can get a reasonable best fit straight line as you expect from Ohm’s law V = IR. Determine the resistance R from the slope of this line. 3. Parallel and series circuits. The light bulb board with which each group is supplied consists of six bulbs which can be connected by wires in various configurations. On either side of the board is a groove in which a copper wire has been placed; all light bulbs and terminals on these grooves are connected and at the same potential. Extra credit. With the voltage turned off, make a series circuit containing one light bulb and the ammeter, and turn up the power supply until it is producing 3V. (If you have trouble figuring out how to set up such a circuit, ask instructor!) Measure the current on the ammeter. Then turn the power off and make a series circuit with two light bulbs and the ammeter. How does the current change? Now make a circuit with the ammeter on the main branch coming from the power supply and then two bulbs in parallel. How does the current compare? Check whether in the series–2 bulb case the bulbs glow more or less brightly than in the parallel-2 bulb case. Why?


