Engineering Lab Report Template
advertisement

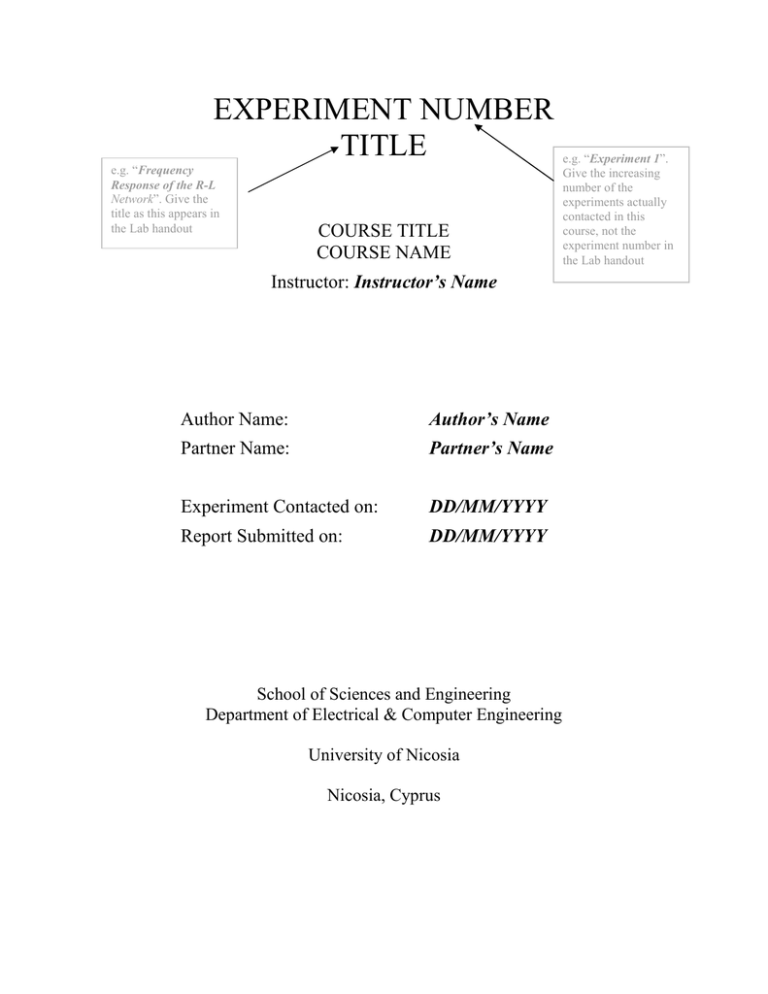
EXPERIMENT NUMBER TITLE e.g. “Frequency Response of the R-L Network”. Give the title as this appears in the Lab handout COURSE TITLE COURSE NAME Instructor: Instructor’s Name Author Name: Author’s Name Partner Name: Partner’s Name Experiment Contacted on: DD/MM/YYYY Report Submitted on: DD/MM/YYYY School of Sciences and Engineering Department of Electrical & Computer Engineering University of Nicosia Nicosia, Cyprus e.g. “Experiment 1”. Give the increasing number of the experiments actually contacted in this course, not the experiment number in the Lab handout Table of Contents (MUST BE AUTOMATED) OBJECTIVES ..................................................................................................................... 1 BACKGROUND THEORY (or INTRODUCTION)......................................................... 1 EQUIPMENT and COMPONENTS USED ....................................................................... 2 EXPERIMENTAL METHOD AND PROCEDURE ......................................................... 3 Part 1 ............................................................................................................................... 3 Part 2 ............................................................................................................................... 4 OBSERVATIONS, DATA, FINDINGS and RESULTS ................................................... 4 Data discussion ............................................................................................................... 5 Graphs ............................................................................................................................. 5 Error Analysis ................................................................................................................. 5 PROBLEMS/QUESTIONS ................................................................................................ 7 RECOMMENDATIONS and CONCLUSIONS ................................................................ 7 ii OBJECTIVES Under “Objectives” you write the main outcomes expected from the experiment. In other words, the objectives reflect on the purpose and usefulness of the experiment. You should never copy the objectives from the lab handout. Instead, you should paraphrase. As an example consider the following: This sample report aims to: • Provide a guide to be followed by all students required to submit experiment reports • Make the student familiar with many features of MS Word • Encourage students to use these tools when writing professional engineering reports BACKGROUND THEORY (or INTRODUCTION) The section, “Background theory” or “Introduction”, is usually presented in the lab handout as well. In this section, and using your own words, summarize and present the theoretical background and analysis, which should (at least in theory) support the findings of the experiment. In case you must create figures, you should: • NEVER copy from the internet unless you present your source as in figure 1, • NEVER scan the lab handout pictures (you can be penalized for this) Figure 1. An arbitrary configuration of three resistances. Source: http://en.wikipedia.org/wiki/Resistor (retrieved July 9, 2007) 1 Note that this section should be limited to a maximum of two pages in order to avoid presenting unnecessary information that is irrelevant to the immediate objectives of the experiment. For the representation of electric components (like resistors, capacitors etc.) or electric circuits you MUST use Electronics Workbench (see figure 2). Also, if equations are needed, MS equation Editor MUST be used. In general, when writing reports always number the pages as in the current sample and never use font larger than 12 pt. for text. In addition, use justified alignment and single line spacing. As an example, consider the following short version of an introduction for the current sample report: This is a guide that you need to follow when writing an experiment report. It is structured in a manner that will best present all aspects of the experiment and provides easy access to MS Word features, like a referenced table of contents (ToC) that can be automatically updated, and examples of proper table and graph insertions with the corresponding captioning. R1 3.2kΩ R2 2kΩ Vs Figure 2. A sample circuit created in Electronics WorkBench. EQUIPMENT and COMPONENTS USED In a professional report these are needed to offer the capacity for another team to replicate the experiment conditions and verify the findings. To do so, a list of the components and the exact equipment used must be provided. Equipment info should always include: • • • • Name: Brand: Model: Serial Number: (e.g. Digital Multimeter) (e.g. Good Will Instruments Co. Ltd.) (e.g. GDM-8135) (e.g. CF-922334) An arbitrary example of the “Equipment and Components Used” section follows: • Digital Multimeter (Brand: Good Will Instruments Co. Ltd, Model: GDM-8135, Serial Number: CF-922334) 2 • Dual Trace Oscilloscope • Two 20KΩ resistors • One 1µF Capacitor (Brand: HAMEG, Model: HM 203-6, Serial Number: 46/87 Z33418) EXPERIMENTAL METHOD AND PROCEDURE In this section you will need to present the step-by-step procedure of the experiment. Do not straight copy from the lab handout. In cases where the experiment procedure is made up of many parts, use subsections to identify them (like “Part 1” and “Part 2” that follow). As already mentioned, if you need to present equations anywhere in the text, for example V Ohm’s Law, you MUST use equation editor, meaning R = . In case you reference these I equations, you should use equation numbering by center writing the equation in a separate line, i.e.: R= V I (1) Part 1 Use the above template for subsection title. Make sure subsections are shown in the Table of Contents (ToC). Usually these subtitles correspond to different parts of the experiment procedure. As an example consider: The circuit in figure 2 was constructed in order to verify the voltage divider equation. Using Ohm’s law (eq. 1), and looking at the circuit in figure 2, the voltage divider equation can be derived as follows: Vs VR2 = I mesh × R2 = × R2 R1 + R2 (2) To verify (eq. 2), the supply voltage (Vs) was varied from 0 to 10 volts and the voltage across R2 ( VR2 ) was measured. The measured VR2 was then compared against theoretical VR2 as in table 1. 3 Part 2 In this part the power consumption at R2 is calculated from the mesh current of the circuit of figure 2. With respect to that circuit, and since R1 and R2 are in series, the mesh current is given by: Vs R1 + R2 (3) 2 PR2 = I mesh × R2 (4) I mesh = and the power consumption at R2 by: By varying the voltage of VS in figure 2, the voltage drop across R2 ( VR2 ) was measured and the mesh current ( I mesh ) and the power consumption at R2 ( PR2 ) were calculated. The results are conveniently presented in Table 2 OBSERVATIONS, DATA, FINDINGS and RESULTS Present the data as these were obtained. Often times these must be in the form of a table as the samples provided for your convenience below in Tables 1 and 2. Make sure that the quantity units are shown in brackets in the column titles and be careful to correctly use prefixes like micro- (µ) and milli- (m) and symbols (like the symbol for Ohms, Ω). Note that you have to comment on which columns were obtained by direct measurement and which columns where the result of calculations. Table 1. Verifying the voltage divider equation. Table captions MUST be on top of the table Vs (Volts) VR2 calculated (Volts) VR2 measured (Volts) 0.00 2.00 4.00 6.00 8.00 10.00 0.00 0.77 1.54 2.31 3.08 3.85 -0.06 0.76 1.54 2.22 3.15 3.76 Be sure to be consistent with symbols and units throughout the experiment report. The following subsections explain more about data discussion and graphs. 4 Data discussion Discuss the obtained results. For example you can compare experimental and theoretical (expected) results and provide first comments on any discrepancies (discuss possible sources of error, including the human factor, instrument error, limitations of theoretical/experimental models). Table 2. Results of part 2. Vs (V) VR2 (V) I mesh (mA) PR2 (mW) 1.05 2.02 3.05 3.98 5.01 5.96 6.99 8.03 9.04 9.95 11.03 12.05 0.41 0.73 1.27 1.63 1.86 2.33 2.63 3.11 3.53 3.93 4.31 4.61 0.20 0.39 0.59 0.77 0.96 1.15 1.34 1.54 1.74 1.91 2.12 2.32 0.08 0.30 0.69 1.17 1.86 2.63 3.61 4.77 6.04 7.33 9.00 10.74 Graphs When graphs are needed, you MUST use MS Excel for creating them. Once they are created, they can be copied/pasted in MS Word, as in figure 3 and figure 4. For example: The results of table 1 are shown graphically in figure 3 where the calculated and measured VR2 are plotted with respect to the source voltage. It can be seen that the measured value of VR2 is very close to the theoretical one which renders this part of the experiment quite successful. Figure 4 depicts the results of table 2. From the graph, one can easily spot the first order (linear) relation between the mesh current and the supply voltage, as well as the second order dependence of the power consumption at R2 with respect to the supply voltage. Error Analysis In this subsection of an error analysis should be provided that compares the theoretical (calculated) to the obtained (measured) results. The formula needed follows: % error = calculated − measured × 100% caluclated (5) 5 So, as an example consider the results in table 1. Using equation 5, one can calculate that the % error between calculated and measured VR2 when Vs is 10 volts is: % error of VR2 (Vs = 10) = 3.85 − 3.76 × 100% = 2.33% 3.85 Sample Graph for table 1 4.50 4.00 VR2 (volts) 3.50 3.00 2.50 Calculated 2.00 Measured 1.50 1.00 0.50 0.00 0.00 2.00 4.00 6.00 8.00 10.00 12.00 Vs (volts) Figure 3. Graph of contents of table 1. (captioning is always positioned below the figure) Table 2 results 12 VR2, Imesh, PR2 10 8 VR2 6 Imesh PR2 4 2 0 0 2 4 6 8 10 12 14 Vs Figure 4. Graph of table 2 6 PROBLEMS/QUESTIONS In this section, you MUST answer all problems and/or questions of the lab handout in a numbered fashion. Number the answers in the same order presented in the handout. RECOMMENDATIONS and CONCLUSIONS Recommendations should be made for the improvement of the experiment contact. These can suggest possible changes, modifications of the experimental setup and generally aim towards improving accuracy. Conclusions indicate the significance of the findings, their usefulness and possible advantages or limitations. Potential applications of the results may also be presented. If results do not agree with theory, you should provide a deeper analysis of what you believe went wrong. 7


