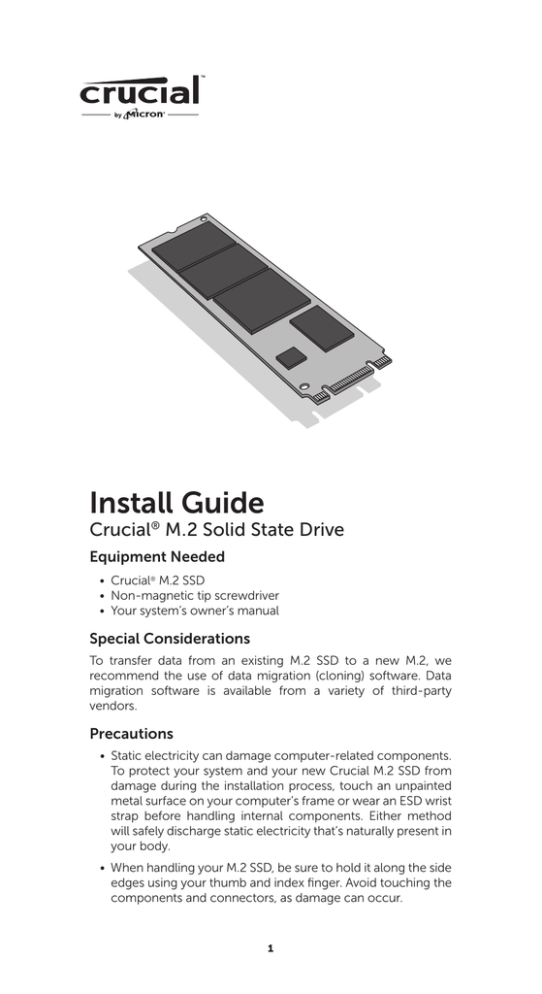
Crucial® M.2 Solid State Drive Install Guide
advertisement

Install Guide Crucial® M.2 Solid State Drive Equipment Needed • Crucial® M.2 SSD • Non-magnetic tip screwdriver • Your system’s owner’s manual Special Considerations To transfer data from an existing M.2 SSD to a new M.2, we recommend the use of data migration (cloning) software. Data migration software is available from a variety of third-party vendors. Precautions • Static electricity can damage computer-related components. To protect your system and your new Crucial M.2 SSD from damage during the installation process, touch an unpainted metal surface on your computer’s frame or wear an ESD wrist strap before handling internal components. Either method will safely discharge static electricity that’s naturally present in your body. • When handling your M.2 SSD, be sure to hold it along the side edges using your thumb and index finger. Avoid touching the components and connectors, as damage can occur. 1 Ultrabook Installation Instructions 1. Make sure you’re working in a static-safe environment. Remove any plastic bags or papers from your work space. 2. Shut down your system. Once your system has been powered off, unplug the power cable, then remove the battery. 3. Hold the power button for 3-5 seconds to discharge residual electricity. 4. Remove your system’s case cover. Refer to your owner’s manual for how to do this. 5. To protect your new M.2 SSD and internal components from static damage during the installation process, touch an unpainted metal surface on your computer’s frame or wear an ESD wrist strap before handling the M.2 SSD or internal components. 6. Locate your computer’s M.2 socket on the motherboard. Consult your owner’s manual for the exact location. 7. Remove the existing M.2 SSD from the M.2 socket (if applicable). Refer to your owner’s manual for how to safely remove the existing M.2 drive. 8. Insert your Crucial M.2 SSD into the M.2 socket according to the illustrations in this guide. Align the notches on the M.2 SSD with the ridges in the M.2 socket, then insert as shown. Do not force the connection. 9. To secure the M.2 drive, hold it along the side edges and lower it from the raised position until it sits on top of the support assembly. Then, while holding the M.2 SSD in position, insert screw into the support assembly, tightening as necessary to securely fasten the M.2 SSD in place. Do not overtighten the screw. 10. Once your M.2 drive has been securely fastened, replace your system’s case cover and reconnect the battery. Power on your system. 11. If you didn’t migrate data from an existing drive, install operating system, drivers, utilities, and applications as needed. Installation is now complete. 2 Helpful Diagrams for the Installation Process 3 Troubleshooting Tips If your M.2 SSD won’t fit into the M.2 socket, don’t apply extra pressure or attempt to force it into the socket. Instead, double check your system to ensure that you’re inserting the drive into the M.2 socket (this socket can look similar to others, but should be clearly labeled in your owner’s manual). If your Crucial M.2 SSD still won’t fit into the socket, contact Crucial Technical Support. If your system won’t boot once you’ve finished the installation, check all of the connections and cables inside your computer. When performing an installation, it’s easy to bump a cable and accidentally remove it from its connector, which can disable devices such as your hard drive. If your system still won’t reboot after you’ve checked every connection, contact Crucial Technical Support. When restarting your system after the installation, you may receive a message prompting you to update your system’s configuration settings. Refer to your owner’s manual for information on how to do this. If you’re still unsure, contact Crucial Technical Support. If your M.2 drive isn’t recognized by your system’s BIOS when you boot up, shut down your computer and reseat the drive (unplug it from the M.2 socket, then reattach it and fasten it in place using the installation steps noted above). After the drive has been reseated, turn on your computer. The BIOS should recognize the drive. If not, contact Crucial Technical Support. 4 Customer Service and Technical Support For technical support, customer service or returns, contact us using your preferred method below. North and South America Email: crucsupport@micron.com Phone: (208) 363-5790 Toll free phone: 1 (800) 336-8915 (US and Canada only) Europe Email: crucialeusupport@micron.com Phone: +44 (0) 1355 586100 Freephone: 0800 013 0330 (UK only) France Email: crucialsupportfr@micron.com Phone: +44 (0) 1355 586083 Freephone: 0805 10 29 63 Italy Email: crucialsupportit@micron.com Phone: +44 (0) 1355 586087 Freephone: 800 986487 Germany Email: crucialberatung@micron.com Phone: +44 (0) 1355 586086 Freephone: 0800 588 7928 Asia, Australia, and New Zealand Email: asiacrucialsupport@micron.com Phone: (65) 6278-2425 Freephone: 1 (800) 142982 (Australia and New Zealand only) www.crucial.com/support/ssd ©2014 Micron Technology, Inc. All rights reserved. Information is subject to change without notice. Crucial and the Crucial logo are trademarks or registered trademarks of Micron Technology, Inc. All other trademarks and service marks are property of their respective owners. Products and specifications are subject to change without notice. Neither Crucial nor Micron Technology is responsible for omissions or errors in typography or photography. 5
