Lining up Page Numbers in the Table of Contents
advertisement
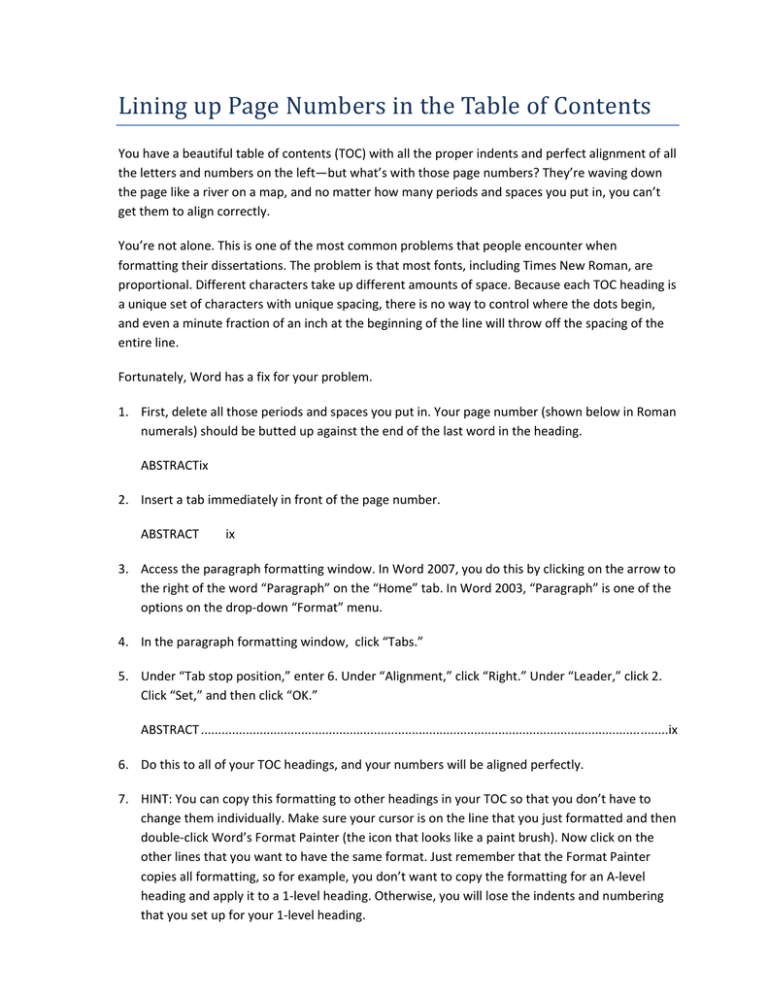
Lining up Page Numbers in the Table of Contents You have a beautiful table of contents (TOC) with all the proper indents and perfect alignment of all the letters and numbers on the left—but what’s with those page numbers? They’re waving down the page like a river on a map, and no matter how many periods and spaces you put in, you can’t get them to align correctly. You’re not alone. This is one of the most common problems that people encounter when formatting their dissertations. The problem is that most fonts, including Times New Roman, are proportional. Different characters take up different amounts of space. Because each TOC heading is a unique set of characters with unique spacing, there is no way to control where the dots begin, and even a minute fraction of an inch at the beginning of the line will throw off the spacing of the entire line. Fortunately, Word has a fix for your problem. 1. First, delete all those periods and spaces you put in. Your page number (shown below in Roman numerals) should be butted up against the end of the last word in the heading. ABSTRACTix 2. Insert a tab immediately in front of the page number. ABSTRACT ix 3. Access the paragraph formatting window. In Word 2007, you do this by clicking on the arrow to the right of the word “Paragraph” on the “Home” tab. In Word 2003, “Paragraph” is one of the options on the drop‐down “Format” menu. 4. In the paragraph formatting window, click “Tabs.” 5. Under “Tab stop position,” enter 6. Under “Alignment,” click “Right.” Under “Leader,” click 2. Click “Set,” and then click “OK.” ABSTRACT ....................................................................................................................................... ix 6. Do this to all of your TOC headings, and your numbers will be aligned perfectly. 7. HINT: You can copy this formatting to other headings in your TOC so that you don’t have to change them individually. Make sure your cursor is on the line that you just formatted and then double‐click Word’s Format Painter (the icon that looks like a paint brush). Now click on the other lines that you want to have the same format. Just remember that the Format Painter copies all formatting, so for example, you don’t want to copy the formatting for an A‐level heading and apply it to a 1‐level heading. Otherwise, you will lose the indents and numbering that you set up for your 1‐level heading.
