1/9 For assistance with assembly, please contact Hayneedle
advertisement

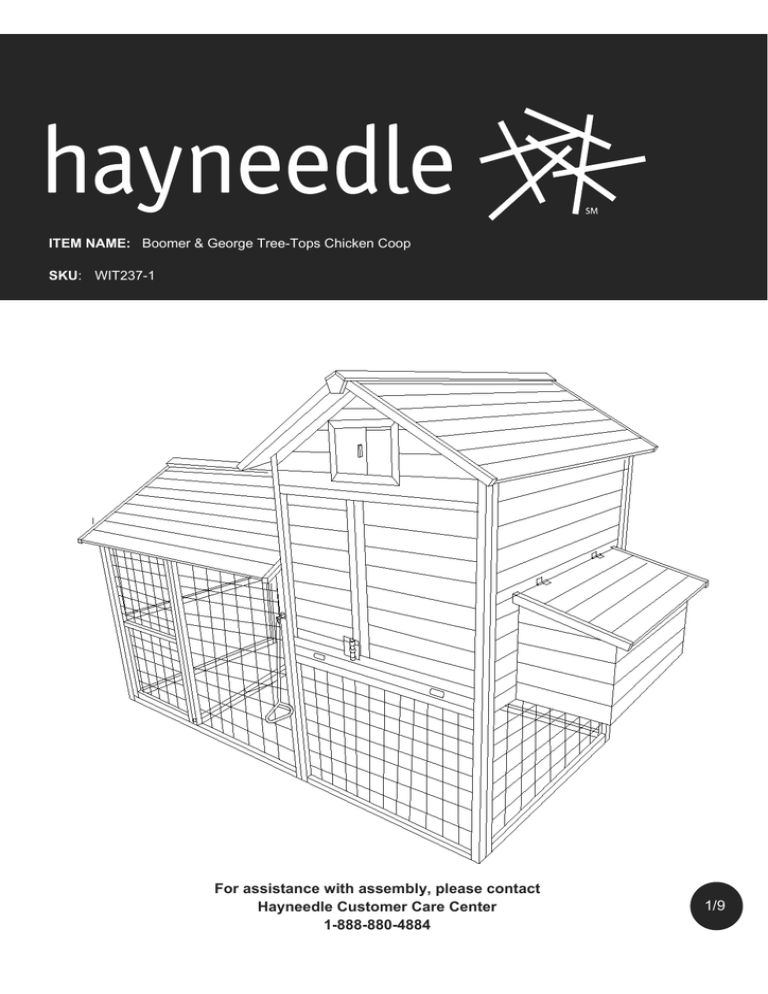
ITEM NAME: Boomer & George Tree-Tops Chicken Coop SKU: WIT237-1 For assistance with assembly, please contact Hayneedle Customer Care Center 1-888-880-4884 1/9 PRE-ASSEMBLY PREPARATION: ! THIS PACKAGE MAY CONTAIN SMALL ITEMS WHICH SHOULD BE KEPT AWAY FROM CHILDREN PRE-ASSEMBLY PREPARATION: • Please check that all parts and hardware are included before beginning assembly. • Save all packing materials until assembly is complete to avoid accidentally discarding smaller parts or hardware. • Read through the preparation and assembly instructions in full before beginning assembly. • Please use CAUTION AND CARE WHEN LIFTING the product to avoid personal injury and (or) damage to the product. • The following additional tools are required for assembly: Philips screwdriver • For ease of assembly, two adults are recommended. • Assembly time: Approximately 45 minutes PANEL AND FITTINGS IDENTIFICATION: Part A Left Coop Panel – with Handle Part C Back Coop Panel Part E Coop Front Roof and Coop Back Roof Part G Nesting Box Front Panel Part I Nesting Box Side Panel Qty:1 Qty:1 Qty:2 Qty:1 Qty:1 t Part B Front Coop Panel Part D Right Coop Panel Part F Coop Roof Cap Part H Nesting Box Back Panel Part J Long Perch Qty:1 Qty:1 Qty:1 Qty:1 2/9 Qty:1 PANEL AND FITTINGS IDENTIFICATION: Part K Short Perch Qty:1 Part L Nesting Box Floor Boards Qty :2 Part M Nesting Box Roof Qty:1 Part N Coop Floor Qty:1 Part O Front Pen Panel Qty:1 Part P Back Pen Panel Qty:1 Part Q Pen Side Wall Qty:1 Part R Ramp Qty:1 Part T Back Pen Roof Part S Front Pen Roof Qty:1 Part U Pen Roof Cap Part V Qty:1 Nesting Box Divider Qty:1 Qty:1 HARDWARE LIST: Qty: 14 Qty: 15 Qty: 10 Qty: 6 3/9 Qty:4 Qty:14 Qty: 1SET STEP-BY-STEP ASSEMBLY: 1 STEP 1: Attach Left Coop Panel – with Handle (Part A) to Front Coop Panel (Part B) and Back Coop Panel (Part C) using Screw 2 (x4). Attach Right Coop Panel (Part D) to Front Coop Panel (Part B) and Back Coop Panel (Part C) using Screw 2 (x6). 2 STEP 2: 3 the Nesting Box (Parts G, H & I) using Screw 1 (x4). Attach The Nesting Box Front STEP 3 : Assemble Panel (Part G) to Nesting Box Side Panel (Part I) using Screw 1 (x2). Attach the Nesting Box Attach Coop Front Roof and Coop Back Roof (Part E x 2) to the Left and Right Coop Panels using Screw 1 (x6) through the hinges of the roof parts. Attach the Coop Roof Cap (Part F) to one of the Roofs (Part E) using Screw 4 (x2). Attach the Hinges (Part 7) to each Roof (Part E) using Screw 6 (x8). Side Panel (Part I) to the Nesting Box Back Panel (Part H) using Screw 1 (x2). Attach the 3 assembled sides of the Nesting Box (Parts G, H & I) to the Right Coop Panel (Part D) using Bolt and Nuts (Part 5). 4/9 STEP-BY-STEP ASSEMBLY: 4STE 5 6 the Nesting Box Floor Boards (Part L x 2) and then the Nesting Box Divider STEP 4: Insert SSE (Part V) into the Nesting Box. MBLY:(Part J and K) into the coop. Allow the Perches to rest on the the Perches P-BY-STEPAInsert pre-assembled ledges in the coop house. STEP 5: Insert the Nesting Box Roof (Part M) to the Right Coop Panel (Part D) at the hinges using Screw 6 (x6). STEP 6: Insert the aluminum-lined Coop Floor (Part N) into the coop through the slit in the Front Coop Panel (Part B). 5/9 STEP-BY-STEP ASSEMBLY: 7 STEP 7: Attach the Front Pen Panel (Part O) to the Front Coop Panel (Part B) using the pre-assembled locking system. Attach the Back Pen Panel (Part P) to the Back Coop Panel (Part C) using the pre-assembled locking system. 8 STEP 8: Attach the Ramp (Part R) to the Coop opening using Screw 3 (x2) 9 STEP 9: Attach the Pen Side Wall (Part Q) to the Back and Front Pen Panels (Parts O and P) using Screw 2 (x4). 6/9 STEP-BY-STEP ASSEMBLY: 10 STEP 10: 11 STEP 11: 12 STEP 12: Assembly is complete! Attach the Front Pen Roof (Part S) using Screw 3 (x4). Attach the Back Pen Roof (Part T) using Screw 3 (x4). Attach Pen Roof Cap (Part U) to the seam of Front and Back Pen Roof (Parts S and T) using Screw 4 (x4). 7/9 MAINTENANCE AND CARE TIPS FOR OUTDOOR WOOD FURNITURE The best way to preserve and extend the life of your outdoor wood furniture is to cover it with a waterproof cover when it's not in use, store it in a cool, dry place like a garage or shed during the winter months, and keep the wood hydrated with products like linseed oil a couple times per year. The less exposure your wood furniture has to sun, wind, rain, and snow, the longer it will last. Woods that are stained or painted should be sanded and re-stained or repainted as needed to protect the elements from penetrating the surface. Wood left in direct contact with wet surfaces will quickly become saturated and rot. When wood does get wet, dry it off as quickly as possible. It's also important to place your outdoor wood furniture on a surface where water won't pool. A patio or deck is an ideal spot, and you should consider paving stones or a bed of rocks for wood furniture out in the garden. Wood left in direct contact with wet surfaces will quickly become saturated and rot. When wood does get wet, dry it off as quickly as possible or leave it out in the sun to dry. Frequently exposed to harsh conditions or damp surfaces, wood furniture will begin to show signs of wear and deterioration. Signs of damage may include checking (cracking or splitting), swelling, rotting, and discoloration. In addition to protective covers and off-season storage, you can further prevent this type of damage by keeping woods well-hydrated with products like linseed oil. Saturate your furniture with the oil several times per year. Well-oiled wood will be better-protected from the elements and will retain its color and smooth surface longer. Woods that are stained or painted should be sanded and re-stained or repainted as needed to protect the elements from penetrating the surface. Take time to learn more about how your particular type of wood tends to weather. Some woods, like pine, will require frequent staining or oiling, while a wood like cedar has natural oils that make it resistant to cracking and moisture rot. Woods like teak will turn a silver grey when left untreated, and many outdoor wood furniture owners look forward to this transformation. Finally, dirt build-up leads to deterioration, so keeping your outdoor wood furniture clean will give it a longer life. Clean it well two or three times per year with water, mild soap, and a soft cloth. (This is also the perfect time for a periodic hardware check.) We recommend using a product specifically designed for cleaning wood furniture. Hose it down before you start to remove cobwebs and caked-on dirt. Do not use abrasive cleaners, bleach, or scouring products that will affect the finish. Dry the furniture thoroughly when done. Poolside furniture should be hosed down after each use to minimize chlorine damage. 8/9 9/9

