Quick Start Installation Guide
advertisement
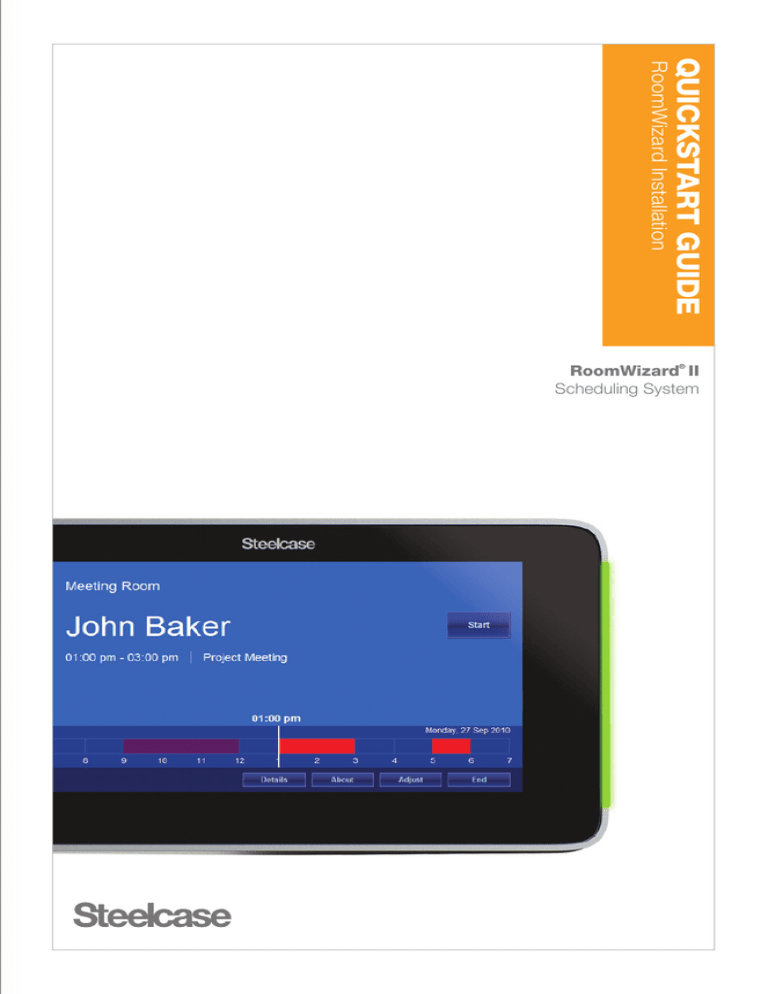
RoomWizard Installation QUICKSTART GUIDE RoomWizard® II Scheduling System WELCOME Schedule meetings faster and easier with RoomWizard.® The RoomWizard is a web-based scheduling device mounted near a meeting room entrance or group area. The interactive touch screen displays room availability and reservation details and allows you to schedule a room or adjust a reservation. RoomWizards are easy to install and maintain. power-over-ethernet (PoE) network cable powers each RoomWizard. A traditional AC power source is not needed. • A • RoomWizards may be mounted on drywall, concrete, brick, glass, doorframes, or furniture. • The touch screen may be easily cleaned with a microfiber cloth. • RoomWizards may be secured with a Kensington lock. RoomWizard web pages simplify administration. room names, times, and attributes. • Update • Implement changes and new features across groups of RoomWizards. About this Quickstart Guide RoomWizards can be installed on drywall, glass, or suspended from a door frame using the unique universal mount. This Quickstart Guide provides an overview of the tools you will need and how to properly install a RoomWizard. Go online to download detailed manuals Visit www.steelcase.com/roomwizard to download the full RoomWizard Installation Manual. There you will also find downloadable System Manager Manuals for Classic Mode, Microsoft® Exchange, and Lotus® Domino®, as well as the User Manual and other Quickstart Guides. TOOLS AND EQUIPMENT YOU WILL NEED Measuring tape Level Pencil Power over Ethernet (PoE) 802.11af/t switch or network connection with a power injector #2 Phillips head screwdriver or drill bit Power drill or driver 1" (25mm) hole saw (drywall mount only) ¼" (6mm) bit (drywall mount) 10mm wrench (universal mount only) /8" (10mm) bit (glass mount) 3 ½" or 5/8" (13mm or 16mm) bit (universal mount) /16" (8mm) bit (universal mount) 5 RECOMMENDED ROOMWIZARD INSTALLATION HEIGHTS ) cm 32 " (1loor 2 5 of t m) 0c (13 / " loor 1 f 5 to 14 nt ou -M n l l a o yw ati Dr stall In ) m 0c (13 r 3/4" o 50 to flo t n ou s-Mtion s a Gl talla Ins et k rac lB n a s o r ti ive lla Un Insta ADA Accessibility Guidelines require that the highest point of interaction not exceed 54 inches (137cm). For RoomWizard, this highest point of interaction is the top edge of the LCD screen. These installation instructions meet this 54-inch (137-cm) target height. To support the visually impaired, RoomWizard can accommodate a Braille sticker indicating the name of the room on the aluminum below the touch screen. For more information on how to create and apply Braille stickers, email techsupport@steelcase.com. DRYWALL-MOUNT INSTALLATION INSTRUCTIONS 2 5 1 m) 2c (13 or " 2 o 5 fl to 6 4 3 7 8 Included in drywall-mount kit • 1 mounting puck 1 Measure 52" (132cm) from floor. Mark with pencil. • 4 drywall anchors and screws • 1 RoomWizard device 2 Drill 1" (25mm) hole in drywall. Pull PoE cable through opening. • 2 set screws 3 Center and level mounting puck over hole. Mark position of anchor holes on drywall with pencil. 4 Pre-drill marked holes with ¼" (6mm) drill bit. 5 Screw wall anchors into wall using a #2 Phillips head screwdriver or lowrpm drill with #2 Phillips head bit. Align puck with anchors and attach with four screws. 6 Mount RoomWizard onto puck. 7 Level top of RoomWizard. 8 Attach RoomWizard to puck using two provided set screws and #2 Phillips head screwdriver. GLASS-MOUNT INSTALLATION INSTRUCTIONS 1 8 ALCOHOL PREP PAD 2 3 5 ) 0cm 13 ( " 1/4 or 51 to flo 6 4 Included in glass-mount kit • 1 glass cleaning cloth • 1 adhesive mounting disk • 1 mounting puck • 4 puck attachment screws • 1 mesh cable manager • 1 RoomWizard unit • 2 set screws • 1 glass-mount cover 7 1 Clean glass where disk will be mounted. 2 Remove adhesive on mounting disk. Using level, attach disk to glass with bottom edge 51¼" (130cm) above floor. 3 Attach puck to mounting disk using four attachment screws and #2 Phillips head screwdriver. 4 Optional: Drill 3/8" (10mm) hole in adjacent frame to access PoE cable. Hole must be within 18" (45cm) of RoomWizard. Route PoE cable through mesh cable manager. 5 Attach cable to RoomWizard and tuck cable manager into back of RoomWizard. Mount RoomWizard onto puck. 6 Level RoomWizard. 7 Attach RoomWizard to puck using two provided set screws and #2 Phillips head screwdriver. 8 Align and apply glass mount cover on opposite side of glass. UNIVERSAL-MOUNT INSTALLATION INSTRUCTIONS 1 4 2 5 3 6 ) 8cm (12 3/4" or 50 to flo 1 7 8 Included in universal-mount kit • 1 universal mounting bracket • 2 T-anchors and nuts • 2 T-anchor washers • 4 bracket spacers • 1 universal mounting bracket cover • 1 mounting puck • 4 puck attachment screws • 1 RoomWizard unit • 2 set screws 1 Position bracket on extrusion. Mark and drill two 5/16" (8mm) holes and one ½" (13mm) or 5/8" (16mm) hole in extrusion for bracket hardware and PoE cable. 2 Route cable through extrusion and universal bracket. 3 Attach universal bracket to extrusion with two provided T-anchors. 4 Tighten nuts using a 10mm wrench. Depending on extrusion, wall, or frame thickness, spacers may be necessary. 5 Route PoE cable through bracket cover. Attach bracket cover and puck using four provided screws and #2 Phillips head screwdriver. 6 Mount RoomWizard onto puck. 7 Level RoomWizard. 8 Attach RoomWizard to puck using two provided set screws and #2 Phillips head screwdriver. CUSTOMER SERVICE AND TECHNICAL SUPPORT In the USA and Canada, contact Steelcase USA Technical Support: PHONE 1.800.334.4922 (24-hour support Monday through Friday) EMAIL techsupport@steelcase.com WEB www.steelcase.com Outside the USA and Canada, contact Steelcase EU Technical Support: PHONE +33 3 88 13 36 36 (Support available in English, French, German, and Spanish, Monday through Friday, 7:00 to 19:00 US Central Standard Time.) EMAIL business.center@steelcase.com WEB www.steelcase.com Visitez www.steelcase.com/roomwizard pour télécharger ceci et d’autres Quickstart Guides en français. Besuchen www.steelcase.com/roomwizard auf diese und andere Quickstart Guides in deutscher Sprache herunterladen. Entre en www.steelcase.com/roomwizard para descargar esta y otras Quickstart Guides en español. Call 800.333.9939 or visit www.steelcase.com/roomwizard for product demonstrations and documentation, firmware downloads and more. Information in this document is subject to change without notice. Reproduction in any manner without written permission of Steelcase Corporation is forbidden. Steelcase Corporation reserves the right to make changes in product design, or detail, and to discontinue any product or material without notice. RoomWizard is a trademark of Steelcase, Inc. All other registered trademarks and trademarks used herein are the property of their respective owners. Order number 10-0003128 ©2010 Steelcase Inc. All rights reserved. All specifications subject to change without notice. Printed in U.S.A. on 30% post-consumer recycled paper. Trademarks used herein are the property of Steelcase Inc. or of their respective owners.
