Making Movies CS 551/645 Fall 2000
advertisement
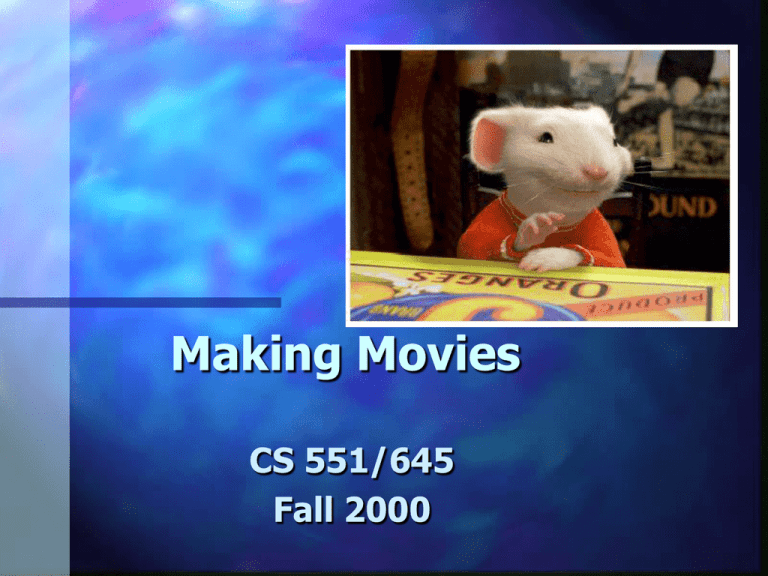
Making Movies CS 551/645 Fall 2000 Assignment 4 Use BMRT to render RenderMan scenes – BMRT is freeware version of a raytracer that renders RenderMan ‘RIB’ files – RenderMan is Pixar product used to render most CG in movies and commercials Goals Learn RenderMan Commands Construct RIB files Build object to camera space transformation Write multiple shaders Learn RenderMan Commands Basic commands are like OpenGL – RiTranslate, RiScale, RiColor… We’ll discuss advanced commands in class Additional references – www.bmrt.org, www.rendermania.com – Advanced RenderMan: Creating CGI for Motion Pictures, Apodaca and Gritz – Renderman Companion, Steve Upstill Construct RIB Files Renderman converts .rib files to .tiff images You could write .rib files by hand Skeleton code provided will generate .rib file for teapot on a box Stubs provided for improvement code Improving the Code Add RiLookat command to skeleton code – This command should move and orient the BMRT camera similar to gluLookAt () Add environment map Use more interesting shaders – ‘Shaders’ are the files that define material properties Examples Extra Credit Assignment Write a ray tracer from scratch – IMPORTANT – DON’T USE THE WEB FOR THIS ASSIGNMENT! Archaeologists found this relic from my 1993 ray tracing assignment Raytracer Specs Render 6 polygons and 6 spheres Use multiple colors Specular and diffuse lighting effects Must demonstrate object -> object shadows – – – – Sphere to sphere Sphere to polygon Polygon to sphere Polygon to polygon Making Movies Concept Storyboarding Sound Character Development Layout and look Effects Animation Lighting Concept Pixar’s Lasseter is a genius – “Nothing gets in the way of the story” Storyboarding Explicitly define – Scenes – Camera shots – Special effects – Lighting – Scale Used as guide by animators Sound Voice recording of talent completed before animation begins Animations must match the voice over A puppeteer once told me that the voice makes or breaks a character Character Development 300 Drawings Character Development 40 Sculptures Character Development Computer Models Layout and Look Build scenery Match colors Matchmoving CG camera must exactly match the real camera – – – – Position Rotation Focal length Aperature Easy when camera is instrumented Hard to place CG on moving objects on film Matchmoving Matchmoving Square patterns in live action made it easier to track – furniture, wall paper 2D – 3D conversion in Maya Water Particle Sim and Indentation Tools Compositing Compositing Lighting Facial Animation Facial Animation Fur Cloth Buttons and Creases Texture Companies Pixar Disney Sony Imageworks Industrial Light and Magic (ILM) Rhythm and Hues Pacific Data Images (PDI) Dreamworks SKG Tippett Studios Angel Studios Blue Sky Robert Abel and Associates Giant Studios Toy Story (1995) 77 minutes long; 110,064 frames 800,000 machine hours of rendering 1 terabyte of disk space 3.5 minutes of animation produced each week (maximum) Frame render times: 45 min – 20 hours 110 Suns operating 24-7 for rendering – 300 CPU’s Toy Story Texture maps on Buzz: 189 – (450 to show scuffs and dirt) Number of animation ‘knobs’ – Buzz – 700 – Woody – 712 Face – 212 Mouth – 58 – Sid’s Backpack - 128 Toy Story Number of leaves on trees – 1.2 mil Number of shaders – 1300 Number of storyboards – 25,000 Toy Story 2 80 minutes long, 122,699 frames 1400 processor renderfarm Render time of 10 min to 3 days Direct to video film Toy Story 2 Software tools – Alias|Wavefront – Amazon Paint – RenderMan Newman! Subdivision-surfaces Polygonal hair (head) – Texture mapped on arms Sculpted clothes Complex shaders Devil’s in the Details Render in color Convert to NTSC B/W Add film effects – Jitter – Negative scratches – Hair – Static Images Images Images Stuart Little 500 shots with digital character 6 main challenges – Lip sync – Match-move (CG to live-action) – Fur – Clothes – Animation tools – Rendering, lighting, compositing Stuart Little 100+ people worked on CG – 32 – 12 – 30 – 40 – 12 color/lighting/composite artists technical assistants animators artists R&D Shooting Film For CG Actors practice with maquettes Maquettes replaced with laser dots – lasers on when camera shutter is closed After each take, three extra shots – chrome ball for environment map for Stuart’s eyes – white and gray balls for lighting info Match-moving Film scanned Camera tracking data retrieved 3D Equalizer + Alias Maya to prepare (register) the digital camera Once shot is prepared, 2D images rendered and composited with live action Making Movies Production Team Production Line Special Effects Production Team Directors Modelers Lighting Character Animators Technical Directors Render Wranglers Tools Developers Shader Writers Effects Animators Looks Team Security Officer Janitor Lackey
