Landslide Setup Directions
advertisement

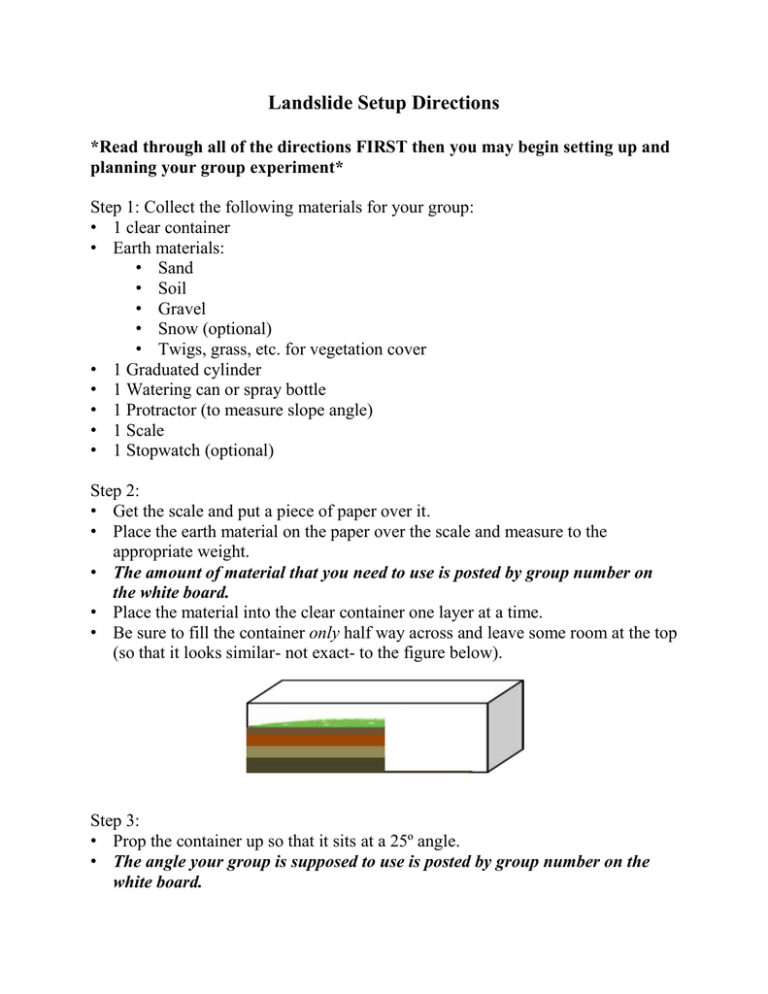
Landslide Setup Directions *Read through all of the directions FIRST then you may begin setting up and planning your group experiment* Step 1: Collect the following materials for your group: • 1 clear container • Earth materials: • Sand • Soil • Gravel • Snow (optional) • Twigs, grass, etc. for vegetation cover • 1 Graduated cylinder • 1 Watering can or spray bottle • 1 Protractor (to measure slope angle) • 1 Scale • 1 Stopwatch (optional) Step 2: • Get the scale and put a piece of paper over it. • Place the earth material on the paper over the scale and measure to the appropriate weight. • The amount of material that you need to use is posted by group number on the white board. • Place the material into the clear container one layer at a time. • Be sure to fill the container only half way across and leave some room at the top (so that it looks similar- not exact- to the figure below). Step 3: • Prop the container up so that it sits at a 25º angle. • The angle your group is supposed to use is posted by group number on the white board. Step 4: • S-L-O-W-L-Y apply water to the earth materials in the container until it is saturated. • After you have saturated the landscape you will slowly add water in measured increments until a landslide occurs. • Use the graduated cylinder to measure the amount of water that you apply. • Record the total amount of water that you use on your landslide worksheet. Step 5: • For the remainder of the lab you will work as a group to design the experimental steps of your lab. • Use the landslide worksheet to help guide you along the way. • When recording your data and making observations think about the different parts of a landslide (included in the landslide worksheet) and the different types of landslides you learned about in lecture. • Don’t forget to record all of your observations- you will be sharing the results of your experiment with the class. • You can use the worksheet and/or create a poster to present your groups results to the class.


