Computer Skills MS Access Work Sheet # 2
advertisement

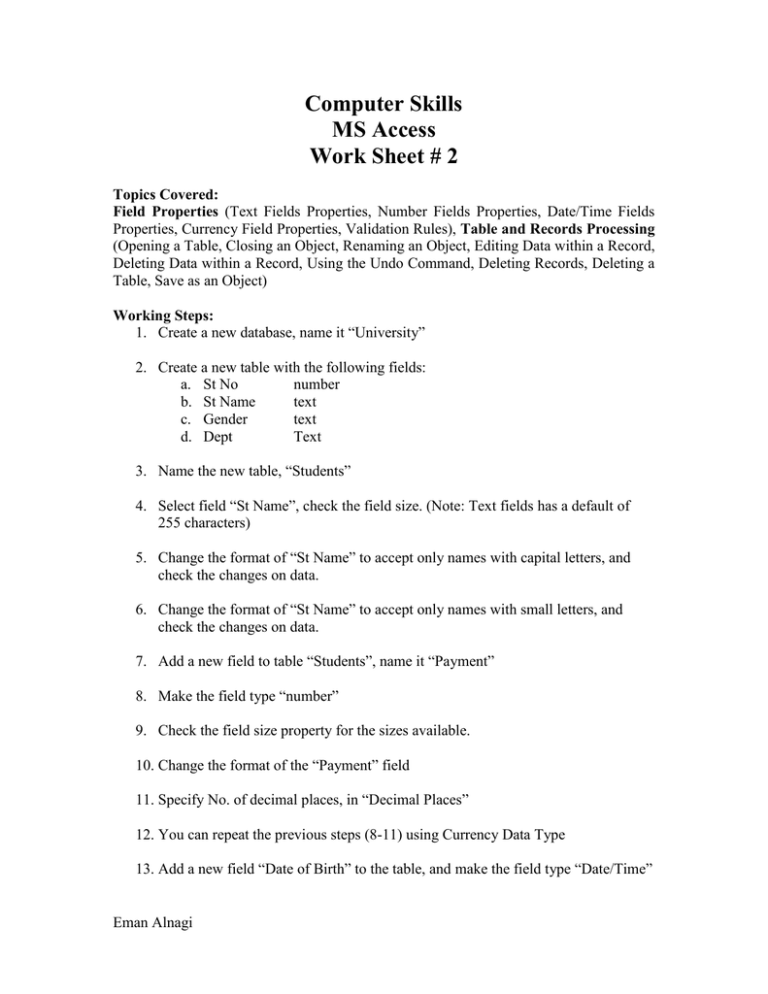
Computer Skills MS Access Work Sheet # 2 Topics Covered: Field Properties (Text Fields Properties, Number Fields Properties, Date/Time Fields Properties, Currency Field Properties, Validation Rules), Table and Records Processing (Opening a Table, Closing an Object, Renaming an Object, Editing Data within a Record, Deleting Data within a Record, Using the Undo Command, Deleting Records, Deleting a Table, Save as an Object) Working Steps: 1. Create a new database, name it “University” 2. Create a new table with the following fields: a. St No number b. St Name text c. Gender text d. Dept Text 3. Name the new table, “Students” 4. Select field “St Name”, check the field size. (Note: Text fields has a default of 255 characters) 5. Change the format of “St Name” to accept only names with capital letters, and check the changes on data. 6. Change the format of “St Name” to accept only names with small letters, and check the changes on data. 7. Add a new field to table “Students”, name it “Payment” 8. Make the field type “number” 9. Check the field size property for the sizes available. 10. Change the format of the “Payment” field 11. Specify No. of decimal places, in “Decimal Places” 12. You can repeat the previous steps (8-11) using Currency Data Type 13. Add a new field “Date of Birth” to the table, and make the field type “Date/Time” Eman Alnagi 14. Go to “Regional Settings” in “Control Panel” and check the defined format 15. Back to the table, change the format of this field. 16. Select field “Dept” 17. Go to field properties, in “Validation Rule” add (“MIS” or “CIS” or “CS”) 18. In the “Validation Text” add “You have entered a wrong department” 19. Enter data adding the dept “IT”, and check the effect 20. Return back to Field “Payment” and add a “Validation Rule”, “>=0”, Add data and check the effect 21. Select field “Dept” and change the “Required” property to “Yes” 22. Enter new data, and don’t add data in the Dept field, and check the effect 23. Close the “Students” table, and Re-open it from the Navigation Pane 24. Re-name the table to “IT Students” (Hint: You should close the table first) 25. Enter a new record in table “IT Students” 26. Edit the data entered in the last record 27. Delete data from any field in the table 28. Delete data from “Dept” field, and check the effect 29. Use Undo Command 30. Delete a record from table “IT Students” 31. Save as the table “IT Students” into a new copy named “IT Students 2” 32. Delete the whole table “IT Students” Eman Alnagi


