Q-tip paint
advertisement
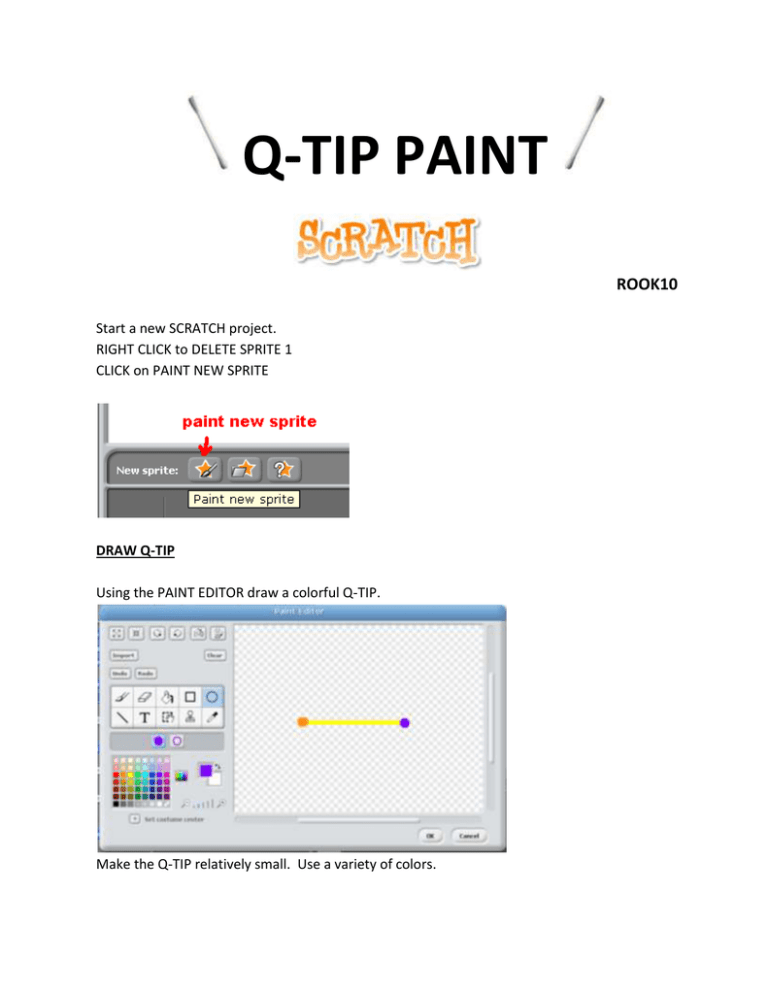
Q-TIP PAINT ROOK10 Start a new SCRATCH project. RIGHT CLICK to DELETE SPRITE 1 CLICK on PAINT NEW SPRITE DRAW Q-TIP Using the PAINT EDITOR draw a colorful Q-TIP. Make the Q-TIP relatively small. Use a variety of colors. CLICK the SET COSTUME CENTER button. Move the COSTUME CENTER slightly up from the QTIP center. CLICK OK. TYPE to name the SPRITE “Q-TIP” SPIN Insert these tiles in the Q-TIP SCRIPT to make it spin when the GREEN FLAG is clicked. Give it a try. Click the GREEN FLAG. CHANGE COLOR Insert these tiles to have the Q-TIP change color. NOTICE! We change the COLOR EFFECT value to 1. FOLLOW MOUSE Insert these tiles to have the Q-TIP follow the MOUSE movement. Its time for another test flight. Click the GREEN FLAG and give it a go. MIRROR IMAGE RIGHT CLICK on the Q-TIP SPRITE and DUPLICATE it. CLICK on the new SPRITE. TYPE to rename it “MIRROR” NOTICE all of the SCRIPTS of the Q-TIP are automatically transferred to the new SPRITE. SCRATCH uses an X:Y COORDINATE PLANE to define the game screen. At the center of the SCRATCH game screen X=0 and Y=0. We move up and down on the screen by increasing or decreasing the Y value. We move left and right on the screen by increasing or decreasing the X value. We want to create a “mirror image” of the Q-TIP using the y (vertical) axis as the center. As our Q-TIP moves to the right (increasing x values) its mirror image will move to the left (decreasing x values). For example. If the Q-TIP moves from x=10 to x=20 the mirror would move from x=-10 to x=-20. To accomplish this we will use this formula. The x value of the mirror image will be equal to zero minus the x value of the original Q-TIP. Take a look at this tile. We use the green OPERATOR minus tile to create our mirror image x value. The up and down movement of the MIRROR is the same as the original Q-TIP, thus Y value of the MIRROR will be the same as the Q-TIP. Change these tiles for the SPRITE MIRROR as shown here: This is the stack we are modifying: Change to this: NOTICE YOU MUST SET THE DROP BOXES TO REFERENCE THE X AND Y VALUES OF THE Q-TIP. CLICK on the GREEN FLAG and give it a try. NOTICE the MIRROR is spinning in the same direction as the Q-TIP. A true mirror image would spin in an opposite direction. Change the tiles for the SPRITE MIRROR as shown here: This is the stack we are modifying: Change to this: NOTICE it is the same tile but with a spin in the opposite direction. PAINT Take a look at the tiles in the green PEN tab. NOTICE the CLEAR and STAMP tiles. CLEAR will clear the screen. STAMP imprints a copy of the SPRITE on the background canvas much like pressing a rubber stamp on to a page of paper. We will activate the STAMP command by pressing the MOUSE so that multiple stamps of the spinning Q-TIP and Its MIRROR will be printed on to the screen. Insert these tiles into the SCRIPT of either SPRITE. CLICK and DRAG these tiles to copy them onto the other SPRITE. Here I am copying the tiles from the MIRROR SPRITE to the Q-TIP SPRITE. CLEAR SCREEN Insert these tiles into the SCRIPT for either SPRITE (not necessary to have in both). THAT’S IT. Click the GREEN FLAG and take a test run. Press the MOUSE to paint. Press the SPACE BAR to clear the screen. MODIFICATIONS: You can have the SIZE of your Q-TIP change by pressing the UP and DOWN keys by adding the following tiles to BOTH SPRITES. You don’t have to use a Q-TIP for your paint brush. Try clearing the Q-TIP graphic and using something new. You can copy your new image on to its mirror by: RIGHT CLICK on the COSTUME and choose EXPORT THIS COSTUME IMPORT the SAVED COSTUME into the other SPRITE. Delete any other COSTUMES.
