Boot Scraper Description:
advertisement
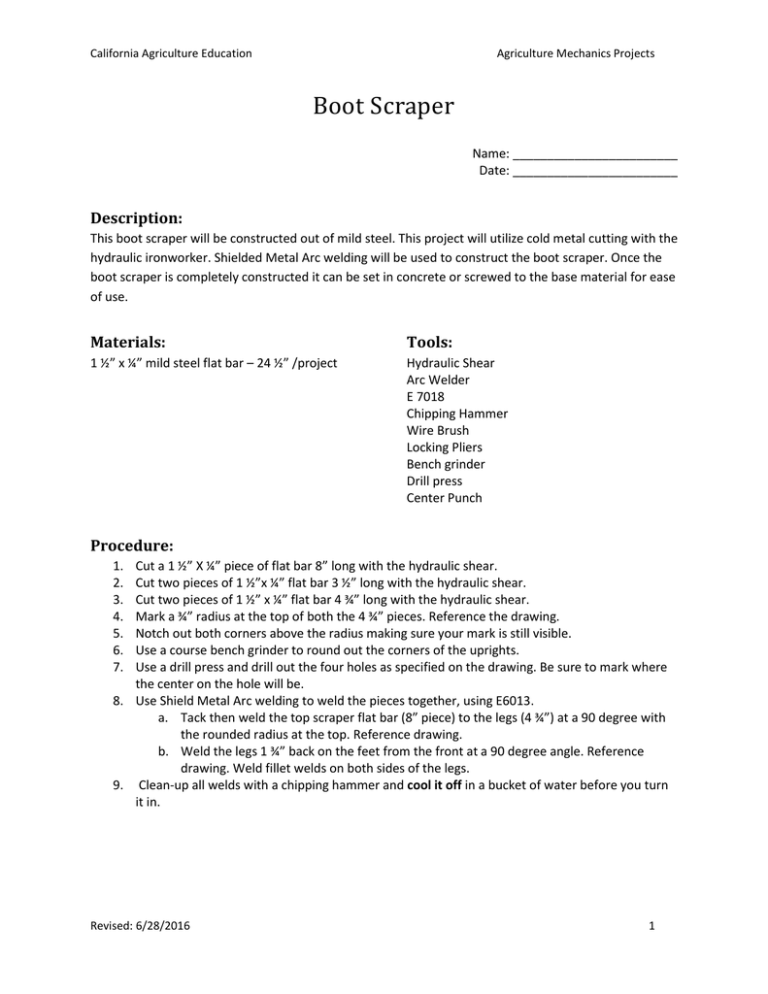
California Agriculture Education Agriculture Mechanics Projects Boot Scraper Name: ________________________ Date: ________________________ Description: This boot scraper will be constructed out of mild steel. This project will utilize cold metal cutting with the hydraulic ironworker. Shielded Metal Arc welding will be used to construct the boot scraper. Once the boot scraper is completely constructed it can be set in concrete or screwed to the base material for ease of use. Materials: Tools: 1 ½” x ¼” mild steel flat bar – 24 ½” /project Hydraulic Shear Arc Welder E 7018 Chipping Hammer Wire Brush Locking Pliers Bench grinder Drill press Center Punch Procedure: 1. 2. 3. 4. 5. 6. 7. Cut a 1 ½” X ¼” piece of flat bar 8” long with the hydraulic shear. Cut two pieces of 1 ½”x ¼” flat bar 3 ½” long with the hydraulic shear. Cut two pieces of 1 ½” x ¼” flat bar 4 ¾” long with the hydraulic shear. Mark a ¾” radius at the top of both the 4 ¾” pieces. Reference the drawing. Notch out both corners above the radius making sure your mark is still visible. Use a course bench grinder to round out the corners of the uprights. Use a drill press and drill out the four holes as specified on the drawing. Be sure to mark where the center on the hole will be. 8. Use Shield Metal Arc welding to weld the pieces together, using E6013. a. Tack then weld the top scraper flat bar (8” piece) to the legs (4 ¾”) at a 90 degree with the rounded radius at the top. Reference drawing. b. Weld the legs 1 ¾” back on the feet from the front at a 90 degree angle. Reference drawing. Weld fillet welds on both sides of the legs. 9. Clean-up all welds with a chipping hammer and cool it off in a bucket of water before you turn it in. Revised: 6/28/2016 1 California Agriculture Education Agriculture Mechanics Projects Cutting List Quantity Size Material 1 1 ½” x ¼” x 8” 1 ½” x ¼” mild steel flat bar 2 1 ½” x ¼” x 3 ½” 1 ½” x ¼” mild steel flat bar 2 1 ½” x ¼” x 4 ¾”– ¾”radius corner on one side 1 ½” x ¼” mild steel flat bar Notes: _____________________________________________________________________________________ _____________________________________________________________________________________ _____________________________________________________________________________________ _____________________________________________________________________________________ _____________________________________________________________________________________ _____________________________________________________________________________________ _____________________________________________________________________________________ _____________________________________________________________________________________ Photo: Revised: 6/28/2016 2 California Agriculture Education Agriculture Mechanics Projects All welds are to be done with an E6013 rod. Revised: 6/28/2016 3 California Agriculture Education Agriculture Mechanics Projects Boot Scraper Worksheet Name: ________________________ Date: ________________________ 1. What did you set your arc welding machine at to weld this boot scraper? ___________________ 2. What was the radius at the top of the boot scraper? _________________ 3. What angle did you hold the electrode at? ______________ 4. Did you push or pull the electrode? __________________ 5. How far away should I hold the electrode from the metal? ________________ Grading Rubric: CRITERIA POSSIBLE Proper Assembly (As shown in drawing) 5 E 6013 Fillet Welds - 4 (On legs) 5 E 6013 Lap Welds – 4 (top) 5 Neatness of Assembly (square, fit of parts) 5 Neatness of Cuts/Dimensions (consistent, proper radius) 5 Questions from worksheet 5 Total Score 30 Revised: 6/28/2016 SCORE 4 California Agriculture Education Agriculture Mechanics Projects Boot Scraper Teachers Notes: Agricultural Standards Met: 6.0 Health and Safety. Students understand health and safety policies, procedures, regulations, and practices, including the use of equipment and handling of hazardous materials: 6.1 Know policies, procedures, and regulations regarding health and safety in the workplace, including employers’ and employees’ responsibilities. 6.2 Understand critical elements of health and safety practices related to storing, cleaning, and maintaining tools, equipment, and supplies. 6.4 Maintain safe and healthful working conditions. 6.5 Use tools and machines safely and appropriately. 6.6 Know how to both prevent and respond to accidents in the agricultural industry. 7.0 Responsibility and Flexibility: Students know the behaviors associated with the demonstration of responsibility and flexibility in personal, workplace, and community settings: 7.1 Understand the qualities and behaviors that constitute a positive and professional work demeanor. 7.2 Understand the importance of accountability and responsibility in fulfilling personal, community, and workplace roles. 7.3 Understand the need to adapt to varied roles and responsibilities. 7.4 Understand that individual actions can affect the larger community. 7.5 Understand the importance of time management to fulfill responsibilities. 7.6 Know how to apply high-quality craftsmanship to a product or presentation and continually refine and perfect it. B1.0 Students understand personal and group safety: B1.1 Practice the rules for personal and group safety while working in an agricultural mechanics environment. B1.2 Know the relationship between accepted shop management procedures and a safe working environment. B5.0 Students understand agricultural cold metal processes: B5.2 Know basic tool-fitting skills. B5.3 Know layout skills. B5.4 Know basic cold metal processes (e.g., shearing, cutting, drilling, threading, bending.). B8.0 Students understand electric arc welding process. B8.1 Know how to select, properly adjust, safely employ, and maintain appropriate welding equipment (e.g., gas metal arc welding, shielded metal arc welding, gas tungsten arc welding). B8.2 Apply gas metal arc welding, shielded metal arc welding, or flux core arc welding processes to fusion-weld mild steel with appropriate welding electrodes and related equipment. B8.3 Weld a variety of joints in various positions. B8.4 Know how to read welding symbols and plans, select electrodes, fit-up joints, and control heat and distortion. Revised: 6/28/2016 5 California Agriculture Education Agriculture Mechanics Projects Objectives: By properly completing this project, students will be able to: Read a plan to and layout dimensions. Cut mild steel with the hydraulic shear. Properly round the top of the leg (3/4” radius) with a bench grinder. Properly set an arc welding machine. Choose the correct electrode for the job. Properly assemble the boot scraper. Alternative Tools/Methods/Materials: Alternative Methods Mount on a concrete square. (Add a concrete element to the lesson) The project could be riveted together as a cold metal project. Use 4 - 1/4” X ¾” round head steel rivets. This will give it an antique look. The project can be GMAW welded. Alternative construction - could be used as a fundraiser. This boot scraper will be constructed with two horseshoes and three pieces of mild steel. Directions: 1. Cut a 1” X ¼” piece of flat bar 10” long. 2. Cut two ¼”x 1 ½” pieces of flat bar 6” long. 3. Clean two horseshoes that are equal in size. 4. Use Shield Metal Arc welding to weld the pieces together, using E6013: the two 6” pieces are the bottom feet, the 10” piece will be the top foot scraper, and the horseshoes will be the legs. 5. First weld each of the horseshoes on center of the 1 ½”x 6” flat bar at a 90 degree angle using SMAW, E6013. Making sure both legs of horseshoes are facing downward. 6. Then weld the 1” x 10” flat bar to the top of the horseshoes horizontally. The 1” side should be vertical. Making sure that the top of the flat bar is level with the top of the horseshoes. 7. Clean-up all welds with a chipping hammer and cool it off in a bucket of water before you turn it in. Cutting list - 1 - 1”x ¼”x 10” Flat bar 2 – ¼’x1½”x6” Flat bar Revised: 6/28/2016 6 California Agriculture Education Agriculture Mechanics Projects Safety Review: Hydraulic Shear Arc Welder Flash burn Hot Slag Hot metal Drill press Bench grinder Project Time: Demonstration: 30 minutes Build: 3 hours Demonstration Notes 1. Be sure to drill the holes before you weld anything! (Put a block of wood underneath the drill press bit to drill over. 2. Use a center punch to start the holes before you drill. 3. To save time on the demonstration using locking pliers on both sides of the top to clamp the top piece of flat bar to the legs. This will make welding easier and you will be able to avoid tacking leaving the boot scraper looking nicer. 4. Use magnetic 90 degree corners if you have them, it will be much easier to get a 90 degree angle. Or use locking pliers to attach 90 degree angle iron to one of the sides until it is tacked together. 5. Be sure that you alternate your welds to minimize distortion. Revised: 6/28/2016 7 California Agriculture Education Agriculture Mechanics Projects Answers to the worksheet 1. 90-110 amps 2. ¾” radii 3. 10-15 degrees 4. Pull 5. 1/16” – 1/8” Bill of Materials: Projects: 24 Size Description Units 1 1/2" x 1/4" Mild Steel flat bar 20' bars Qty/Project Cost/Unit 0.11 Order $6.00 TOTAL Amount 3 $ 18.00 $ 18.00 Project from: Cassie Strand, California State University, Chico 2011 Revised: 6/28/2016 8
