Assembly guide for red-light light-tight star party sign box
advertisement
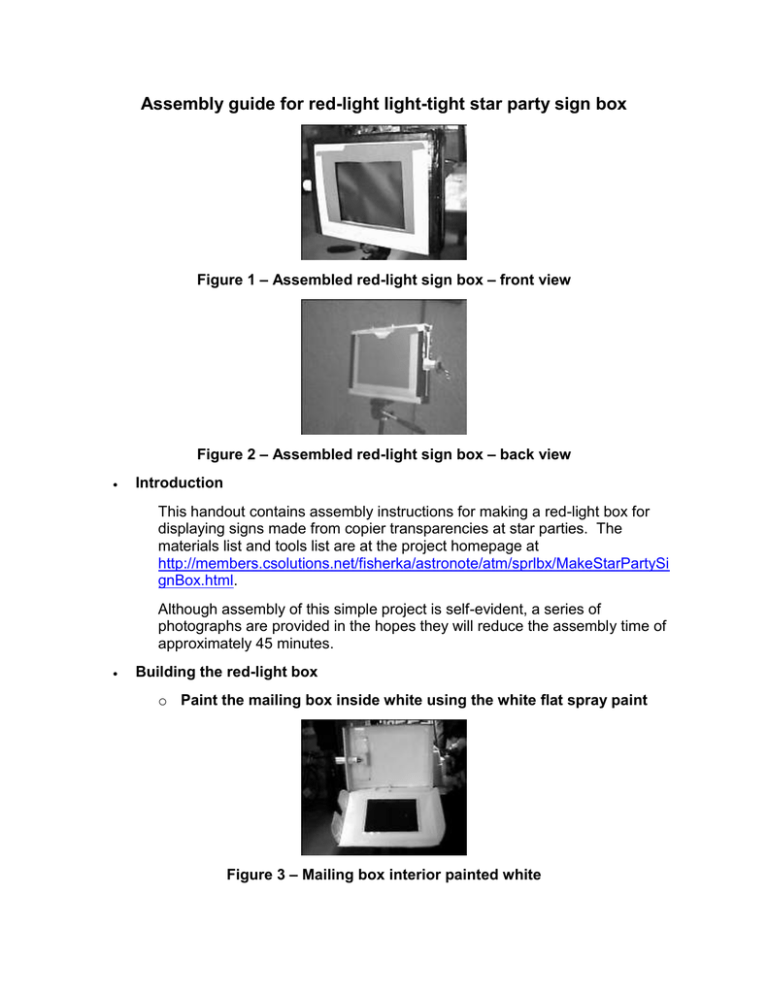
Assembly guide for red-light light-tight star party sign box Figure 1 – Assembled red-light sign box – front view Figure 2 – Assembled red-light sign box – back view Introduction This handout contains assembly instructions for making a red-light box for displaying signs made from copier transparencies at star parties. The materials list and tools list are at the project homepage at http://members.csolutions.net/fisherka/astronote/atm/sprlbx/MakeStarPartySi gnBox.html. Although assembly of this simple project is self-evident, a series of photographs are provided in the hopes they will reduce the assembly time of approximately 45 minutes. Building the red-light box o Paint the mailing box inside white using the white flat spray paint Figure 3 – Mailing box interior painted white Paint outdoors while standing up wind and away from cars and buildings. This will prevent overspray from the paint can drifting on to either yourself or nearby objects. Set the box aside to dry and proceed to the next step. o Cut the manila letter-sized file folder in half along its spine fold. o In the front of the file folder, cut a 6” x 7” square, offset 2 ¾ inches from the right edge. See Figure 1 above. o Close the box. Place the file folder with cut-out square on the lid, offset 1” from the right side of the box. o Trace the 6” x 7” square on to the lid. o Cut the 6” x 7” square out of the lid of the box. Keep the waste cardboard. It will be used later. Check for wet paint on the inside of the lid waste cardboard before setting it down. o Cut two 6 ½” x 7 ½” squares out of the red diffusion gel sheet. Set one square aside. On the bottom 2” spine of the box, drill a ¼” hole centered in both length and width of the spine. Figure 4 – Camera tripod mount screws into the bottom of the box This is where the camera tripod mount screw will enter the box. 2 o Drill the hole for the flashlight insertion tube. Drill a 5/8” hole centered in both height and length of the left-hand spine of the box. Figure 5 – Hole for the flashlight insertion tube goes on the left box spine If you have elected to use a flashlight larger than the mini-mag, you may need to drill a larger hole and use larger PVC connecting pipe. o Using scissors and the utility knife, notch the left-hand flap of the lid top, so it will clear the flashlight insertion tube. Figure 6 – Notch the flap in the box lid to prevent interference with the flashlight insertion tube o Assemble the back of the box. With the white duct tape, attach and re-enforce two of the adhesive picture hangers along the top back of the box. Figure 7 – Add the picture hanging hooks 3 Take the back-half of the manila folder and with the white duct tape, attach it centered to the back of the box. The folder will overlap the duct tape used to attach the picture hangers. See Figure 2, above. Cut a notch in the top edge of the file folder to make removal of transparencies easier. o Assemble the front of the box. Using the front of the manila file folder with the 6” x 7” square hole cut in it, center other the 6 “ x 7” hole you cut in the lid of the box. Using the white duct tape, attach the half-folder to the lid of the box. See Figure 1, above. Cut a notch in the top edge of the file folder to make removal of transparencies easier. Open the box lid. It should be reasonably dry by now. On the inside of the lid and using the white duct tape, attach the 6 ½” x 7 ½” square of the red diffusion gel sheet to the inside of the lid, centered over the square hole. See Figure 3, above. o Attach the camera mount wing nut to the bottom inside the box. Smear epoxy on the bottom of the auto air-cleaner wing nut. Place the wing nut over the hole inside the box. Then screw the camera tripod adapter mount from the outside of the box into the wing nut. Tighten it securely as the epoxy dries. Take an 11” strip of white duct tape. Cut the strip of white duct tape in half. Secure both strips through the wing nut in order to fix it in place. Figure 8 – Affix the air-cleaner wing nut on the bottom spine 4 o Light seal and reinforce the left and right inside spines of the box with white duct tape. Figure 9 – Taping the inside right spine of the box o Attach the flashlight insertion tube to the right side of the box. Thread the ½” PVC threaded pipe into the 5/8” hole on the right side cardboard spine of the box. By supporting the box spine on the inside with your fingers and applying a turning force to the threaded pipe, you can form the cardboard in the hole into threads. Fully thread the ½” PVC pipe into the hole so that it is equally exposed on both sides. Turn each of the 2 ½” PVC couplers on to the threaded pipe until they are securely in place. Figure 10 – The flashlight insertion tube o Make the diffuser panel and attach it to the inside of the box. Using the waste cardboard from the lid of the box, fashion a diffuser panel that approximates the one shown in shown in Figure 10, above. The diffuser panel should be shorter than the depth of the box, so the lid will close without interference. Tape the diffuser panel inside the box using white duct tape. Add white duct tape to secure the diffuser flap at about 90 degree angle. 5 o Add reflective aluminum foil to the inside of the box. Using rubber cement, affix a square of aluminum foil to the inside of the box. Figure 10, above. On the left-hand flaps of the lid, use the rubber cement to affix aluminum foil on the inside of the flaps. Figure 11 – Covering the inside left-hand flaps with reflective material Additional reflective material can be added on the inside spines of the box (top, bottom and right) in order to increase brightness. The inside of the box is finished. Close the lid. o Seal the outside of the box light-tight using the black duct tape. Now you will permanently seal the red light box. Go around the outside seams with the black duct tape to seal the box. Notch the tape to prevent interference with the flashlight insertion tube. Figure 12 – Sealing the outside of the box with black duct tape Use 4 inch long strips on the outside box corners to reinforce the box. This will help keep the box square under repeated use. If in the future you need to access the inside of the box to make repairs, simply use a razor blade along the seams to reopen the box. Add another layer of black duct tape to reseal. 6 o Insert the flashlight and stopper assembly The flashlight cord is threaded between the neoprene washer and the rubber stopper. This holds the flashlight in place and prevents it from falling into the box. Figure 13 –Flashlight assembly An alternative light-tight seal would be to wrap the round body of a flashlight pen with a half strip of black duct tape. Wind a layer of the tape around the flashlight body until it securely fits into the flashlight insertion tube. o In a darkened room, do a final check for light leaks and cover any leaks with black duct tape. o Prepare the generic transparencies. After printing your transparencies, store them in the folder in the back of the box. o Tips for printing transparencies If MS PowerPoint is used to prepare transparencies, that program includes a toner saving feature that overrides printing black background slides. To work-around this limitation, draft slides white on a black background. Print the slides black on a white background and onto white paper. Use a copier with a positive-to-negative reversal feature. Copy the paper slides on to the transparencies. Another work-around is to save the PowerPoint slides to a jpg format. Then use a standard image print utility to print the jpg slide directly to the transparency. These lower level utilities usually do not have a toner saving program feature built-in. Version: 5/29/2006 K. Fisher fisherka@csolutions..net 7

