Document 13604638
advertisement

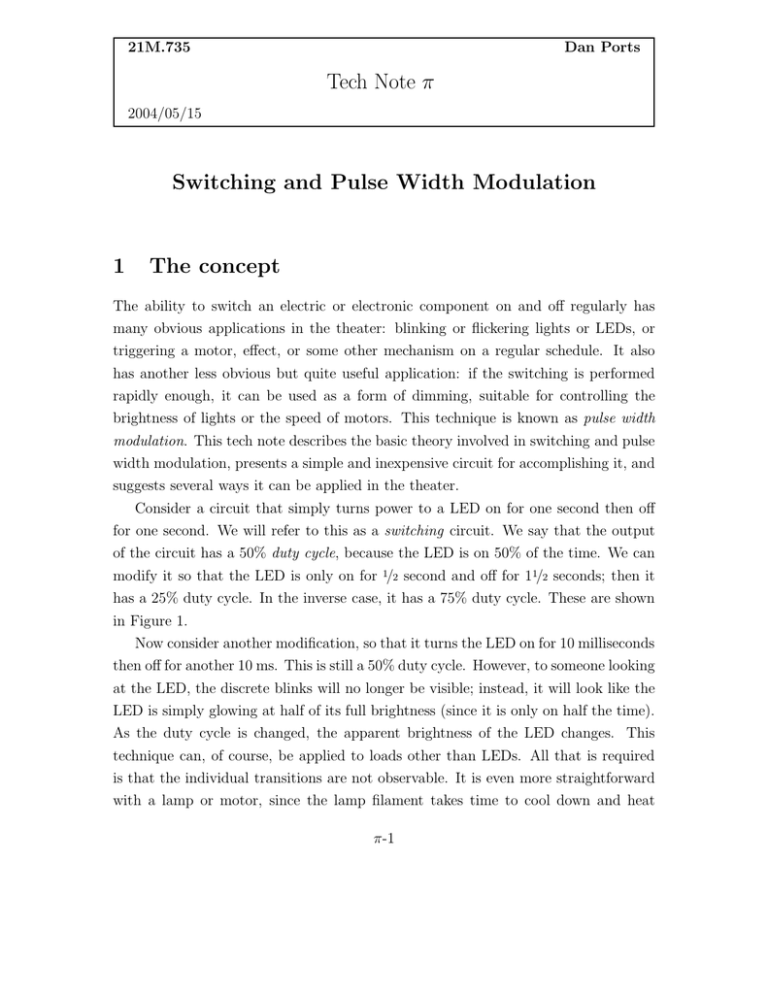
21M.735 Dan Ports Tech Note π 2004/05/15 Switching and Pulse Width Modulation 1 The concept The ability to switch an electric or electronic component on and off regularly has many obvious applications in the theater: blinking or flickering lights or LEDs, or triggering a motor, effect, or some other mechanism on a regular schedule. It also has another less obvious but quite useful application: if the switching is performed rapidly enough, it can be used as a form of dimming, suitable for controlling the brightness of lights or the speed of motors. This technique is known as pulse width modulation. This tech note describes the basic theory involved in switching and pulse width modulation, presents a simple and inexpensive circuit for accomplishing it, and suggests several ways it can be applied in the theater. Consider a circuit that simply turns power to a LED on for one second then off for one second. We will refer to this as a switching circuit. We say that the output of the circuit has a 50% duty cycle, because the LED is on 50% of the time. We can modify it so that the LED is only on for 1/2 second and off for 11/2 seconds; then it has a 25% duty cycle. In the inverse case, it has a 75% duty cycle. These are shown in Figure 1. Now consider another modification, so that it turns the LED on for 10 milliseconds then off for another 10 ms. This is still a 50% duty cycle. However, to someone looking at the LED, the discrete blinks will no longer be visible; instead, it will look like the LED is simply glowing at half of its full brightness (since it is only on half the time). As the duty cycle is changed, the apparent brightness of the LED changes. This technique can, of course, be applied to loads other than LEDs. All that is required is that the individual transitions are not observable. It is even more straightforward with a lamp or motor, since the lamp filament takes time to cool down and heat π-1 0% 25% 50% 75% 100% �������������������������� �������������������������������������� �������������������������������������� ��������������������������������������� �������������������������� Figure 1: Representation of (from top to bottom) 0%, 25%, 50%, 75% and 100% duty cycles back up and the motor’s momentum keeps it spinning briefly even when the power is turned off (the flywheel effect), in effect smoothing out the transitions. This is the essence of pulse width modulation (PWM): if the switching frequency is fast enough, adjusting the duty cycle can be equivalent to adjusting the voltage. 2 A simple circuit A simple way to implement PWM is with the circuit shown in Figure 2. This circuit uses an inexpensive timer chip, the 555, and a few other readily available parts to provide a pulse-width-modulated output. The output is on the OUT connection; a load can be connected between it and the positive voltage supply. It is controlled by the CONTROL potentiometer, which can be connected to a knob. The parts requirements are listed in Table 1. The cost for parts is virtually nothing — about three dollars. The circuit operates by using the standard 555 timer IC as an astable multivibrator 1 : a circuit that continuously alternates between two states, on and off. It charges and discharges the capacitor C1 , and activates the load based on whether the capacitor is charging or discharging. The two diodes select a different resistance value for charging and discharging, and the control potentiometer chooses the resistance value. This effectively changes the duty cycle. The frequency is specified by the value of capacitor C1 ; the specified value of 0.1 µF 1 This is also not obscene. π-2 Figure 2: Simple PWM implementation schematic Qty. 1 1 3 2 1 1 1 Part LM555 Timer IC 100 µF electrolytic capacitor 0.1 µF ceramic capacitor 1N4001 diode 100 kΩ potentiometer 1 kΩ resistor IRF620 power MOSFET Total Cost $0.63 [1] $0.24 [1] $0.34 [1] $0.04 [1] $0.37 [1] $0.06 [1] $0.66 [1] $3.06 Table 1: Parts for simple PWM implementation π-3 gives a frequency of about 100 Hz, which is satisfactory for most PWM applications. The frequency can be increased or decreased by decreasing or increasing the capacitor value proportionally; e.g. a capacitor of 10 µF will give a frequency around 1 Hz, good for a blinking effect. (The exact frequency may vary slightly due to parts tolerances and temperature dependence.) The circuit uses a power MOSFET (Q1 ) as its output stage. This allows it to support up to 6 amps output current. The power supply voltage range can range from 5 to 15 volts, as required by the 555 timer chip. However, the load may be connected either to this power supply or to a higher-voltage power supply if more power is required for the specific application. For especially high-power applications, such as controlling large motors, the transistor could be used to drive a heavy-duty solid-state relay that would have the power capacity to in turn drive the motor. The duty cycle of this circuit is controlled by a potentiometer knob. This makes it suitable for direct manual control, which is what is required in many applications. However, it can also easily be modified to be voltage-controlled, using a FET transistor configured as a voltage-controlled resistor to replace R1 . The resulting circuit could be used as a simple analog-controlled dimmer, or for other applications. It could even be driven by an analog light board, or a DMX-to-analog converter. 3 Applications Perhaps you are now convinced that pulse width modulation and switching are interesting ideas. But why are they of interest in the theater? What uses do they have? I present a few example applications; some creativity and application of the ideas and circuit presented above can easily lead to many others. • First, pulse width modulation is the technique used by most lighting dimmers. It’s not likely that you’ll want to build your own dimmer packs, of course, but it can be helpful to understand how they work. On some level, they operate roughly like the circuit presented above, usually using a silicon-controlled rectifier (SCR) to switch the AC line voltage on and off. (Of course, there are many tweaks made to the basic idea to make it more effective with the high power levels involved). This switching explains why there are problems using devices that expect a pure AC power waveform with SCR dimmers. π-4 • However, it might be useful to build a dimmer in certain situations. The circuit described above is very small (it could be fit on a 1′′ square circuit board, or smaller), so it could, for example, be placed in a handheld or practical unit. It is a more power-efficient alternative than the standard rheostat dimmer (which is roughly equivalent to the old-style resistance dimmer that was common in theaters long ago). • The ability make lights blink or flicker has obvious uses in lighting effects. This isn’t pulse width modulation, per se, since the switching is visible, but it can still be accomplished using the circuit above with a larger capacitor value for C1 . I am currently using a similar circuit to blink my electroluminescent wire installation (see Tech Note 6). It could also be used to good effect in, say, a fire effect, with multiple red and orange LEDs or lamps blinking out of sync. • With three of these circuits used as dimmers, and appropriate high-output LEDs in primary colors, a cheap color-mixing light could be created. Clive Mitchell presents a design that uses LEDs for color mixing, mounted in a standard MR16 fixture [2]. It uses a different control approach to implement PWM, but would also work with this design. • PWM can be effectively used to control motors. In fact, this works well, since many AC motors do not deal very well with having their voltage changed, but will happily change speed when controlled by a PWM signal. For small DC motors, the MOSFET output stage will probably suffice, larger motors will need to be controlled by a relay. A protection diode may also be required. References [1] Digi-Key Corporation. http://www.digi-key.com. [2] C. Mitchell, “LED color changing lights,” Available at http://www.emanator. demon.co.uk/bigclive/rgb.htm. [3] P. Horowitz and W. Hill, The Art of Electronics, 2nd ed. Cambridge, UK: Cambridge University Press, 1989. [4] P. Scherz, Practical Electronics for Inventors. New York: McGraw Hill, 2000. π-5 [5] “PWM controller for DC motors and fans,” Available at http://www.nomad.ee/ micros/pwm555.html. π-6


