Making hand‐made paper Egypt ‐ Focus on technologies
advertisement
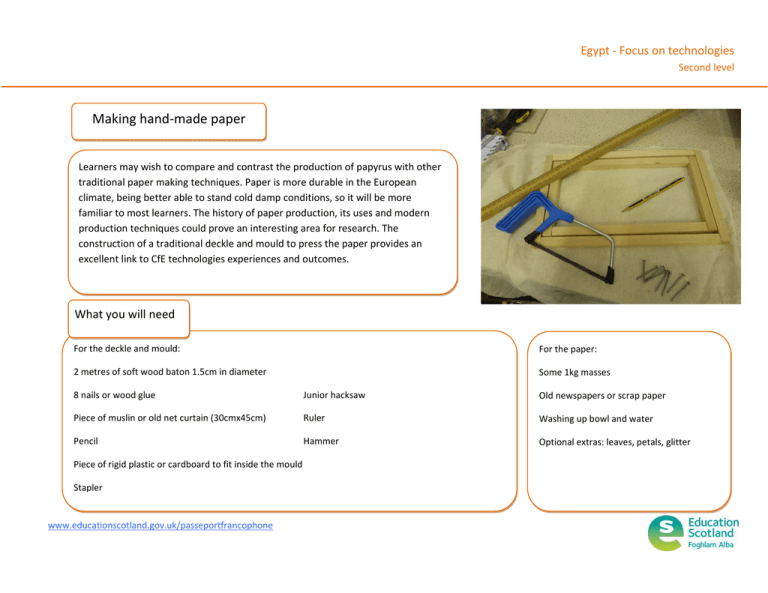
Egypt ‐ Focus on technologies Second level Making hand‐made paper Learners may wish to compare and contrast the production of papyrus with other traditional paper making techniques. Paper is more durable in the European climate, being better able to stand cold damp conditions, so it will be more familiar to most learners. The history of paper production, its uses and modern production techniques could prove an interesting area for research. The construction of a traditional deckle and mould to press the paper provides an excellent link to CfE technologies experiences and outcomes. What you will need For the deckle and mould: 2 metres of soft wood baton 1.5cm in diameter 8 nails or wood glue Piece of muslin or old net curtain (30cmx45cm) Ruler Pencil Hammer Some 1kg masses Junior hacksaw Washing up bowl and water Stapler Old newspapers or scrap paper Optional extras: leaves, petals, glitter Piece of rigid plastic or cardboard to fit inside the mould www.educationscotland.gov.uk/passeportfrancophone For the paper: Egypt ‐ Focus on technologies Second level What you need to do Traditionally paper makers used a deckle and mould to form sheets of paper. Learners could make their own version for use in class. Measure out and cut 2 x 30cm and 2 x 20cm lengths of wood using the ruler, pencil and hacksaw. Please see 4th edition of ASE publication “Be Safe” for advice on using hand tools in the classroom. Figure 1 This will form the mould, on which the paper pulp will be pressed. Join the four pieces together with the nails (or wood glue) to form a frame with internal dimensions of approximately 17cm x 30cm. Once firmly fixed, lay the frame on the muslin (see figure 1) and stretch the muslin across the frame, fixing firmly with staples (see figure 2). Figure 2 To make the deckle, which fits inside the mould (to force the water out of the pulp), repeat the process above but cut 2 pieces of wood 16cm in length and two 26.5cm in length. Join them together as before. This smaller frame ‐ the deckle‐ should fit neatly inside the mould (see figure 3). Figure 3 www.educationscotland.gov.uk/passeportfrancophone Egypt ‐ Focus on technologies Second level What you need to do ‐ continued Making paper: Take your scrap‐paper or newspaper and tear it up into very small pieces. Immerse the scraps in the bowl of water and soak it for at least an hour ‐ overnight if possible. This will cause the wood fibres in the paper to break down (figure 4). Mash the paper pieces until there are no lumps. You could use a pestle and mortar, hand‐operated whisk or blender (make sure it is PAT tested) to make as smooth a paste as possible. Food colouring could be added to colour the pulp (figure 5). Once your paper has been reduced to pulp, you are ready to make your own recycled paper. Place the deckle on top of the mould, place under the pulp and scoop up enough to cover the surface of the muslin within the deckle, a bit like a fishing net (figure 6). Don’t be tempted to make the layer too thick or your paper will be like cardboard! At this point you could add leaves, glitter or petals to the pulp and they will be pressed into the finished paper. Figure 4 www.educationscotland.gov.uk/passeportfrancophone Figure 5 Figure 6 Egypt ‐ Focus on technologies Second level What you need to do ‐ continued Place the piece of card or plastic inside the mould and press down (figures 7 and 8). You should do this over the sink (or outside) as lots of water will be pressed out of the pulp. Weigh the surface down with some 1kg masses and leave it overnight (figure 9). Turn your paper out of the mould, keeping it on the plastic (or cardboard) until it is completely dry (figure 10). You can experiment with different types of pulp and try out different thicknesses. If you added petals or leaves, they will now be embedded in the paper (figure 11). The paper could be written on and decorated. Why not make a map to show the site of hidden Egyptian treasures? Learners may wish to explore the possibility of making a clay tablet and incising this with hieroglyphs and a translation to make their own “Rosetta Stone” Figure 7 Figure 8 Figure 9 Figure 10 www.educationscotland.gov.uk/passeportfrancophone Figure 11
